Showing posts with label Sizzix Chapter 2 2020. Show all posts

In The Garden | Sizzix Chapter 2

Hello friends! I hope you all are hanging in there and staying safe and healthy. I'm doing my best to hang in there by staying busy and making sure I carve out time for creative play. It's hard to believe it's already May (my favorite month of the year wink! wink!) and Mother's Day is this weekend. Spring seems to be flying by for sure. Today, I'm sharing a spring like card just in time for Mother's Day or any spring celebration. My mom has a love of bluebirds and gardening, so I combined a bit of both using some of the Sizzix Chapter 2 dies to create a card for her.


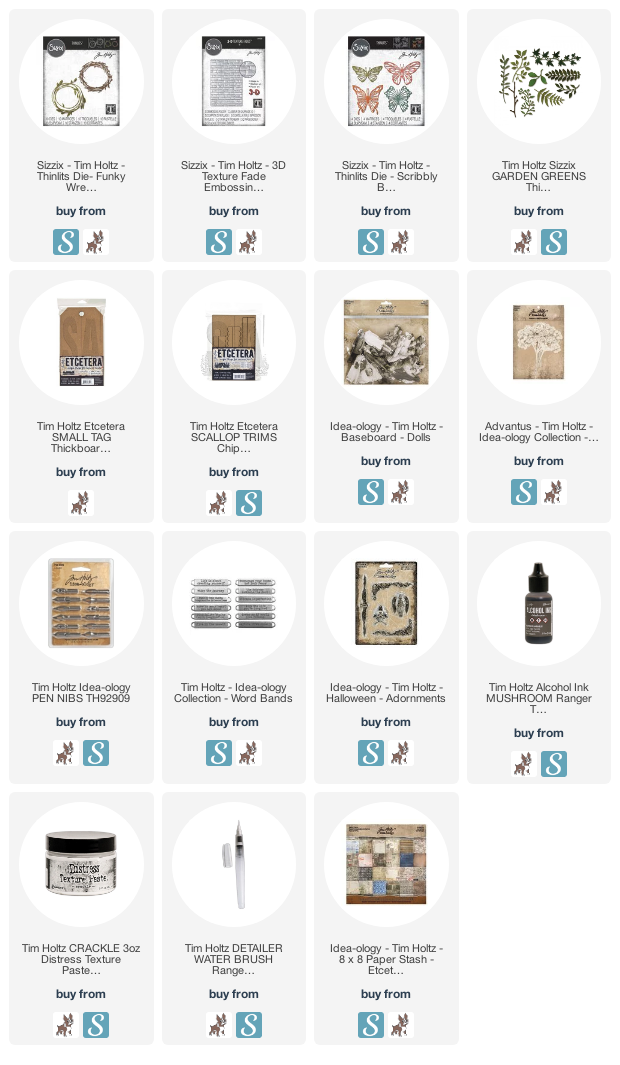
Where should I begin? How about the cute little bluebird and wreath? I had so much fun creating this little die cut scene. To get started, I used watercolor paper to die cut all of the pieces. The bird is from the Feathered Friends Thinlets, the wreath is from the Funky Wreaths Thinlets and the flowers are from Funky Floral #1. If you didn't know, the wreaths were designed and sized to work with all the Funky Floral sets. Oh the possibilities!


Next, I watercolored them using Distress Inks and a water brush. To do this, tap the ink pad of choice onto your craft mat and use the waterbrush to pick up the color and apply it onto the paper. I find this to be such a relaxing and fun process, but I did cut and color the bird three times before I got him to look like I wanted!

Once all the watercoloring was finished, I added some pen details for a bit of interest. I'm still not sure if I like them, but it does seem to make the little details stand out.


Let's move onto the background paper behind the wreath. This was from a play session following one of Tim Holtz's Saturday Facebook Live in which he taught the Eroded Metallic Technique. Definitely one of my favorite new techniques! I cut it down to size and then added some machine stitching around the edge.

I then layered everything onto a piece of white cardstock that I embossed using the 3D Texture Fade Brickwork. I lightly inked over it with Gathered Twigs Distress Ink to bring out some of the texture and add a hint of color.


To give the bird and flowers a bit of dimension, I adhered them using double sided foam adhesive. I then finished off the card by adding a couple Clippings Stickers that fit the theme of the card.


Thanks so much for stopping by today! I hope you enjoyed learning a bit about how this In The Garden Card came together. Now go get crafting!

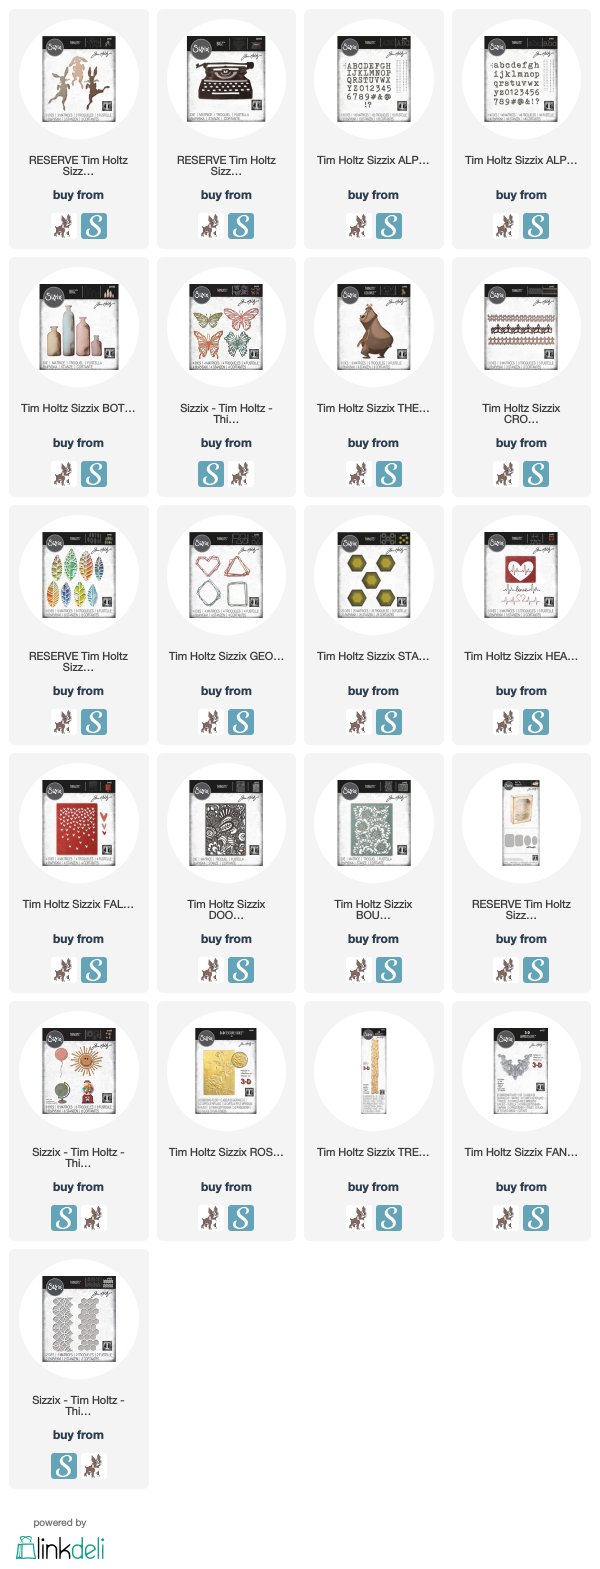
SUPPLIES

This post contains affiliate links to Scrapbook.com and Simon Says Stamp. If you buy anything through my links, it adds no extra cost to you. I truly appreciate and thank you for your support! (If you're interested, you can see my full disclosure statement here.)


The Journey | Tim Holtz Sizzix Chapter 2

Today is the day my friends! The 2020 Tim Holtz Sizzix Chapter 2 Release is now available and I'm thrilled to be sharing a project I created using some of these new products. The Journey features the Funky Wreath Thinlits Dies and 3D Texture Fades Embossing Folder Brickwork. I combined them with one of the beautiful butterflies from Scribbly Butterflies Thinlits Dies and some fun Idea-ology goodies to create a tag with a theme that couldn't be more fitting with the direction of my life at this moment.

So let's get started on how The Journey came together. First off, the base of this project is an Etcetera Thickboard Small Tag that I covered with patterned paper from the 8x8 Etcetera Paper Stash. I used Collage Medium to adhere it the both the front and back of the tag. I then inked the edges with Vintage Photo and Walnut Stain Distress Ink and then used my finger to apply a bit of Crackle  Texture Paste here and there to the edges. I just love how the ink come through the texture paste and makes the cracks more apparent.


For the brick background, I took a piece of watercolor paper, spritzed it with water and placed it inside the Brickwork 3D Texture Fades Embossing Folder. I then ran it through my Sizzix three times to get a good impression in the paper. I then took the embossed paper and inked it with a foam blending tool using Distress Oxide in Vintage Photo, Frayed Burlap, and Ground Espresso. I applied the colors here and there over the paper to give it some interest and keep it from being all one color. I then spritzed it with a bit of water to activate the oxides and then dabbed it dry.


I then adhered this to the tag and placed two Scallop Chipboard Trims along the bottom to create a shelf/ledge. I covered the piece under the shelf, which is what the actual shelf part is resting on, with patterned paper. I knew I wanted to create a garden along the top of the shelf and it would mostly be covered by that, so I decided to paint it with Vintage Photo Distress Paint. I then added a bit of Crackle Texture Paste to the edge of the shelf.


As I continued creating the scene, I die cut one of the Funky Wreath Thinlits Dies from watercolor paper and watercolored it with Distress Ink and a water brush. The colors I used were Peeled Paint, Shabby Shutters and Forest Moss. I knew I wanted to mount this in the middle of the brick wall, but I felt like it needed something behind it, so I die cut a piece of patterned paper using the Stacked Label Die. I inked the edges with Old Paper and Vintage Photo Distress Ink. I then adhered the wreath using some double sided foam adhesive.


Next came the butterfly from the Scribbly Butterflies Thinlits Dies. This was die cut from watercolor paper and then inked with Fossilized Amber Distress Ink. I added an Idea-ology Pen Nib colored with Mushroom Alcohol Ink to create the body of the butterfly.

Once the focal point was created, I then began adding the rest of the touches. This includes the Paper Doll colored with Distress Crayons. I followed the tutorial by Paula Cheney on how to do this and you can find it here and most recently she created a new post here.


To create the garden I added some flowers from the Idea-ology Bouquet and colored them with Distress Ink in Spun Sugar, Worn Lipstick and Fossilized Amber. I used a water brush to apply the ink. I filled in around them with florist moss. The garden and brick wall still needed a something, so I added a bit of ivy die cut using the Garden Greens Thinlits Dies. I watercolored them using a waterbrush and Distress Ink in Peeled Paint, Shabby Shutters and Forest Moss.


The final touch was the addition of a border flourish from the Idea-ology Halloween Adornments and a Word Band. Each of these was colored with Mushroom Alcohol Ink.

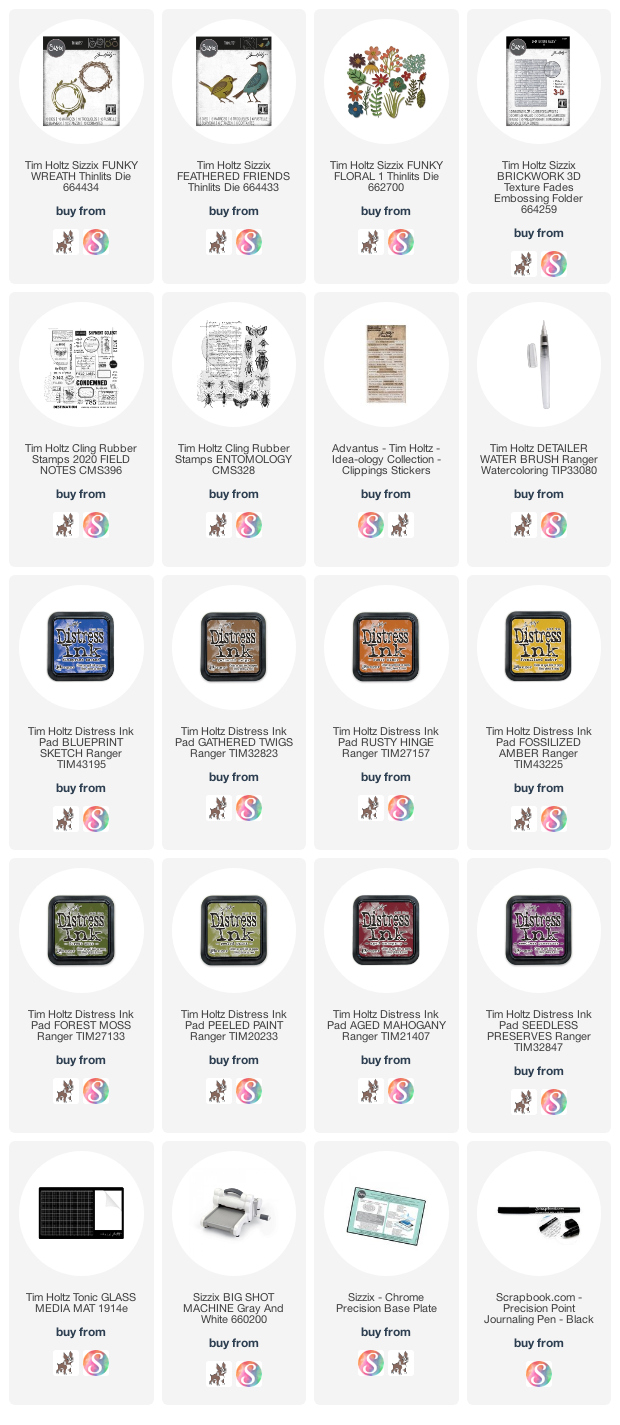
SUPPLIES

This post contains affiliate links to Scrapbook.com and Simon Says Stamp. If you buy anything through my links, it adds no extra cost to you. I truly appreciate and thank you for your support! (If you're interested, you can see my full disclosure statement here.)


Sizzix Chapter 1 & 2 Sneak Peek

Hey friends! I'm so happy to have all the new visitors here lately. Many of you may be coming here from Tim Holtz's blog after watching his recent Facebook Live's for Sizzix Chapter 1 and Sizzix Chapter 2.  I was blessed to be one of the makers for his recent release and I wanted to pop in and let you know that I have some upcoming technique and tutorial blog posts that will be starting January 19. These posts will feature three other projects I created using his latest Sizzix release. 

Here's a little sneak peek of the projects I'll be sharing. And another little tease... I'll also have some projects to share from the Stamper's Anonymous Release as well!


If you don't want to miss any of these posts, I invite you to subscribe through FeedburnerMad Mimi or Bloglovin. Once you do this, you'll receive an email when my blog posts go live!

Tim Holtz Sizzix Chapter 1 and Chapter 2  Videos

If you missed the Facebook Live's, you can still check them out and I highly recommend taking some time to do so. (I've shared them below for your convenience.) In the videos, he shares all the fabulous new dies, tons of inspiration from his team of makers and as always some insights on what inspired him to create the dies and his thoughts on ways they could be used. I was seriously blown away by what the other makers created!

The Sizzix Chapter 1 dies are available NOW from your favorite stores and Chapter 2 will be in stores in April.
Tim Holtz Sizzix Chapter 1


Tim Holtz Sizzix Chapter 2


Sizzix Chapter 1 Available Now

Below I've linked to all the new Sizzix Chapter 1 dies available now at Scrapbook.com and Simon Says Stamp. These are affiliate links. If you buy anything through my links, it adds no extra cost to you, but I truly appreciate and thank you for your support! (If you're interested, you can learn more about what affiliate links are and read my full disclosure statement here.)


Subscribe