For this card, I went bold with a skull blueprint stamp as my focal point and built up the background with lots of mixed media layers. I used:
You can either watch the video below or head over to my YouTube Channel HERE to check it out.
VIDEO
Please feel free to use products from your stash to recreate something similar. However, if you are interested in any of the products I’m using, you can find the supply list with links down below. Using these links does not cost you anything extra and it helps support my business. It also allows me to continue offering free content and keep my class costs low. I appreciate your support!

- Distress Oxide Sprays for the inky background
- Collage stamping + heat embossing for extra depth and texture
- Die cuts to add dimension and more texture
- Distress Inks to add color to the stamped focal image
It all comes together for a grungy, spooky Halloween vibe—perfect for October cardmaking.
You can either watch the video below or head over to my YouTube Channel HERE to check it out.
VIDEO
Please feel free to use products from your stash to recreate something similar. However, if you are interested in any of the products I’m using, you can find the supply list with links down below. Using these links does not cost you anything extra and it helps support my business. It also allows me to continue offering free content and keep my class costs low. I appreciate your support!

This is just one of the projects I’ve created with the Fall Halloween Curation, and each one explores a different technique. Be sure to check back for more seasonal inspiration! You can check out all of my Fall Halloween Curation projects HERE.
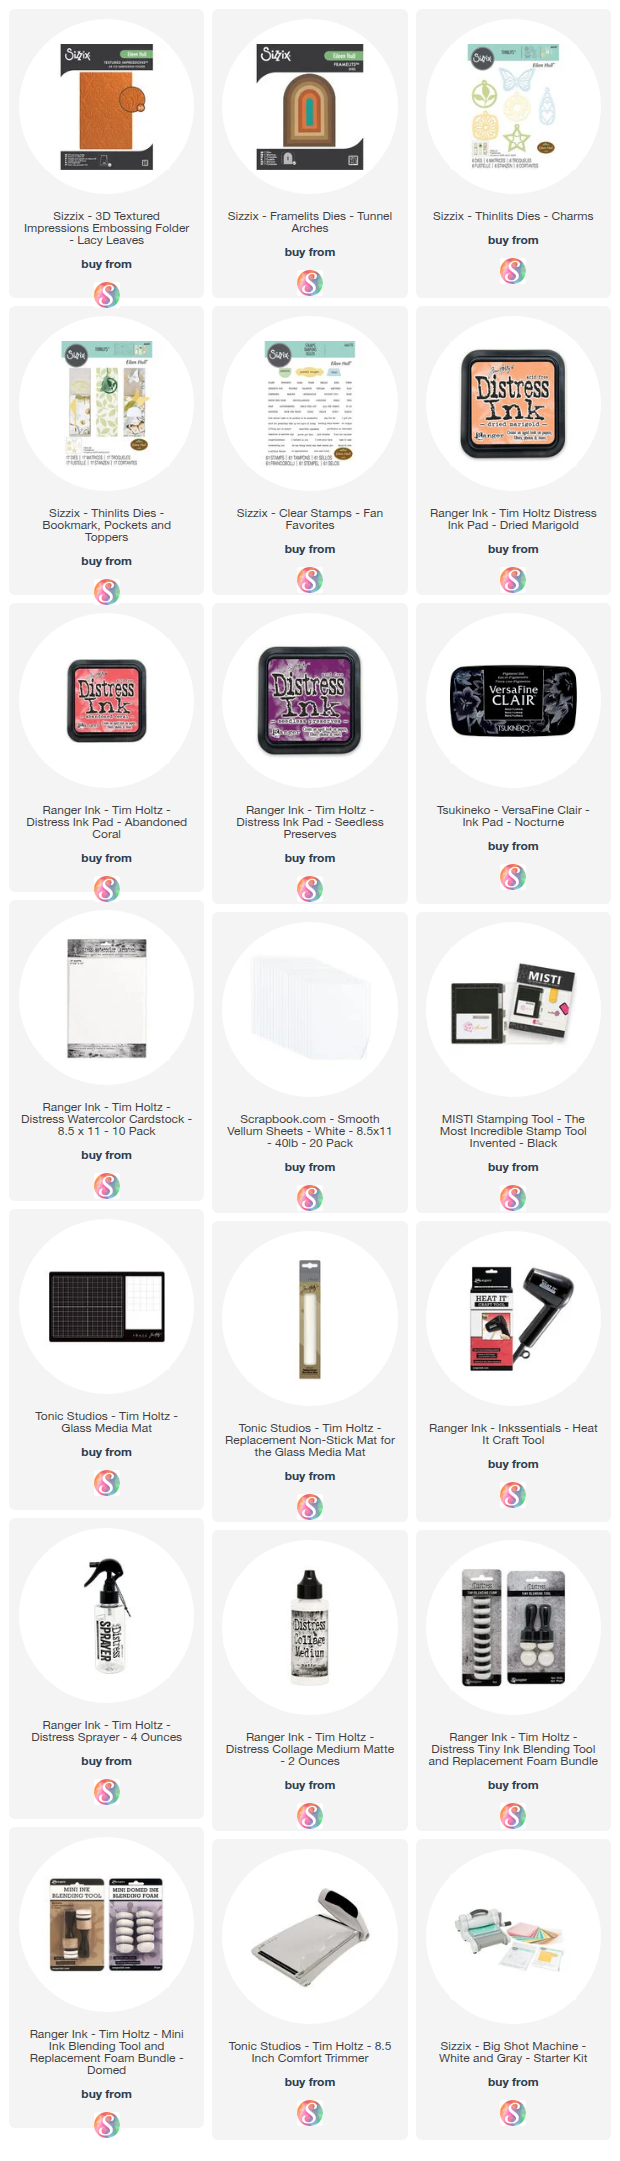
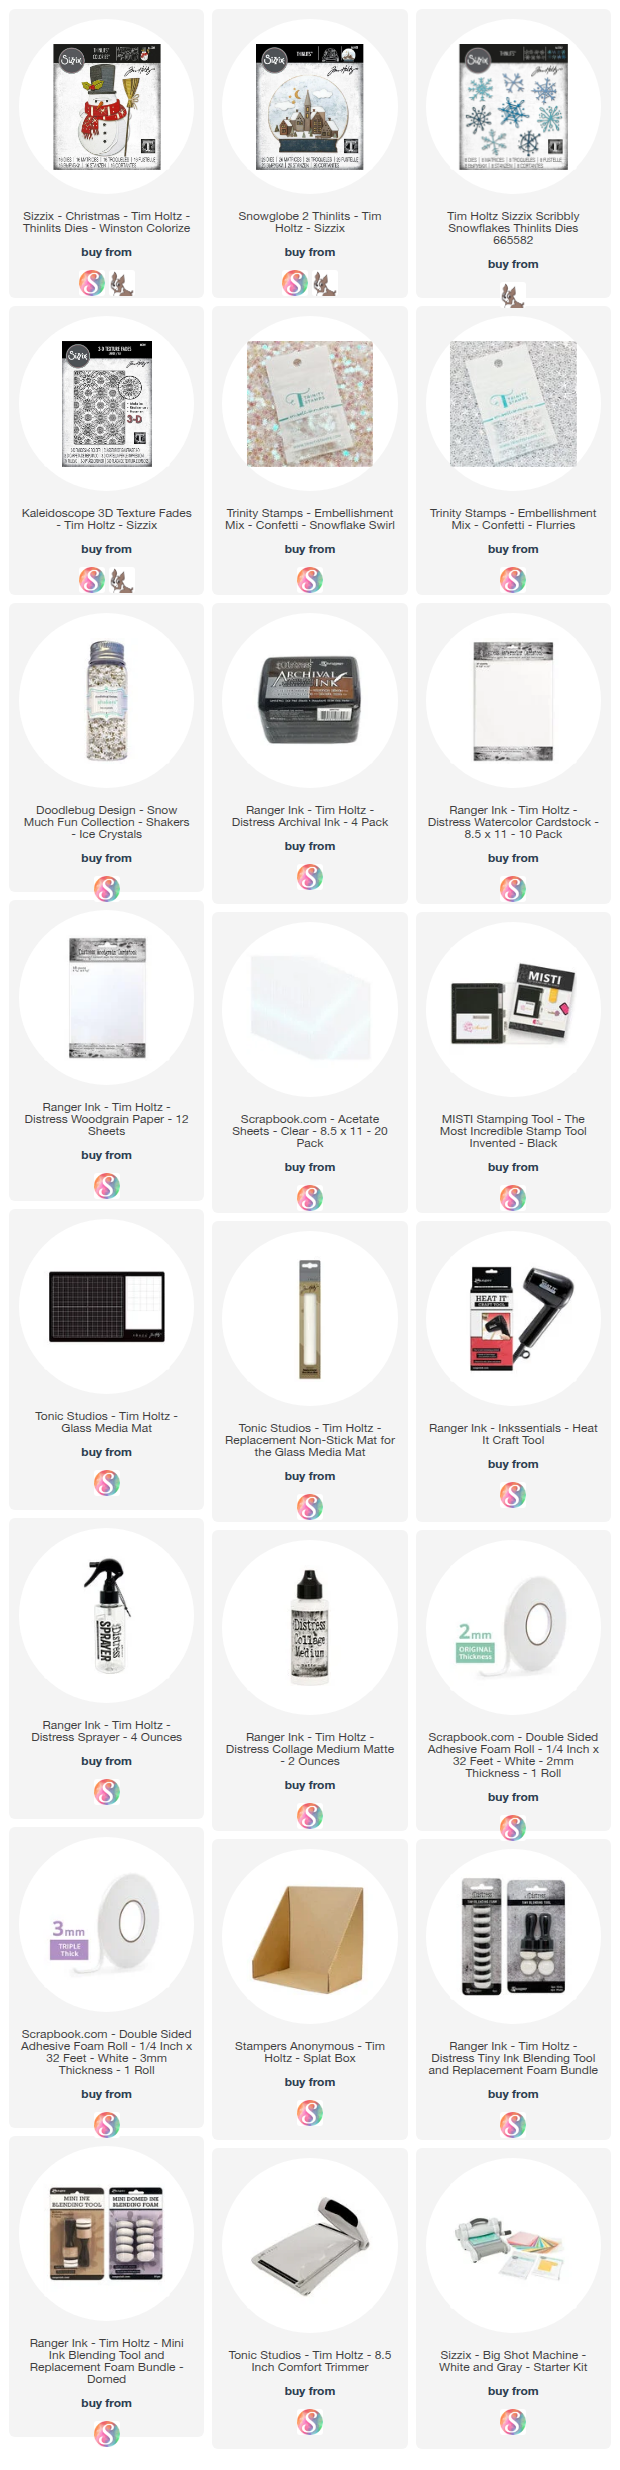
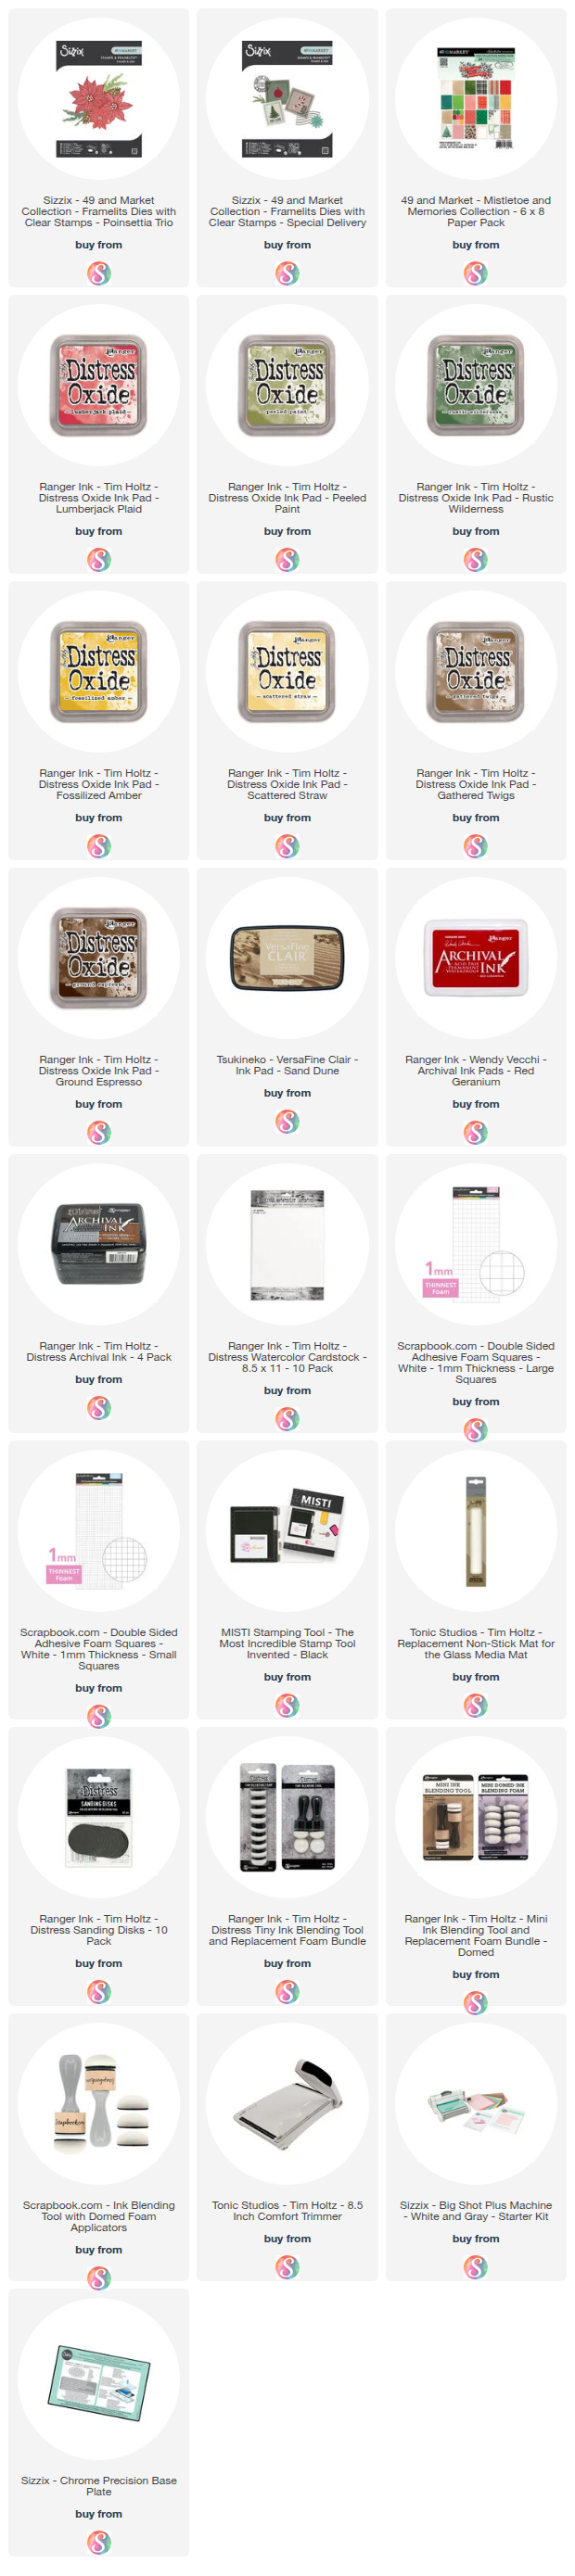
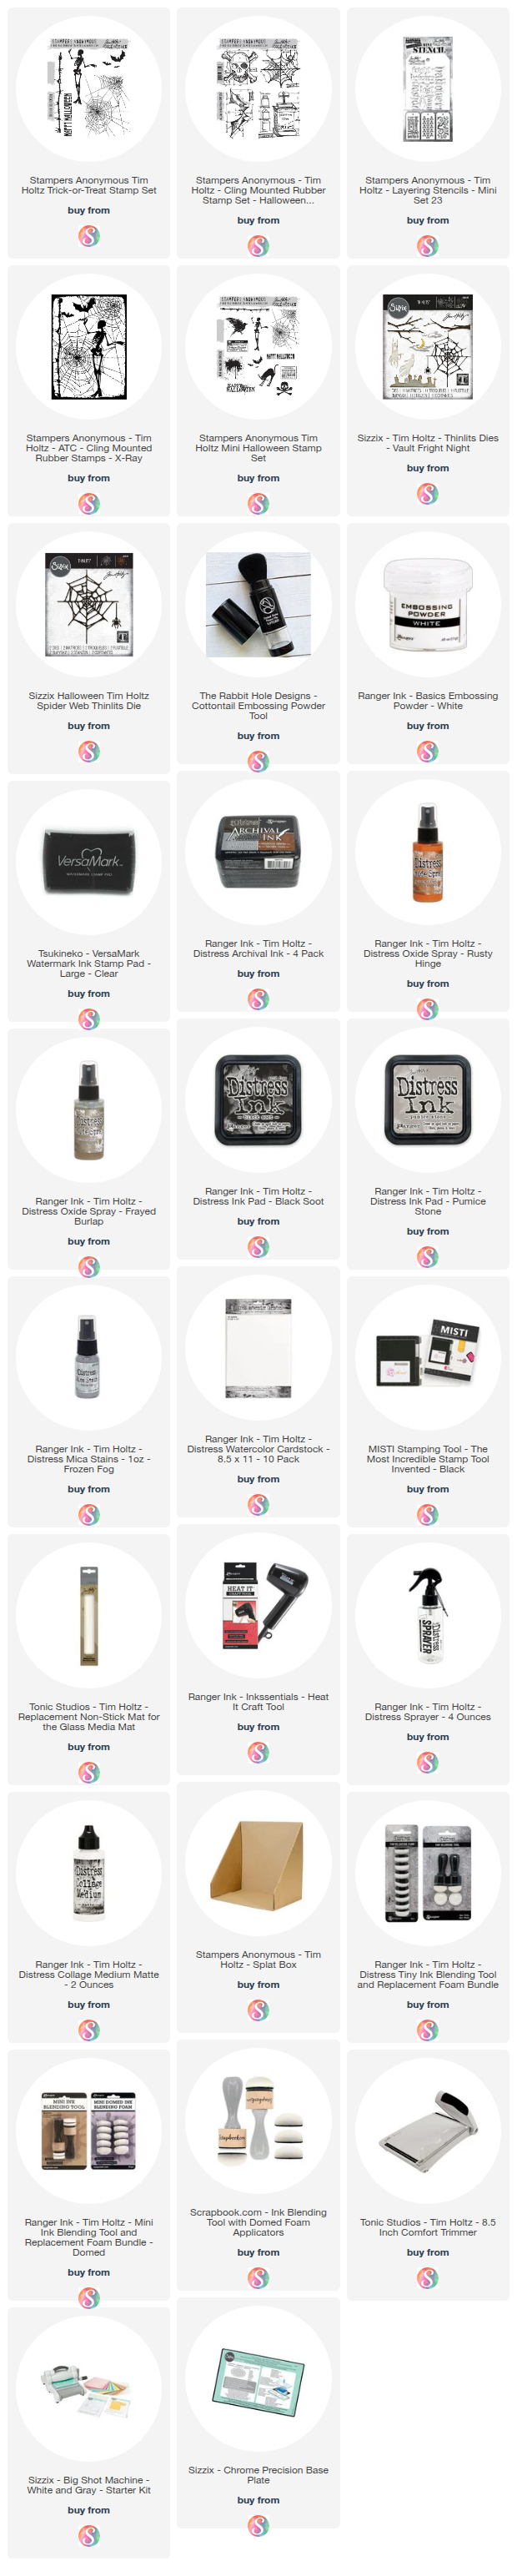
SUPPLIES
Below you can find the supplies I used to create this card. When you shop through those links and whether you purchase that exact item or something else entirely, you’re supporting me at no extra cost to you. The commission I receive helps me cover the costs of my blog and other expenses, and allows me to continue to provide you with FREE inspiration and tutorials. If you want to learn more about what an affiliate link is, you can see my full affiliate and product disclosure statement here. Thank you so much for your love and support!
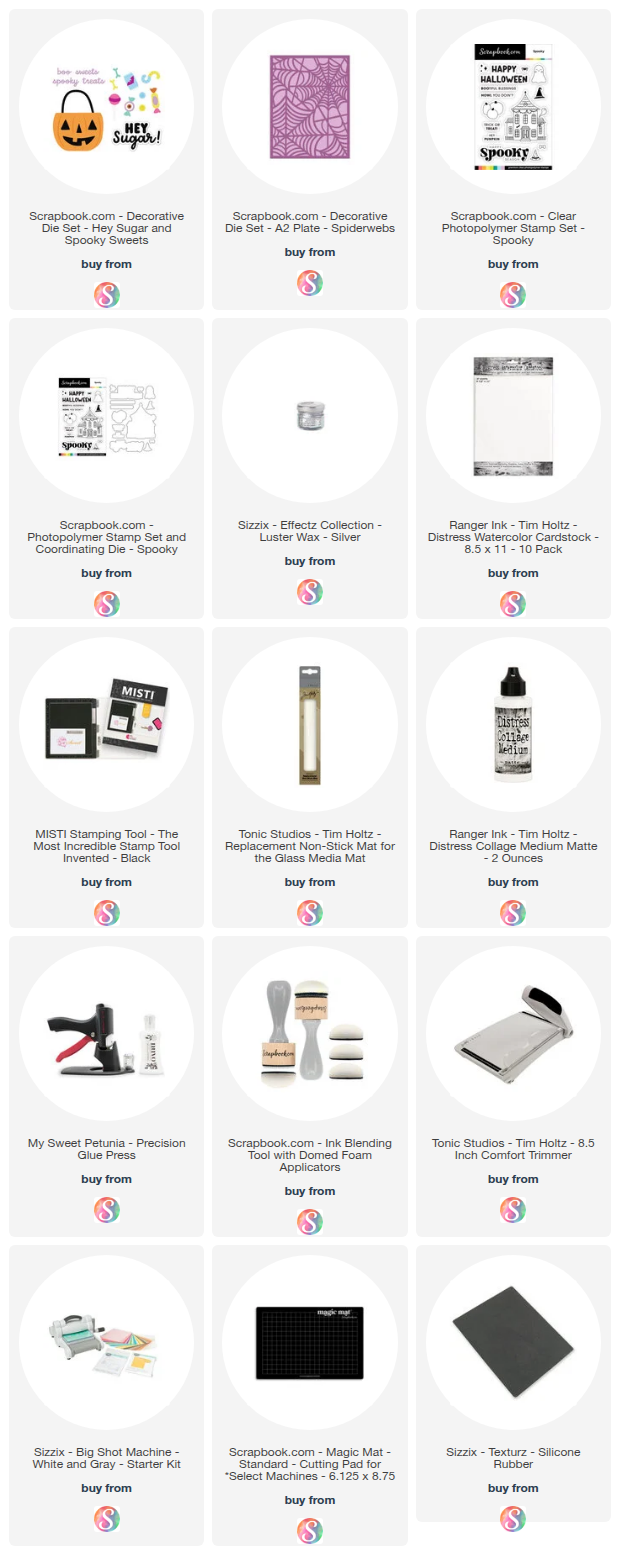
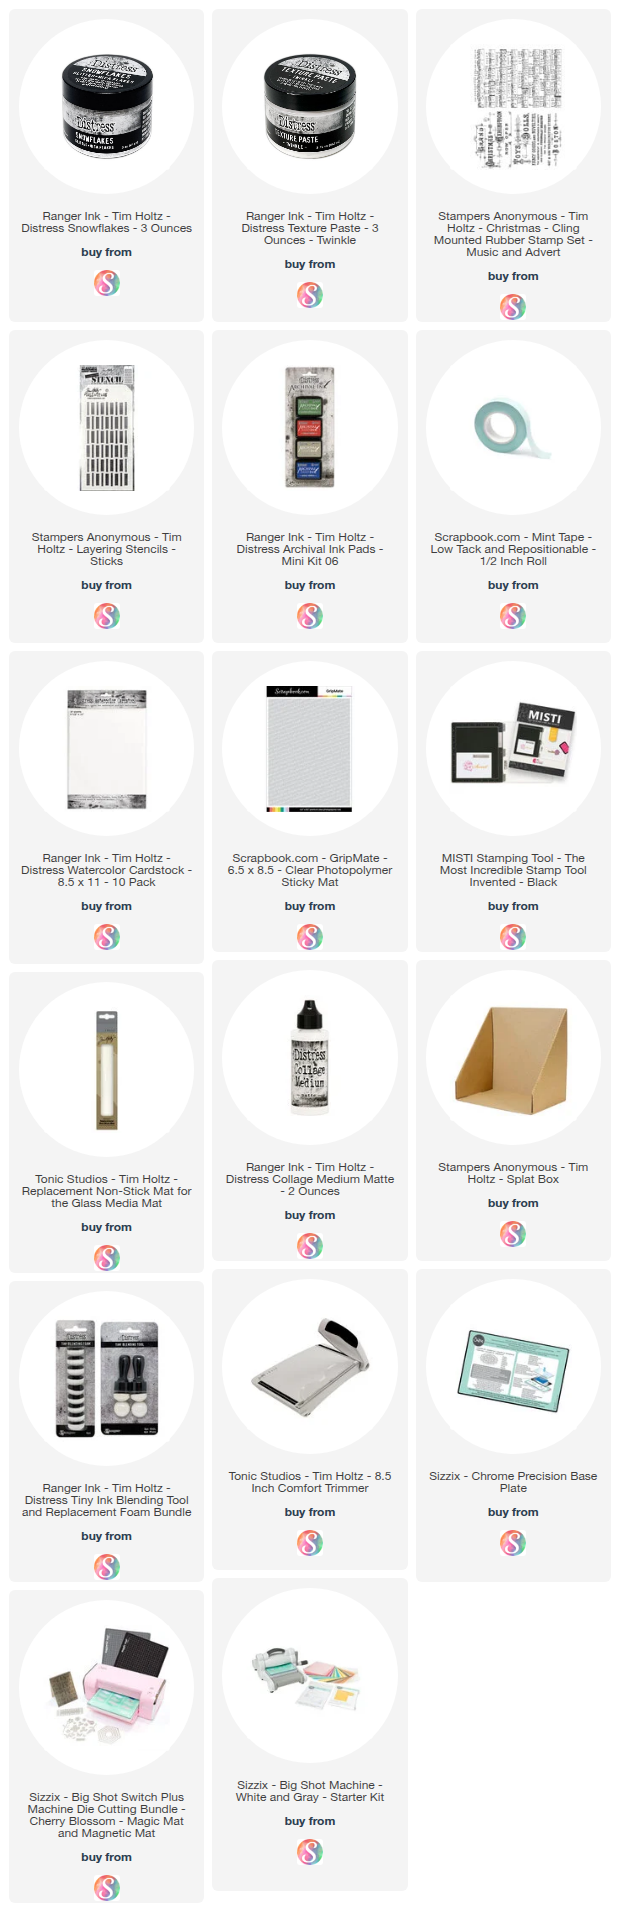