I'm SO excited to invite you to my next LIVE class: Pretty Grunge: Steampunk Vibes!
In this brand-new live class, we'll dive into the gritty, gorgeous world of pretty grunge with a vintage-industrial steampunk twist. You'll discover 8 techniques — 4 layered mixed media backgrounds and 4 embellishment combinations — that will help you create bold, textured cards that are full of personality. Whether you're new to the pretty grunge style or a returning student looking to explore a fresh aesthetic, this class has something for you.

Class Details
This two-part class is happening live on Saturday, May 9th, 2026:
- Session One: 10 AM – 12 PM ET
- Break: 12 PM – 1 PM ET
- Session Two: 1 PM – 3 PM ET
- Cost: $20
Can't make it live? No worries! You'll get replay access and can watch anytime that works for you.
JOIN THE CLASS
What to Expect
Whether you're new to mixed media cardmaking or a seasoned crafter looking to explore a bold new style, this class will help you build confidence working with multiple mediums and layering backgrounds and embellishments into cohesive, stunning finished cards.
You'll Learn How To:
- Create four different mixed media backgrounds using techniques like stenciling, spray inks, acrylic paint, and embossing folders
- Build layered, dimensional embellishments using die cuts, stamping, heat embossing, and more
- Work with water reactive dye inks, water reactive dye sprays, and acrylic paint to create rich, moody color palettes
- Add depth and texture using tools like brayers, blending brushes, texture paste, and rubbing wax
- Combine stamped focal images, ephemera-style elements, and steampunk-inspired die cuts into cohesive, finished card designs
- Embrace the grunge — imperfection, layering, and happy accidents are part of what makes this style so beautiful
What's Included
When you join Pretty Grunge: Steampunk Vibes, you'll receive:
- A comprehensive class guide filled with step-by-step instructions for all 8 techniques, supply checklists, class prep instructions, recommended substitutions, helpful tips, and more
- A pre-recorded Welcome Video to introduce you to the class
- A pre-recorded Class Prep Video to walk you through setup
- Ongoing replay access to watch and rewatch anytime after the live event
- Access to the private 17turtles Creative Classroom Community for support and sharing
- A free bonus Color Combinations Guide featuring 8 curated Distress Ink color palettes to inspire your pretty grunge steampunk cards
JOIN THE CLASS

Supplies You'll Need
To help you get an idea of the types of supplies you'll need for this class, I've put together a general supply list that you can view before registering. Once you purchase the class, you'll also receive a detailed supply list and class prep checklist to make getting ready even easier.
I recommend shopping your stash first, but for the best results, I suggest using similar supplies for optimal results with the techniques we'll be learning.
VIEW THE GENERAL SUPPLY LIST
Where to Watch
The class will be hosted privately on YouTube. You'll receive your exclusive access links in your welcome email after purchase. Once the live class ends, the replay will be added to the 17turtles online classroom along with all class materials.
Replay Access: Replay access will be available the next day (or as soon as it's uploaded), and you can watch it anytime, at your own pace.
Class Length: Each session is approximately 2 hours, with a 1-hour break in between. I recommend reserving a little extra time at the end of Session Two in case we go over.
Refund Policy: Due to the immediate access provided, no refunds will be offered once you register.
JOIN THE CLASS
Watch the Video!
Head over to my YouTube channel to watch my latest video where I'm sharing some background and embellishment techniques that capture the pretty grunge steampunk aesthetic. These aren't the techniques from the class — so there's plenty more to discover when you join me — but they're a great way to get inspired and get a feel for the style!
I can't wait to create with you and help you explore the bold, grungy, beautiful world of pretty grunge steampunk!
If you have any questions about supplies, class access, or anything else, feel free to leave a comment below or email me at juliana@17turtles.com — I'm happy to help.
Supply List
Below you can find the supplies I will be using in my Pretty Grunge: Steampunk Vibes class. Keep scrolling for the supply list for my latest video. When you shop through these links, whether you purchase that exact item or something else entirely, you're supporting me at no extra cost to you. The commission I receive helps me cover the costs of my blog and other expenses, keeps my class costs low, and allows me to continue to provide you with FREE inspiration and tutorials. If you want to learn more about what an affiliate link is, you can see my full affiliate and product disclosure statement here. Thank you so much for your love and support!
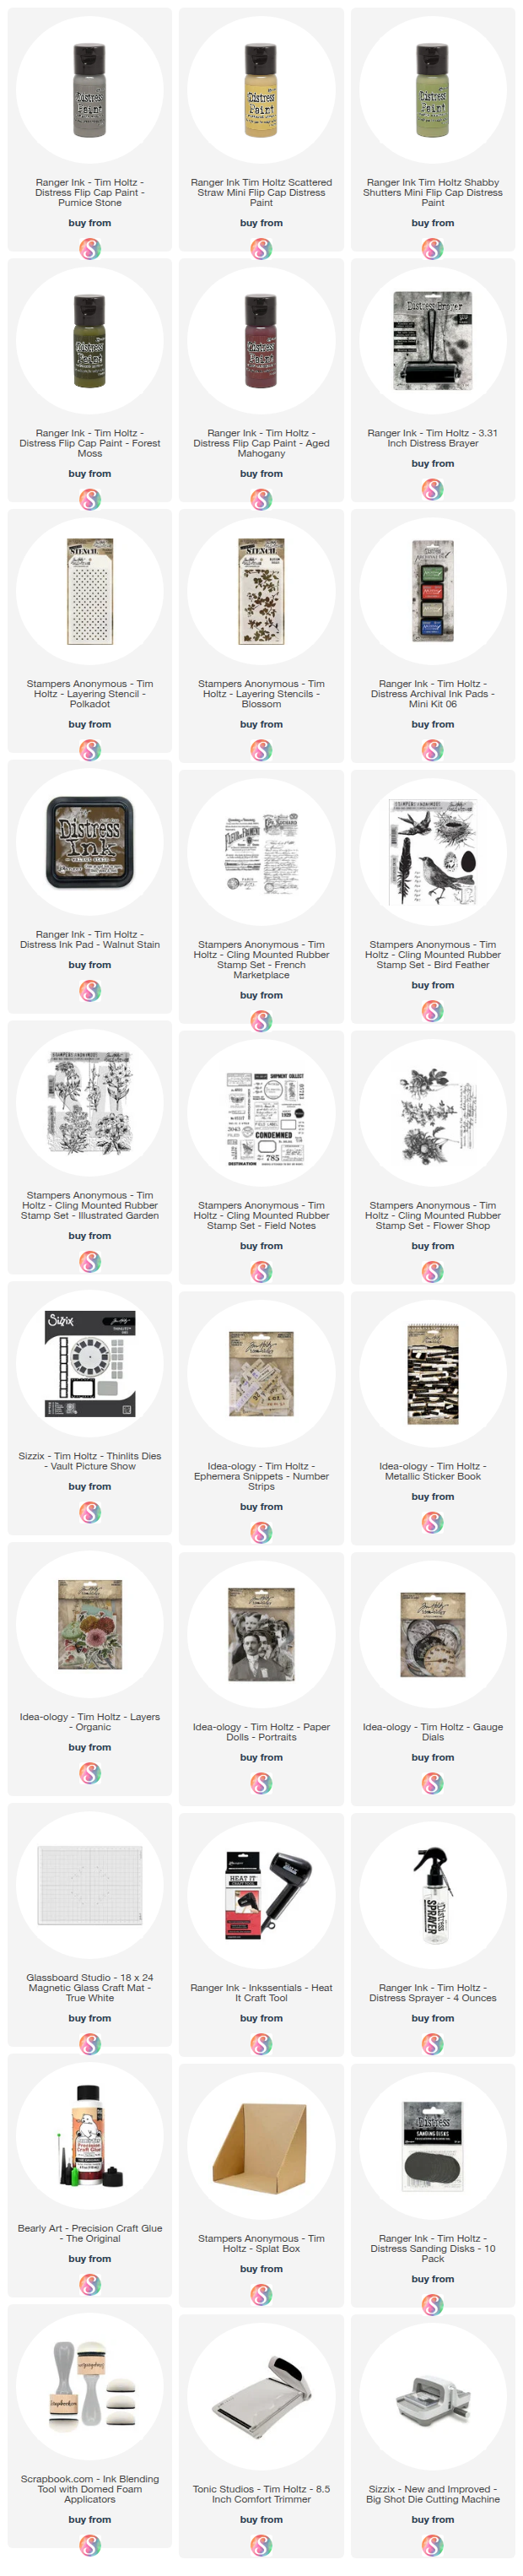
Pretty Grunge Steampunk Vibes Class Supply List

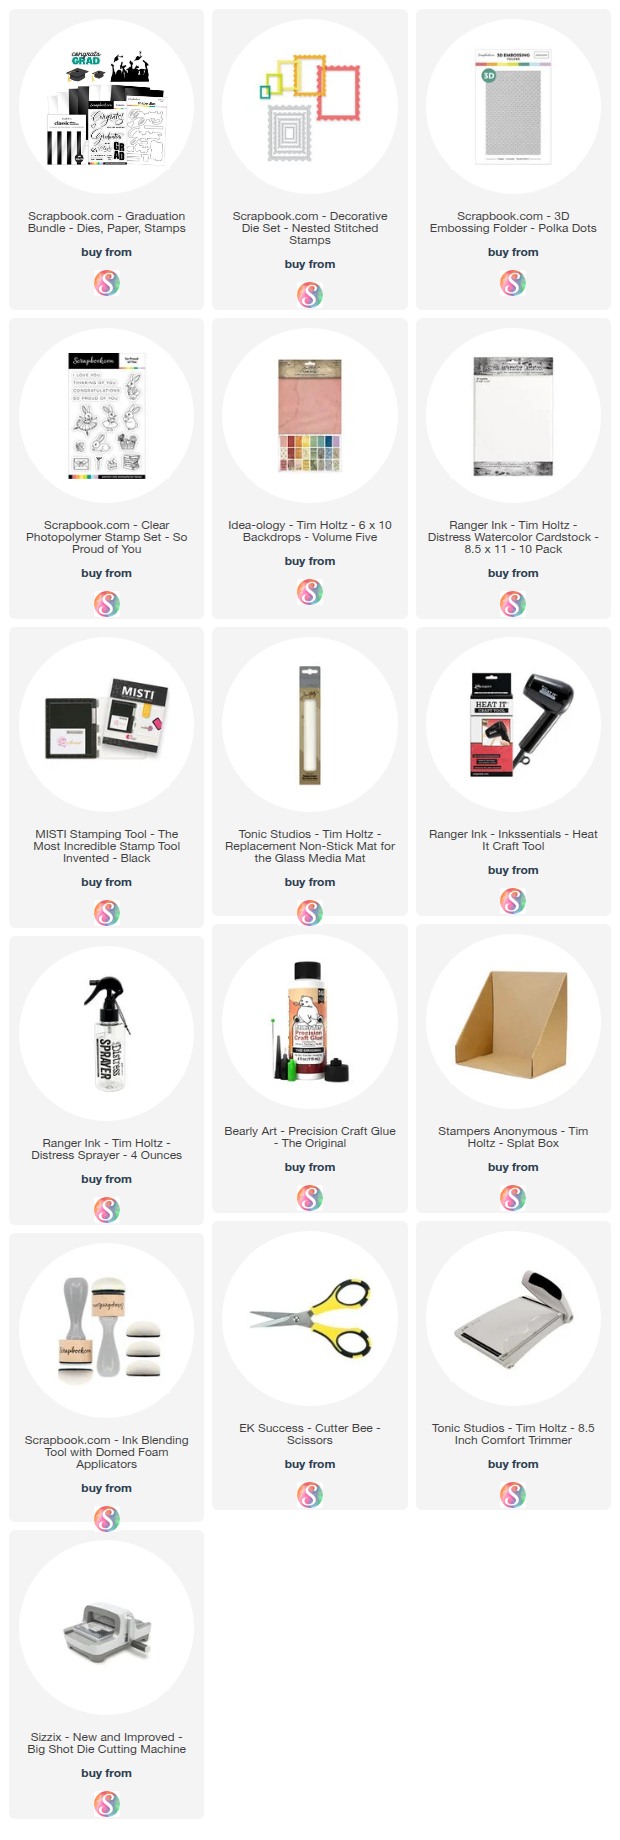
Pretty Grunge Goes Steampunk Supply List