Showing posts with label Sizzix Chapter 4 2020. Show all posts

Baby It's Cold Outside Christmas Shaker Card | Tim Holtz Sizzix Chapter 4

Baby it's cold outside! As I sit here writing this post, it's not even kind of cold here. We're having some warm days that I'm going to enjoy while I still can. In the meantime, we can dream of snow and colder days and take a closer look at this Baby It's Cold Outside Shaker Card I created for the Tim Holtz Sizzix Chapter 4 Release.


To get started, I die cut a piece of chipboard using the Cathedral Window Bigz Die. I inked it with Vintage Photo Distress Ink and then painted it with Distress Crackle Paint. By inking first the ink color kind of soaks through the crackle paint and helps the cracks show up more. This piece is going to become the shaker frame. I then trimmed a piece of acetate to the size of the window and adhered it to the backside using Collage Medium. Next, I added strips of double sided foam tape to the backside of the acetate. With this step, my shaker box was complete.


For the background inside the shaker, I used the Snowscape Colorize Thinlits. I die cut all of the pieces from watercolor paper and then ink blended them with the following Distress Ink colors: Chipped Sapphire, Tumbled Glass, Stormy Sky and Weathered Wood. For the trees, I used Pine Needles. 


Once the Snowscape was assembled, I laid the shaker box on top to determine which area of the die cut I wanted to show through the window. After figuring this out, I adhered the Snowscape to a piece of patterned paper from a Christmas Paper Stash and then trimmed this piece to the size of the Cathedral Window. Before adhering this to the shaker box, I poured some Distress Mica Flakes onto the scene and placed the shaker box on top. I never have good luck lining things up if I fill the shaker box and try to line up the back piece. So I've found this method works best for me.


With the shaker box completed, I then added the Darling Deer die cuts which were colored using Walnut Stain and Gathered Twigs Distress Ink. For the swag at the top of the window, I used a mix of Festive Trims Colorize and Holiday Greens Thinlits. These pieces where inked with the following Distress Inks: Barn Door, Candied Apple, Peeled Paint, Mowed Lawn, and Pine Needles. I inked the edges with just a touch of Walnut Stain before adhering them to the card.


I finished off the card by adding a Christmas Quote Chip, some machine stitching and layered patterned paper.


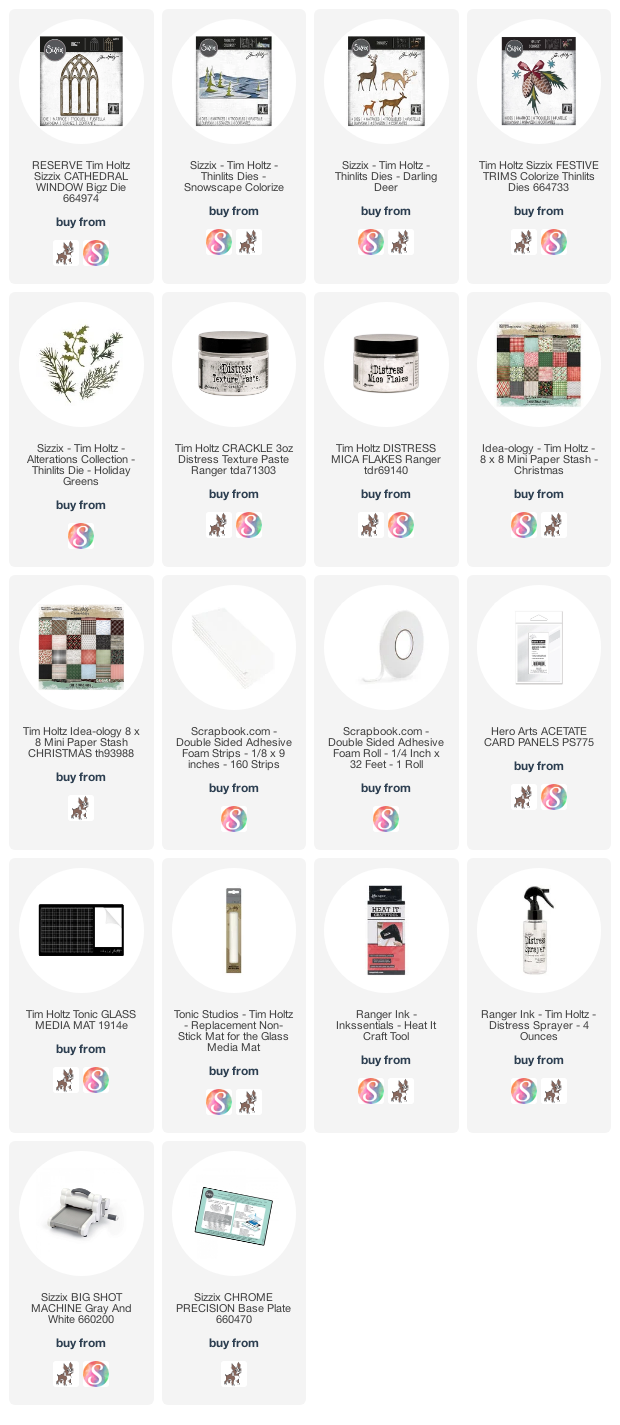
Supplies

You can find a supply list of the products I used to create this project below. This post contains compensated affiliate links to Scrapbook.com or Simon Says Stamp at no cost to you. If you want to learn more about what an affiliate link is, you can see my full affiliate and product disclosure statement here.
Making Spirits Bright Christmas Tag | Tim Holtz Sizzix Chapter 4

Today I'm switching gears and will be starting to share some of the Christmas makes I created for the Tim Holtz Sizzix Chapter 4 Release. This Making Spirits Bright Christmas Tag is one of my recent favorite makes with it's nod to Winnie the Pooh. I couldn't resist dressing Gertrude up with a Santa hat so that she was ready to start handing out presents to all those who are on the nice list this year!

Making Spirits Bright Christmas Tag by Juliana Michaels featuring Tim Holtz Sizzix Gertrude and Toyland Thinlits

The base of this project is a Tim Holtz Etcetera Mini Tag Thickboard. I first took a piece of Bristol Smooth Paper and trimmed it to the size of the tag. I then stamped it with the word stamp from the Stripes and Holiday Stamp Set using embossing ink and heat embossed it with white embossing powder. If you look closely you will see that I only stamped parts of the stamp toward the corners of the paper. After the embossing was completed, I ink blended over the entire piece of paper using Tumbled Glass. This piece was then adhered to the tag using Distress Collage Medium. I then inked the edges with Vintage Photo Distress Ink. To distress the edges of the tag, I applied Distress Crackle Paste with my finger. By inking the edges before applying the Crackle Paste, the color will soak through the paste and add a grungy color to the paste. While I had the Crackle Paste out, I also applied it to a couple of the Etcetera Scallop Trims. These were also inked beforehand with Vintage Photo Distress Ink.


While the Crackle Paste was crackling and well actually over several days, I took my time assembling the Gertrude and Toyland Colorize Thinlits. With each die set, I cut all of the pieces from watercolor paper and used my trick for coloring each of the pieces. After die cutting, I adhere Purple Tape (any low tack tape will work) to the back side of the paper and place the die cuts back into place. I then ink blend each piece with the desired ink colors. For a list of the Distress Ink color I used for the die cuts see below.


Gertrude: Walnut Stain, Vintage Photo, Tea Dye, Wild Honey, Rusty Hinge, Gathered Twigs, Antique Linen, Black Soot, and Worn Lipstick. Once assembled the edges were inked with Vintage Photo.
Toyland: Walnut Stain, Vintage Photo, Gathered Twigs, Black Soot, Mustard Seed, Fossilized Amber, Peeled Paint, Forest Moss, Festive Berries, Aged Mahogany, and Barn Door. Once assembled the edges were inked with Vintage Photo.
Winter Wardrobe (Santa Hat and Holly): Peeled Paint, Forest Moss, Festive Berries, Aged Mahogany, and Barn Door. Once assembled the edges were inked with Vintage Photo.
Mini Holiday Greens: Forest Moss, Peeled Paint and Barn Door.


Of course, Gertrude had to be wearing a Santa hat since she was going to be giving out presents. I used the Winter Wardrobe Thinlits which Tim so cleverly sized to fit the animal characters. I did a little bit of surgery to make the hat fit properly by trimming off a bit on the ends.


Here is why this project was one of my faves! While I was thinking about what colors to use to color each of the images I thought of my Winnie the Pooh toy from my childhood. I immediately knew I had to make the teddy bear look like Winnie the Pooh. This toy was one of my favorites as a child and I still have it, so I definitely felt like I was adding childhood Christmas memories to this project.


As I progressed with creating this tag, I felt like it needed something more to balance the design. I came up with using various die cuts from the Mini Holiday Greens Thinlits to create a cluster in the upper right hand corner. I then added an Idea-ology Christmas Token and brad.

Distress Ink Colors Mini Holiday Greens: Forest Moss, Peeled Paint and Barn Door.


To finish off the project I added a Quote Chip to the bottom trim pieces. I sanded the edges and inked it with Vintage Photo Distress Ink before I adhered it using Distress Collage Medium.


I hope you enjoyed this stroll down memory lane with me and seeing how this Making Spirits Bright Christmas Tag came to life!

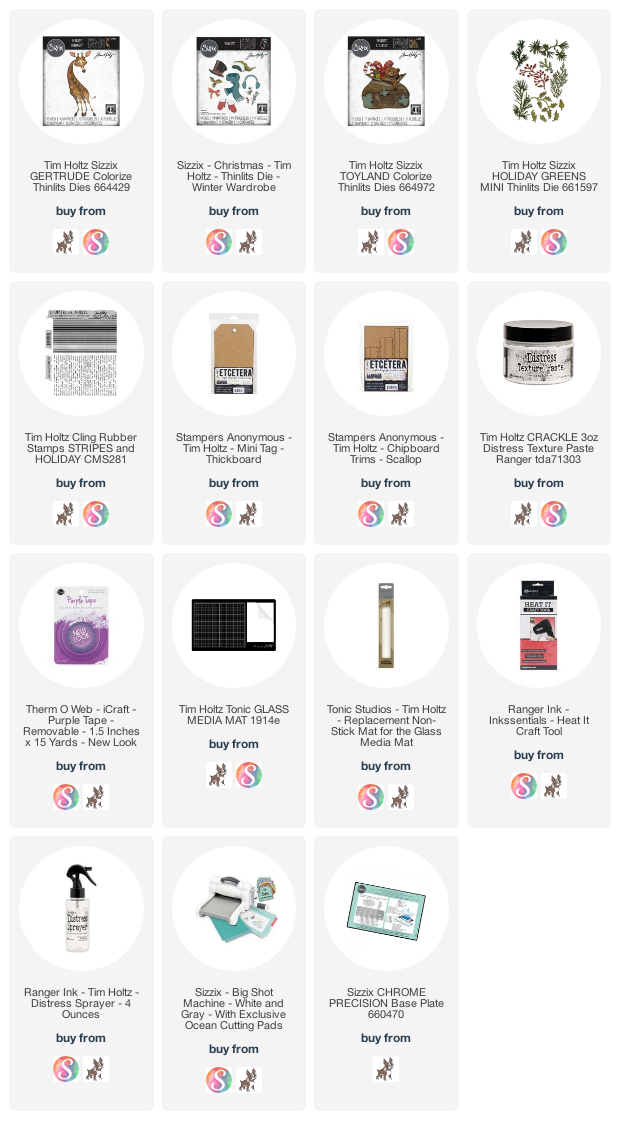
Supplies

You can find a supply list of the products I used to create this project below. This post contains compensated affiliate links to Scrapbook.com or Simon Says Stamp at no cost to you. If you want to learn more about what an affiliate link is, you can see my full affiliate and product disclosure statement here.

Day of the Dead Shrine | Tim Holtz Sizzix Chapter 4

Hello friends! This Day of the Dead Shrine was a bit of a journey from start to finish, but I knew I wanted to create something like this from the first moment I laid my eyes on the Day of the Dead Colorize.
I've always had a "thing" for this Mexican Holiday where you take time to remember and celebrate the lives of those who have passed on from this world. With this in mind I wanted to create a mini version of a Day of the Dead altar using an Idea-ology Shrine and other fun Tim Holtz products.

Day of the Dead Shrine by Juliana Michaels featuring Tim Holtz Sizzix Chapter 4 Colorize

I began by painting the Shrine with Black Soot Distress Paint both inside and outside. I also painted a small Vignette Box black and placed that on the bottom of the shrine to create the altar.


The tablecloth on the altar is a piece of Bristol Paper trimmed to size and inked with Salty Ocean Distress Ink. I then adorned it by using the Fanciful Impresslit which was cut and embossed from a piece of Bristol Paper and them very lightly inked with Salty Ocean Distress Ink.

The banner was created using the smallest square die from the Stacked Square Thinlits. I first inked small pieces of cardstock with Picked Raspberry, Salty Ocean, Mustard Seed, Mowed Lawn and Spiced Marmalade. I then die cut each several squares from each color. Next, I layered on a small skull from the Trick or Treaters Thinlits, which was lightly inked with the same color. Each banner was then adhered to a length of white craft thread to create the banner and then attached to the shrine and across the front of the altar.


The background inside the shrine is Bristol paper cut and trimmed to size. I stamped the paper with Mustard Seed Distress Oxide using the Tapestry Stamp Set. After stamping the image, I lightly wiped over it to smudge and blend the ink. I then adhered it to the back and sides of the shrine using Collage Medium. Once the inside was completed, I added the black zig zag edged Halloween Trim Tape to the edge of the shrine to the give edges a more finished look.

In the center of the back of the shrine I framed a Found Relative, trimmed to size, with an Idea-ology Deco Frame.


For the pieces on the altar, I created a mix of sugar skulls, baubles and chrysanthemums to mimic some of the items you would find on a traditional Day of the Dead altar. The baubles were colored with Alcohol Ink in Fiesta, Sailboat Blue and Citrus. The sugar skulls were created using the same technique Tami Bastiaans used in creating her Halloween Candy Shoppe. I quickly brushed the skull with Collage Medium and cover it with colored Distress Rock Candy Glitter. I used the same Alcohol Ink colors on the skulls as I did on the the baubles.


The chrysanthemums were created using a couple of flower dies from the Funky Florals 1 Thinlits. I inked Bristol paper with Spiced Marmalade and the die cut a million flowers from the paper. At least it seemed like a million! I only used the large flower shape and not the centers to create these flowers. After die cutting the flowers, I spritzed the lightly with my Distress Sprayer and the crinkled and folded them so as to bring the petals up from the center of the flower and to create a 3D flower shape. Once all of the flowers were dry, I then hot glued a flower into the center of a second flower to make it even more 3D. For this step, I choose the faster drying of a hot glue gun just to speed the process along for creating so many flowers. Once all of the flowers were completed, I also added in some flowers from the Idea-ology Bouquet to mix up the size and texture just slightly. To adhere all of the flowers, I once again used a hot glue gun due to the faster drying time.

Now to the main feature...the Day of the Dead Colorize! These two characters were so fun to put together and added the perfect touch to my Day of the Dead Shrine.


I have found that I prefer to cut all of the pieces from white Bristol Paper and then ink it the color I want it as I'm assembling the pieces. When working with really small thin pieces, I adhere a piece of Purple Tape (any low tack tape will work) to the back side of the paper that the die cut was cut from. I then put the die cut back in place and the tape keeps it secure while I ink it using a foam blending brush. For the Day of the Dead I used the following Distress Ink colors: Picked Raspberry, Candied Apple, Salty Ocean, Mustard Seed, Mowed Lawn and Spiced Marmalade. The black pieces were actually cut from black cardstock and the guitar was inked with Ground Espresso, Tea Dye and Vintage Photo.


Thanks so much for stopping by today! I hope you enjoyed learning how my Day of the Dead Shrine featuring the Tim Holtz Sizzix Day of the Dead Colorize Thinlits came together. I also hope it inspired you in some way to make your own version of a Day of the Dead Shrine.


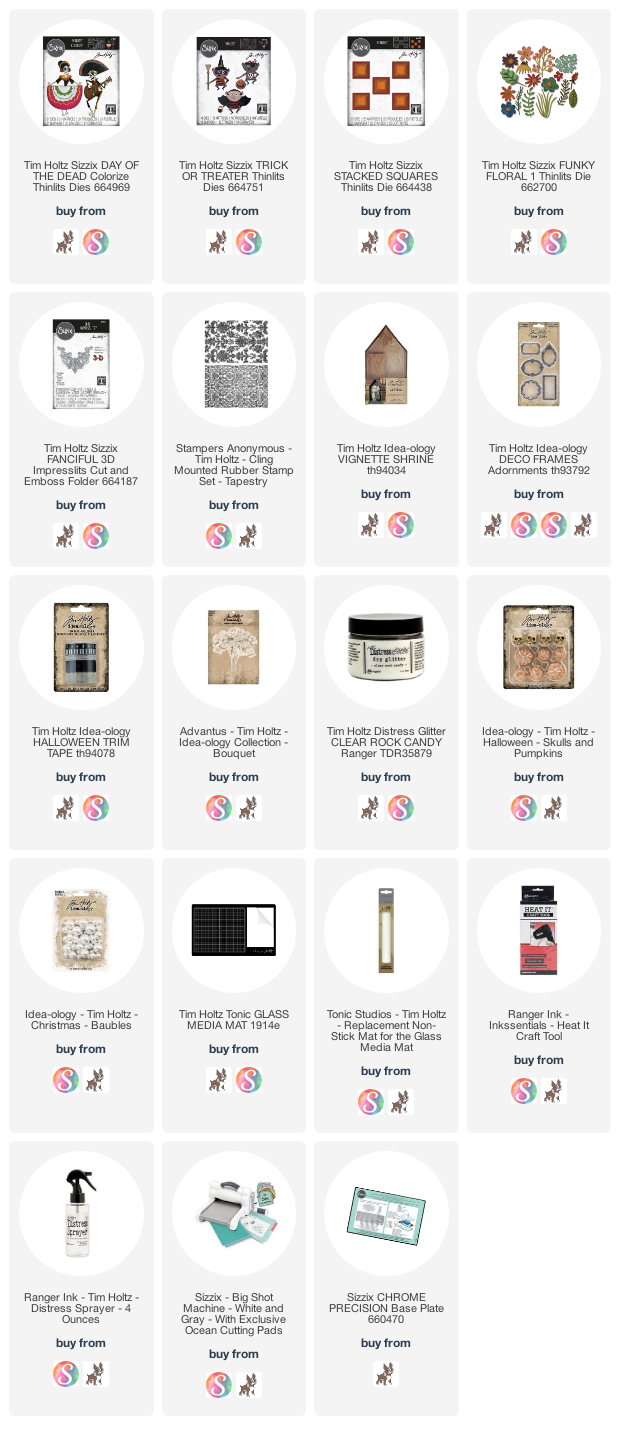
Supplies

You can find a supply list of the products I used to create this project below. This post contains compensated affiliate links to Scrapbook.com and Simon Says Stamp at no cost to you. If you want to learn more about what an affiliate link is, you can see my full affiliate and product disclosure statement here.

Christmas Greetings Card | Tim Holtz Sizzix Chapter 4

Hey friends! The holiday crafting continues as Tim Holtz just released his Sizzix Chapter 4 dies. Although this release is a bit smaller than the others, it is filled with loads of inspiration and so many great dies that are perfect for the upcoming holiday season. If you happened to miss the Facebook Live, you can always watch the replay either on Tim's Facebook page or his blog. Today, I'm sharing this Christmas Greetings Card using the gorgeous new 3D Texture Fade Engraved, which was one of the projects I created for the Facebook Live.

Christmas Greetings Card by Juliana Michaels featuring Tim Holtz Engraved 3D Texture Fade and Embossed Shimmer Technique

Embossed Shimmer Technique

I just want to share, that the photos really don't do this card justice in my opinion. There is so much shimmer, shine AND distress with this technique! When I was first working on this card, I really thought it was going to just end up in the trash. I really didn't like the way things were going. However, I was crafty chatting with a friend of mine (AKA crafting and chatting on Facetime) and I had mentioned wishing I could add some shine to the card, but I didn't want glitter. She mentioned Perfect Pearls and my brain took off. So let me walk you through what I'm calling the Embossed Shimmer Technique.


I began with a piece of watercolor paper cut to 4.5 x 6.25 inches. I embossed it with the Engraved 3D Texture Fade following the recommendations of spritzing it with a little water and then running it through my machine three times.


Once the paper was dry, I rubbed over it with an embossing ink pad. I then sprinkled it with Weathered Wood Embossing Glaze and heat embossed it. Next, I worked in small sections and rubbed Walnut Stain and Evergreen Bough Distress Crayon into all the nooks and crannies of the design and then wiped over the entire piece to remove any excess.


This is where I originally stopped and was not feeling the love. It needed something more and that is where the Perfect Pearls came into play. As you may or may not know, once you rub over the Embossing Glaze with the Distress Crayon, it leaves the surface slightly sticky. This stickiness made me wonder if the Perfect Pearls would stick to it. Well guess what? It does! I brushed Perfect Pearls Bronze all over the card. At this point, it will looks like one big bronze shimmer and you'll think you've ruined everything. I promise you that you haven't! Next, I took my Distress Sprayer and spritzed over the paper and then dabbed to dry the water droplets. This is when the embossed shimmer magic happens! When I dabbed the droplets dry, it removed some of the Perfect Pearls and revealed the grunge below. I knew I had found my happy!


Once the background was complete, I then had to figure out what to do to turn it into a card. The Engraved design looks so much like a snowflake to me, so I pulled out the Stunning Snowflake Thinlits and realized that it lined up perfectly with the design on the Engraved 3D Texture Fade. It was like it was meant to be!


I spritzed a piece of watercolor paper with Speckled Egg Distress Spray and then die cut it using the Stunning Snowflake Thinlits and then adhered it to the embossed background. I then stamped the sentiment from the Yuletide stamp set and fussy cut around it. For the final touch, I added some hardware heads distressed with Mushroom Alcohol Ink. I then layered the entire piece onto a piece of white cardstock and inked the edges with Vintage Photo Distress Ink.


Thanks for stopping by today and I hope you enjoyed learning about the Embossed Shimmer Technique and how this Christmas Greeting Card came together.

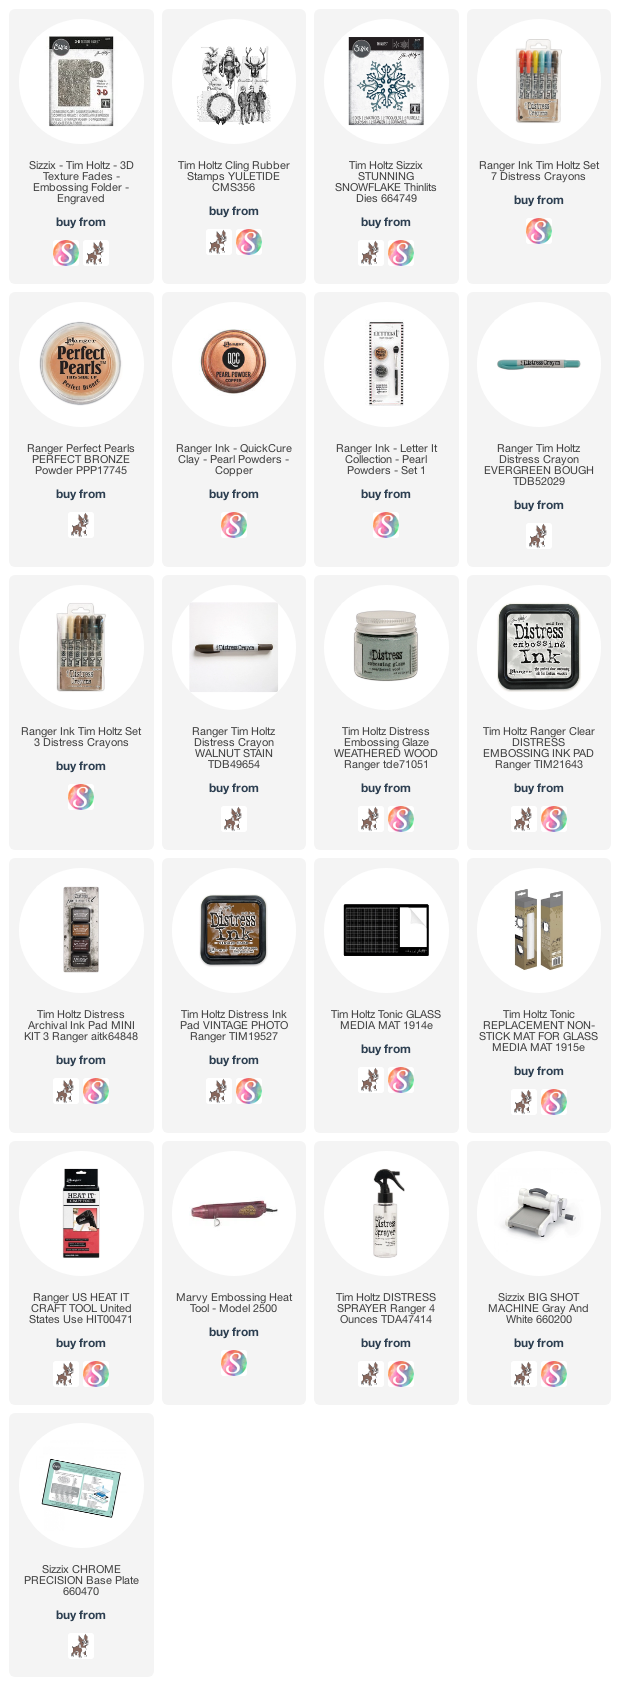
Supplies

You can find a supply list of the products I used to create this project below. This post contains compensated affiliate links to Scrapbook.com and Simon Says Stamp at no cost to you. If you want to learn more about what an affiliate link is, you can see my full affiliate and product disclosure statement here.
 

Subscribe