Showing posts with label Stampers Anonymous 2020. Show all posts

Special Delivery Christmas Card Alcohol Lift Ink Background

Alcohol ink backgrounds can be so dreamy! Don't you agree? Especially when you use Alcohol Lift Ink and stamps from Tim Holtz to add to the design. This has become a favorite holiday background for me and I've spent some time working out the details on getting a good stamped image with this technique when using more detailed stamped images. Today for my Day 10 of the 12 Days of Christmas Card Ideas I'll be sharing all about this with you.

Special Delivery Christmas Card

Around Halloween, I created a card using this Alcohol Lift Ink technique and it seemed to work so easy for me. However, when I had the idea to try it for a Christmas card I was on the struggle bus trying to get it to work and give me a similar look. Well, I think I've found the secret, or at least what works for me. I've found that if I use one, maybe two similar alcohol ink colors to create the background AND cover the paper with Alcohol Blending Solution before I add the ink I seem to get the larger more solid cells of color which allow the Alcohol Lift Ink to really show the stamped detail. Once I apply the ink, I use the Air Blower to move the ink around with long squeezes on the blower. Of course you still need to following the recommendations of dabbing the ink off with a clean paper towel to lift off the ink. So, with this technique now down to a "science" I was able to create and share today's card with you.

Special Delivery Christmas Card Alcohol Lift Ink Background by Juliana Michaels featuring Tim Holtz Forest Floor Stamp Set

For this Alcohol Lift Ink background I used Everglades and a tiny bit of Mojito Alcohol Ink. I then stamped the images using Alcohol Lift Ink with the Forest Floor Stamp Set.


After the background was completed, I followed the design of that original Halloween inspiration piece. However, since this background didn't have it's own focal point, I added some die cut greenery using the Mini Holiday Greens Thinlits and Metallic Kraftstock 2.

The sentiment along the left hand side is from the Tiny Text Christmas Stamp Set and is heat embossed with Rose Gold Embossing Powder. I added a couple of brads to each end to attach it to the card front. I then finished it off with the Special Delivery label from the Vintage Holidays Stamp Set and heat embossed it as well.


To finish off the card, I layered the entire panel onto a piece of white cardstock, inked the edges with Vintage Photo Distress Ink and adhered it to a piece of Metallic Kraftstock.


Thanks so much for your visit today on my Day 10 of the 12 Days of Christmas Card Ideas! I hope you enjoyed learning more about this Special Delivery Christmas Card and the Alcohol Lift Ink Technique.

Supplies

You can find a supply list of the products I used to create this project below. This post contains compensated affiliate links to Scrapbook.com at no cost to you. If you want to learn more about what an affiliate link is, you can see my full affiliate and product disclosure statement here.

Peace On Earth Christmas Card

Hello friends! I'm back to share more Christmas card inspiration with you today on this Day 9 of my 12 Days of Christmas Card Ideas. This Peace on Earth card displays an elegant color palette of white and gold and features the Tim Holtz Bold Tiding Number Three as the focal point.

Peace on Earth Christmas Card


Peace On Earth Christmas Card by Juliana Michaels featuring Tim Holtz Bold Tidings Stamp Set

To create the background for this card I began with a piece of Bristol Smooth Paper cut to 4 x 5.25 inches. I applied Distress Texture Paste over the Flurries Layering Stencil. Once the paste was dry, I splattered the paper with Scrapbook.com Metallic Gold Reinker. I squeezed out a bit of the ink onto my craft mat, added a bit of water and used a paint brush to splatter it onto the paper.


While the ink was drying, I die cut some gold Metallic Kraftstock using the Stunning Snowflake Thinlits Die. I adhered one to each corner using Distress Collage Medium and trimmed off any that was overhanging the edge.


For the sentiment, I die cut a piece of vellum using the Stacked Labels Thinlits (retired). I then stamped it with embossing ink and heat embossed it with gold embossing ink. I definitely recommend rubbing over the vellum with an anti-static pouch before you stamp and emboss.


I finished off the background with some machine stitching using a gold thread and layered this onto a piece of gold Metallic Kraftstock.


Thanks so much for your visit today. You can find more of my 12 Days of Christmas Card Days visiting the previous post if you missed.

Supplies

As always you can find a complete supply list below. This post contains compensated affiliate links to Scrapbook.com at no cost to you. If you want to learn more about what an affiliate link is, you can see my full affiliate and product disclosure statement here.

A Merry Christmas Vintage Holidays Card

Hello friends and welcome to Day 7 of the 12 Days of Christmas Card Ideas! Do you have a go-to favorite technique for card making? I do! When it comes to creating card backgrounds one of my favorites is the Stamp and Smear Distress Oxide Technique. Using a tried and true technique is always a great idea when you want to mass produce the same design such as when you're making Christmas cards. 

So what is this Stamp and Smear Distress Oxide Technique you ask? Well, you simply stamp the image with Distress Oxide Ink onto your paper, wait a bit to let it slightly dry and then smear the ink with an ink blending tool or paper towel. If waiting isn't your thing, which it usually isn't for me, you can dab the wet ink with a paper towel to speed up the drying part and then smear the ink.

A Merry Christmas Vintage Holidays Card

A Merry Christmas Vintage Holiday Card by Juliana Michaels featuring Tim Holtz Vintage Holiday and The Poinsettia Stamp Set

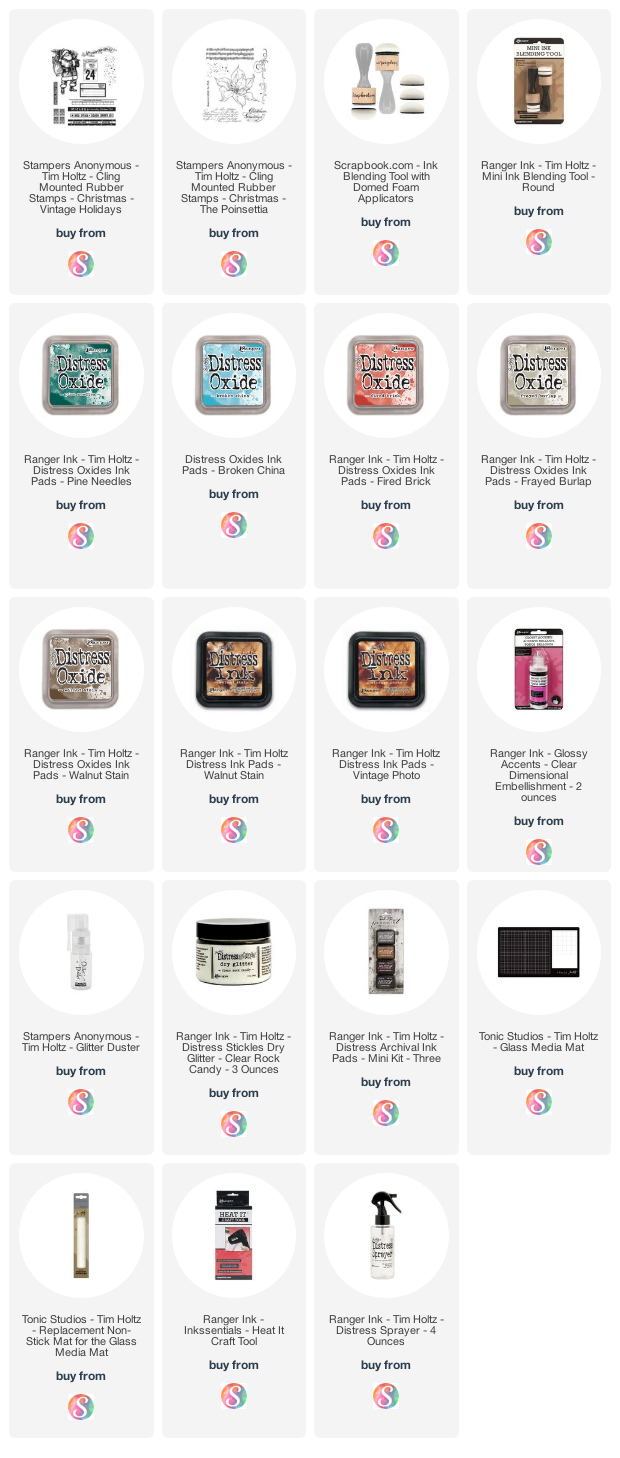
To create the background for this card, I used the Stamp and Smear Distress Oxide Technique. I stamped various images from the Tim Holtz Vintage Holidays and The Poinsettia Stamp Sets onto Bristol Smooth Paper cut to 4 x 5.25 inches. The Distress Oxide Inks I used for stamping were: Broken China, Fired Brick, Pine Needles and Frayed Burlap. Once the background stamping was completed, I inked the edges with some Walnut Stain Distress Oxide and then spritzed the surface with my Distress Sprayer. I then dried it with my heat tool and inked the edges with some Vintage Photo and Walnut Stain Distress Ink. I then spritzed again and dabbed the water droplets dry with a paper towel.


For the focal point, I used the awesome Santa from the Vintage Holidays Stamp Set. (Yes, you have seen him three times already, but when you love a stamp this much, it deserves the love!) This was stamped onto Neenah Classic Crest 110lb. with Memento Ink in Tuxedo Black and then colored with Copic Markers. The shading that is already present from the stamped image actually makes the coloring super easy. I then fussy cut the image and inked the edges with a black marker so the white edges wouldn't show. For a bit of bling, I added Glossy Accents to the trim on Santa's hat, coat and pants and then sprayed it with Rock Candy Glitter Dust using the Glitter Duster and let it dry. Once dry, I inked the edges with a bit of Vintage Photo Distress Ink.


After adhering the Santa to the card front, I stamped the sentiment using Black Soot Archival Ink. I love how the sentiment fits inside Santa's boots!


To finish off the card, I added some machine stitching and layered the card panel onto a piece of coordinating cardstock.


Thanks again so much for stopping by today! I hope you enjoyed learning about my go-to Stamp and Smear Distress Oxide Technique and how I used it to create this A Merry Christmas Vintage Holidays Card. In case you missed it, I've been sharing a new card idea for the 12 Days of Christmas Card Ideas here on my blog. The first one I shared was 12 Days of Christmas Card Ideas | Vintage Santa Card. I invite you to check out each day after that for more ideas and inspiration.

If you are planning to do any card making supply shopping, I wanted to let you know that the Holiday Festival is happening now at Scrapbook.com! Shop and SAVE on Holiday, Winter, December Days, Christmas, and Seasonal Themes! Shop and SAVE on Giftmaking, DIY, Albums, and Papercrafting Kits. This sale only lasts through Monday, November 16th at midnight MST, so stock up today!
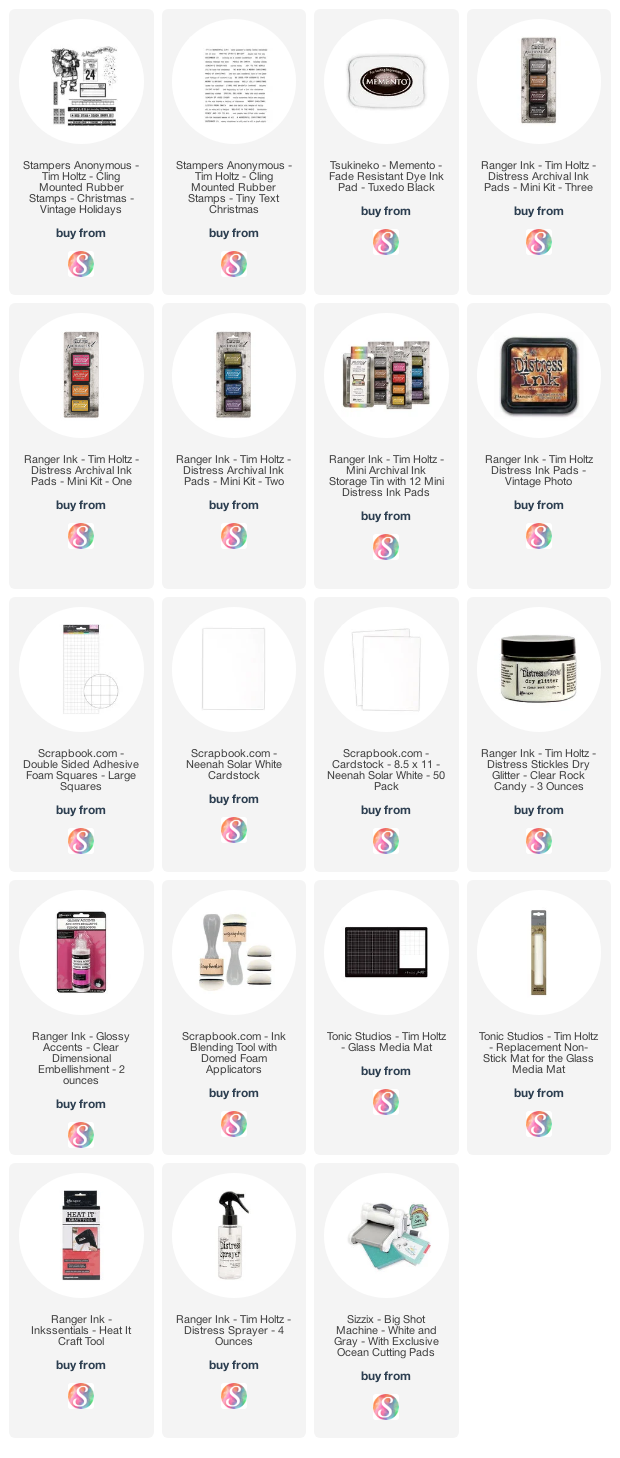
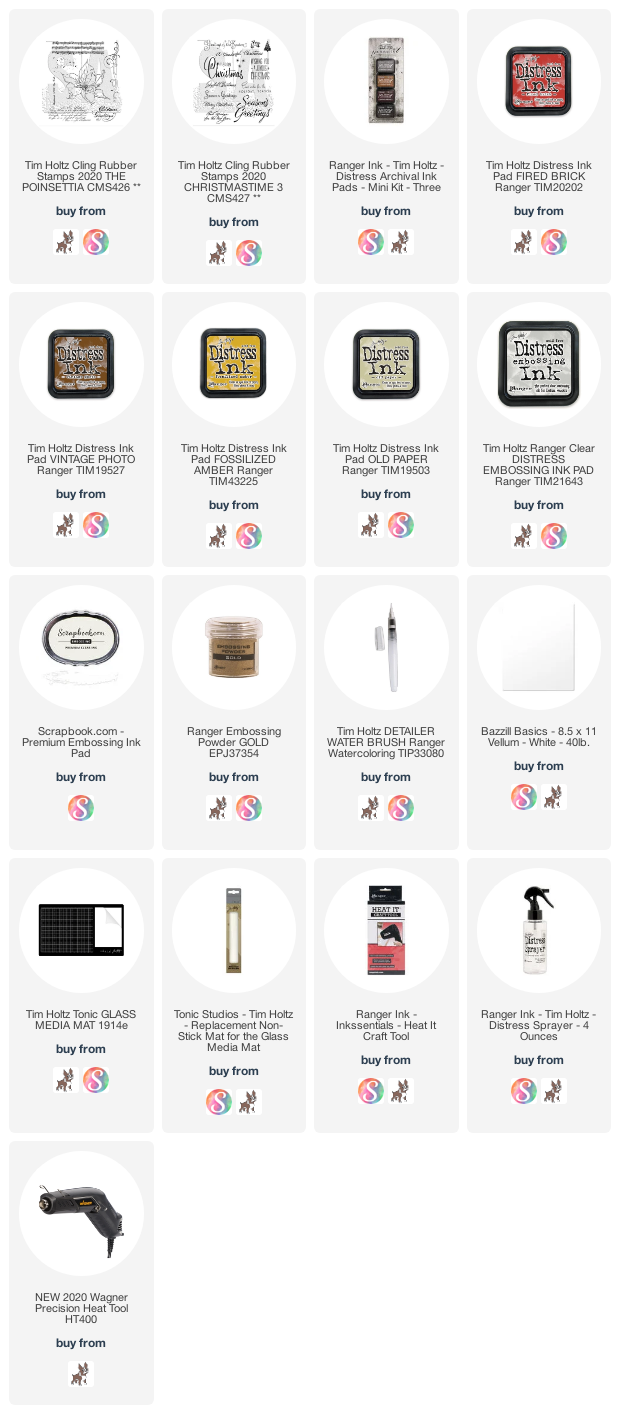
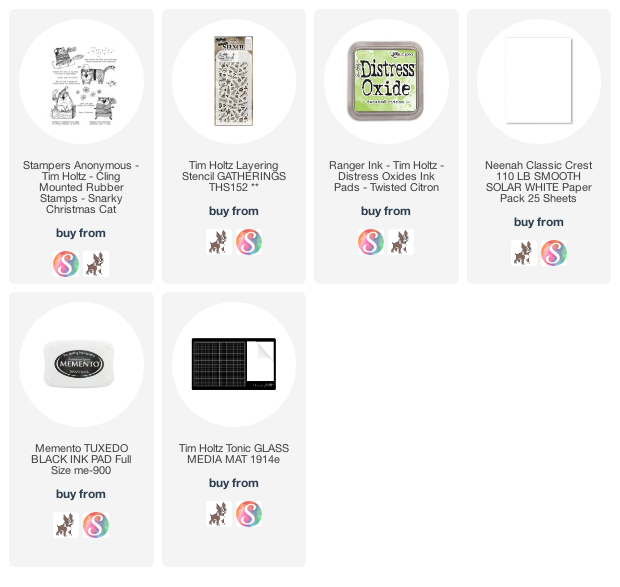
Supplies

As always you can find a complete supply list below. This post contains compensated affiliate links to Scrapbook.com at no cost to you. If you want to learn more about what an affiliate link is, you can see my full affiliate and product disclosure statement here.


Poinsettia Christmas Tags | Tim Holtz Poinsettia Duo Layering Stencils

 Raise your hands if you love tags! Christmas is the perfect time to get your tag making on! They are perfect for gifts of course, but you can also use them instead of cards! I'm sharing this set of tags today for Day 5 of my 12 Days of Christmas Card Ideas. These Poinsettia Christmas Tags feature the new Poinsettia Duo layering stencil and Christmas Time Number Three Stamp Set from Tim Holtz.

Poinsettia Christmas Tags

Poinsettia Christmas Gift Tags by Juliana Michaels featuring the Tim Holtz Poinsettia Duo Layering Stencil, The Poinsettia Stamp Set and Christmas Time Number Three

I began by die cutting the tags from Bristol Smooth Paper using the Stacked Tags Thinlits. I then laid the stencil on top and used Scrapbook.com Mint Tape to hold it in place. I then ink blended the design using sponge finger daubers. I love working with sponge daubers when ink blending smaller areas such as the centers of the flowers. To give color to the stenciled design I used Distress Ink in Fired Brick for the petals, Fossilized Amber for the center and then added some Peeled Paint toward the edges to give the look of leaves. The mix of the red and green tend more toward brown, but since I was going for a vintage look, brown was OK with me! 

Once the stencil work was completed, I added some stamping to fill out the design using the splatter and music notes from the Poinsettia Stamp Set. The splatters were stamped with Peeled Paint Distress Ink and the music notes with Vintage Photo Distress Ink. I then stamped a different sentiment onto each tag from the Christmas Time Number Three Stamp Set using Black Soot Archival Ink.  I then inked the edges with Vintage Photo Distress Ink.

Tags of course need bows, so I created some custom colored crinkle ribbon with Distress Spray in Peeled Paint and Old Paper using Hug Snug Seam Binding purchased from Zipperstop. To color the ribbon, I cut it to length and then placed the ribbon inside a plastic bag and added the spray colors. I worked the color into the ribbon by crinkling and wadding the ribbon up into a ball. Once the ribbon was completely colored, I removed it from the bag and wadded it up into a ball. I then used my heat tool to dry it. To get it nice and crinkled, try to keep it wadded up as you are drying it. Don't say I didn't warn you, but if you're not into messy hands, you might want to wear gloves during this process. I didn't of course, and ended up with very inky green hands!


Along with the bows, I added some older Idea-ology Christmas Tokens distressed with Mushroom Alcohol Ink and some Tiny Bells. I attached them with sewing thread, but if I had to do it over again, I would probably use jewelry jump rings. I didn't have any at the time I was making these tags, so I made do with what I had.


Thanks so much for stopping by today to check out Day 5 of my 12 Days of Christmas Card Ideas. I hope you enjoyed learning how these Poinsettia Christmas Tags came together.

Supplies

You can find a supply list of the products I used to create this project below. This post contains compensated affiliate links to Scrapbook.com at no cost to you. If you want to learn more about what an affiliate link is, you can see my full affiliate and product disclosure statement here.


Joy To The World Christmas Card | Tim Holtz Bold Tidings

Hello friends! Welcome to Day 2 of the 12 Days of Christmas Card Ideas here at 17turtles! Today I'm sharing a bit of Joy to the World with a card featuring the Tim Holtz Bold Tidings Number 2. This stamp set is part of a series of 4 stamp sets that contain a combination of holiday sentiments in a large bold font that are perfect for creating the focal point of your card.

Joy to the World Christmas Card

Joy to the World Christmas Card by Juliana Michaels featuring Tim Holtz Bold Tidings Stamp Set

For this card, I began by stamping the background with the music note image from The Poinsettia stamp Set using Vintage Photo Archival Ink.


Next, I used a stamp positioning tool to stamp the Bold Tidings sentiment with Peeled Paint Archival Ink. 


After stamping the sentiment, I decided I wanted to help it stand out a bit more by adding some heat embossing. I rubbed over the paper with an anti-static pouch and then stamped the sentiment with embossing ink and heat embossed it with Peeled Paint Embossing Glaze.


To continue with the background, I used the dab and dry ink layering technique to distress the paper. With this technique, you smoosh your ink pad onto your silicone craft mat, spritz the mat with water, dab your paper into it, dry it and then repeat until you are pleased with the look. Tim Holtz recently shared this technique during his Fall Vibes Facebook Live.


I used a combination of Old Paper and Vintage Photo. You might wonder why I didn't do the background first. Well, to be honest, I wasn't sure what I wanted to do, so you could certainly do this background technique first and then do the stamping and heat embossing later.


Once the background was completed, I inked the edges with Vintage Photo and Gathered Twigs Distress Ink and then added some machine stitching to the outside edge.


For a bit of texture and interest, I added a cluster of die cuts using the Holiday Greens Mini Thinlits cut from various colors of Classic Kraft Stock.

To the center of this I added a Christmas token distressed with Mushroom Alcohol Ink.


I then finished off the card with a red twine bow.


Thanks so much for stopping by for Day 2 of my 12 Days of Christmas Card Ideas. If you happened to miss it, I invite you to visit Day 1 and check out the Merry Christmas Santa Card I shared.

If you are planning to do any card making supply shopping, I wanted to let you know that the Holiday Festival is happening now at Scrapbook.com! Shop and SAVE on Holiday, Winter, December Days, Christmas, and Seasonal Themes! This sale only lasts through Monday, November 9th at midnight MST, so stock up today! They also have an amazing FREEBIE available today. So make sure you stop by and check it out!

Supplies

You can find a supply list of the products I used to create this project below. This post contains compensated affiliate links to Scrapbook.com at no cost to you. If you want to learn more about what an affiliate link is, you can see my full affiliate and product disclosure statement here.

12 Days of Christmas Card Ideas | Vintage Santa Christmas Card

Hello friends and welcome to Day 1 of my 12 Days of Christmas Card Ideas! I'm excited to share a variety of tips, tricks and techniques with you over the next 12 days to help inspire your Christmas card and tag crafting. 

Vintage Santa Christmas Card

Today I'm starting off with this Vintage Santa Christmas card featuring one of my favorite stamp sets from this year...Vintage Holidays by Tim Holtz. I'm always a sucker for anything with a Santa and then when you combine that with a mix of other vintage images I'm sold! 

For this card, I stamped the Santa image with Memento Ink in Tuxedo Black onto Neenah Classic Crest Cover Solar White 110lb paper. I then colored the image using Copic Markers. Once the coloring was completed, I fussy cut the image. Anytime I fussy cut a stamped image, I alway color the edges of the paper using a black marker. You can use a black Copic Marker or even a Tombow marker as they both have tips that allow you to get into small spaces. I recommend holding the fussy cut image and coloring with the backside facing you. This way you are much less likely to accidentally mark up your colored image. To give the image a more vintage feel, I added Glossy Accents to the trim on Santa's hat and suit and then sprinkled it with Distress Stickles Clear Rock Candy Dry Glitter. Once this was dry, I inked the edges with Vintage Photo Distress Ink for an even more aged look.

Vintage Santa Christmas Card by Juliana Michaels featuring Tim Holtz Vintage Christmas Stamp Set

For the background, I repeat stamped each of the fun label strips from the Vintage Holidays Stamp Set onto white cardstock using Archival Ink in Peeled Paint, Faded Jeans, Vintage Photo and Barn Door. I then cut each strip, distressed the edges using the back side of my craft knife and then inked them with Vintage Photo Distress Ink. 


The finished size of this card is 3.5 x 6 inches. This size, in the card making world, is being referred to as a mini slim line card. It's a new to me size, and a lot less intimidating than a full slimline card which measures 3.5 x 8.5 inches. To create the card front, I cut a piece of red cardstock to 3.5 x 6 inches. I then trimmed a piece of computer paper to 3.25 x 5.75 inches and adhered the label strips in a diagonal along this piece of paper until the entire piece was filled. By using computer paper, I cut down on the thickness of the card which is helpful if you plan to mail your cards.


To finish off the card, I added a sentiment from the Tiny Text Christmas Stamp Set. I stamped this with embossing ink onto black cardstock and then heat embossed it with white embossing powder.


I hope you enjoyed learning how this Merry Christmas Santa card came together. Make sure to stop back by tomorrow for more inspiration on Day 2 of my 12 Days of Christmas Card Ideas.


If you are planning to do any card making supply shopping, I wanted to let you know that the Holiday Festival is happening now at Scrapbook.com! Shop and SAVE on Holiday, Winter, December Days, Christmas, and Seasonal Themes! This sale only lasts through Monday, November 9th at midnight MST, so stock up today!

Supplies

You can find a supply list of the products I used to create this project below. This post contains compensated affiliate links to Scrapbook.com at no cost to you. If you want to learn more about what an affiliate link is, you can see my full affiliate and product disclosure statement here.

Season's Greetings Christmas Card | Tim Holtz Stampers Anonymous Christmas

Season's Greetings friends! With Halloween behind us, I'm now in full on Christmas crafting and sharing mode. I'm starting off today by sharing this Season's Greetings Christmas Card I made for the Tim Holtz Stampers Anonymous 2020 Christmas Release.

Season's Greetings Christmas Card by Juliana Michaels featuring Tim Holtz Poinsettia

The card features the beautiful The Poinsettia Stamp Set. I started with a piece of Bristol Smooth paper. I smoosh and dip technique by smooshing Vintage Photo and Old Paper onto my craft mat. I spritzed the ink with water and then dipped my paper into the ink. Flipped it over and dried it with my heat tool. I repeated this until I was pleased with the look. Then I spritzed on some more water and did a mix of drying with my heat tool and dabbing the water droplets with a paper towel. I then stamped some of the images from The Poinsettia Stamp Set using Vintage Photo Distress Ink. 

Next, I stamped the poinsettia using Black Soot Archival Ink. I used this ink because I knew I was going to watercolor the image and I wanted to make sure the ink wouldn't bleed from the water. I then water colored the image using a waterbrush and Distress Ink in Fired Brick and tiny bit of Fossilized Amber for the center.

With the background completed, I started on the sentiment. Here I stamped the sentiment from the Christmastime 3 Stamp Set onto vellum using embossing ink. I then heat embossed it with gold embossing powder. Because adhesive tends to show through vellum I used my sewing machine to add a border around the card panel while also using it to hold the sentiment piece in place. 

Supplies

You can find a supply list of the products I used to create this project below. This post contains compensated affiliate links to Scrapbook.com or Simon Says Stamp at no cost to you. If you want to learn more about what an affiliate link is, you can see my full affiliate and product disclosure statement here.

Snarky Cats Christmas Tree Card | Tim Holtz Stampers Anonymous Christmas

The Snarky Cats are in the house and they are ALL on the naughty list! So, this Snarky Cats Christmas Tree Card was one of my favorite cards to create for the recent Tim Holtz Stampers Anonymous Christmas Release. I was greatly inspired by a card that Nina-Marie Trapani created for Tim's Simon Says Stamptember Release. She had stacked all the cats up to make a super cute slimline card and I just loved the idea of this. After coloring all of the kitty's and fussy cutting them, I tried stacking them up and saw that they kind of made the shape of a Christmas Tree! So from there, I went to work to create my Snarky Cats Christmas Tree Card.

Snarky Cats Christmas Tree Card by Juliana Michaels featuring Tim Holtz Stampers Anonymous Snarky Cats Christmas

Before we get started, I wanted to share that the finished size of this card is an A6, which measures 4.5 x 6.25 inches. 

Now, let me walk you through how this card came together. I began by stamping each of the images using Memento Tuxedo Black Ink onto Neenah Classic Crest Cover Solar White 110lb paper. I then colored the images using Copic Markers. Once the coloring was completed, I fussy cut each image and then played around with stacking them to create the tree. I then used a low tack tape to hold them together and placed them on the card front to determine where to create the tree behind them. The finished size of this card is an A6 which measures 4.5 x 6.25 inches. 


To create the tree behind the cats, I used the Christmas Gatherings Layering Stencil. Once I knew how I was going to position the cats, I used a low tack tape to hold them together and placed them on the card front to determine where to create the tree behind them. I used a pencil to make a couple of small marks so I would know where to create the tree.


I inked over the stencil onto Bristol Smooth Paper using Distress Oxide in Twisted Citron. I moved the stencil around to get a triangle so that would look like a tree shape.


I then ink blended the center of the stenciled area so that the stamped images would stand out a bit more from the background.


With the background completed I then adhered the Snarky Cats to the card front. I also added in the cute little bird. He seems to be looking at them like he's not quite sure what to think of them!


I also added one of the sentiments from this set. I stamped it onto black cardstock using embossing ink and then heat embossed it with white embossing powder.


And last, but not least...the star! It looks like a stamp doesn't it?! It's actually the largest star die from the Swirling Stars Thinlits. I die cut it from the same paper that I used for the stamping and colored it with Copic Markers. To make it match the stamp set, I used an alcohol based marker to add the outline and little details to match the style of the stamp art.


And there you have it...A Snarky Cats Christmas Tree! I hope you enjoyed learning how this card came together and I thank you as always for stopping by!

Supplies

You can find a supply list of the products I used to create this project below. This post contains compensated affiliate links to Scrapbook.com or Simon Says Stamp at no cost to you. If you want to learn more about what an affiliate link is, you can see my full affiliate and product disclosure statement here.

Subscribe