SBC Fest is for everyone—card makers, scrapbookers, and paper crafters of all kinds. Whether you’re into clean and simple designs or love getting messy with mixed media, there’s something for you. Plus, you can join the event LIVE to chat with instructors and enter giveaways throughout the day. It’s such a fun way to connect with fellow crafters and soak up new techniques and ideas.
LEARN MORE HERE
Watch the Prep & Supply List Video
To help you get the most out of my class, I’ve created a special video where I walk you through the full supply list, share some homework and prep tips, and show you how to get ready to craft along with me.Grab My Exclusive SBC Fest Class Bundle
Want to craft along with me using the exact same supplies I’ll be using in class? Check out my exclusive SBC Fest Bundle, created just for this event! It includes all the core supplies you’ll need, packaged up with a large zipper storage pouch to keep everything organized.
What’s Inside:
What’s Inside:
- Nested Stitched Decorative Label Die Set (4 sizes)
- Delicate Leaves Die Set (7 pieces)
- Butterflies 2 Die Set (6 mini butterflies)
- Vintage A2 Paper Pad (40 sheets, 16 patterns)
- Spanish Mosaic Tile 6x8 Stencil
- Wordfetti Sunny Days Photopolymer Stamp Set (4" x 6")
- Large Zipper Storage Pouch
From vintage-inspired papers to charming die cuts and stamps, this bundle has everything you need to follow along with my project and get the most out of your SBC Fest experience! But if you prefer, feel free to shop your stash for similar items!
GRAB MY CLASS KIT HERE
SBC Fest happens September 12, 2025 – don’t miss the fun, giveaways, and creative inspiration!
LEARN MORE HERE

Let me know in the comments if you’re planning to attend and if you’ve started your homework yet. I’d love to hear from you!
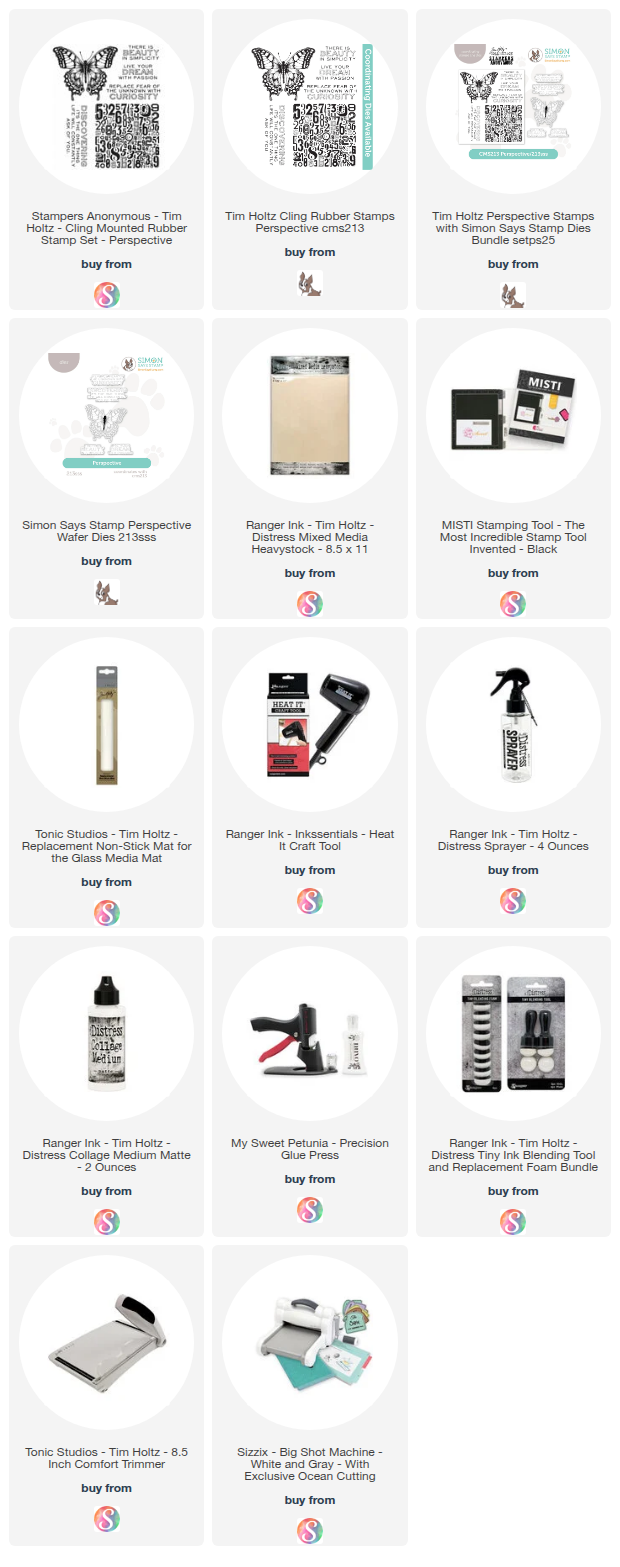
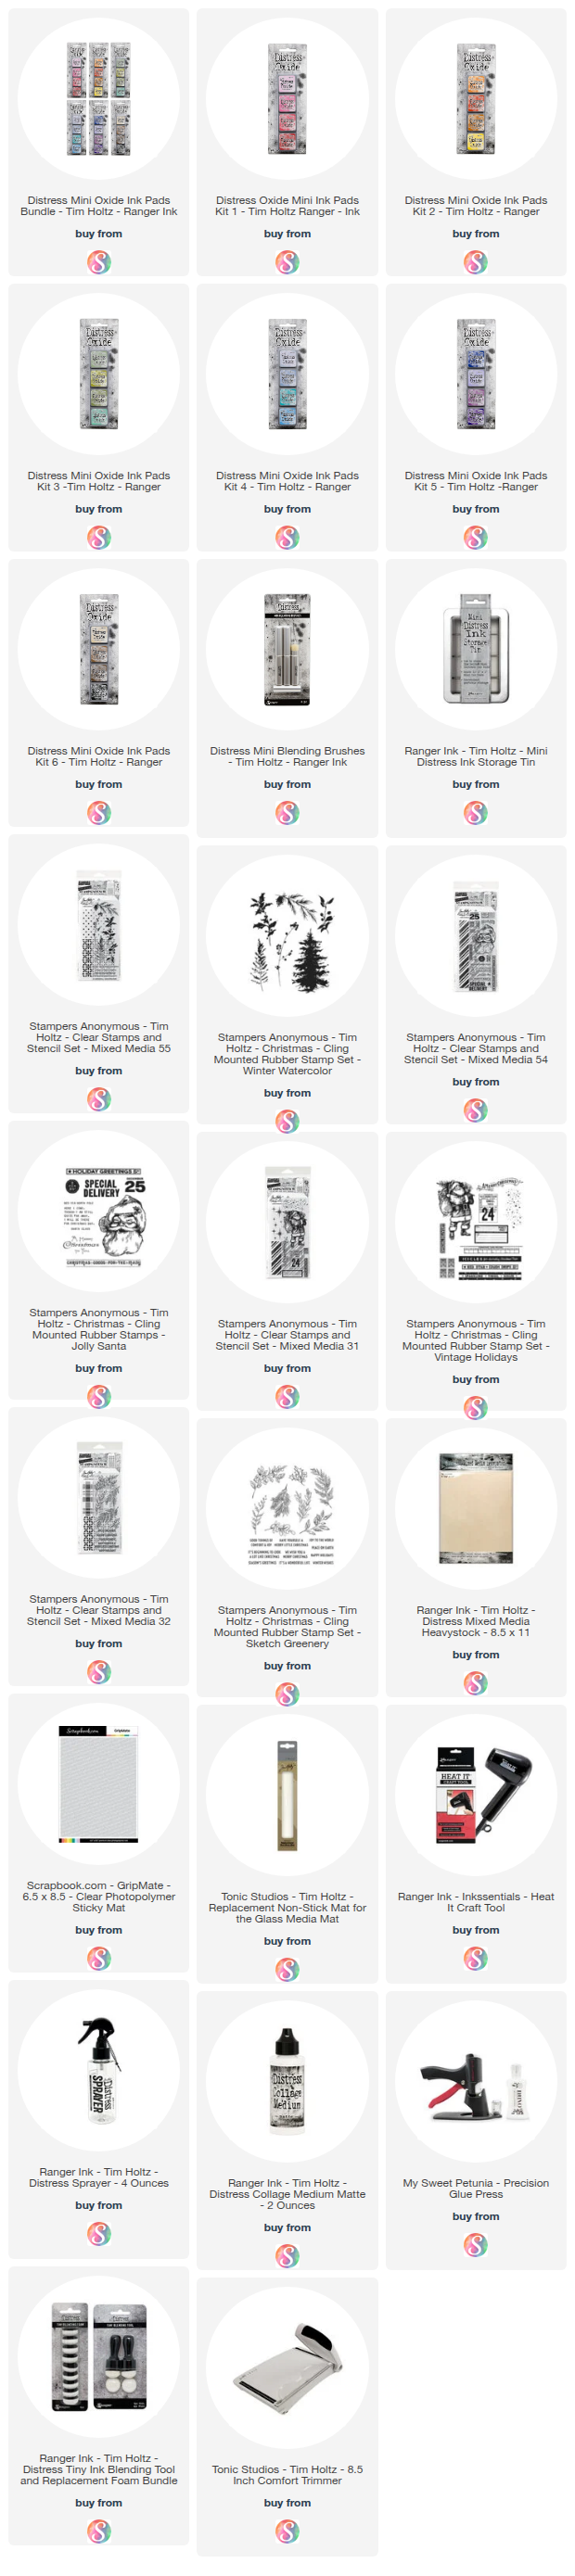
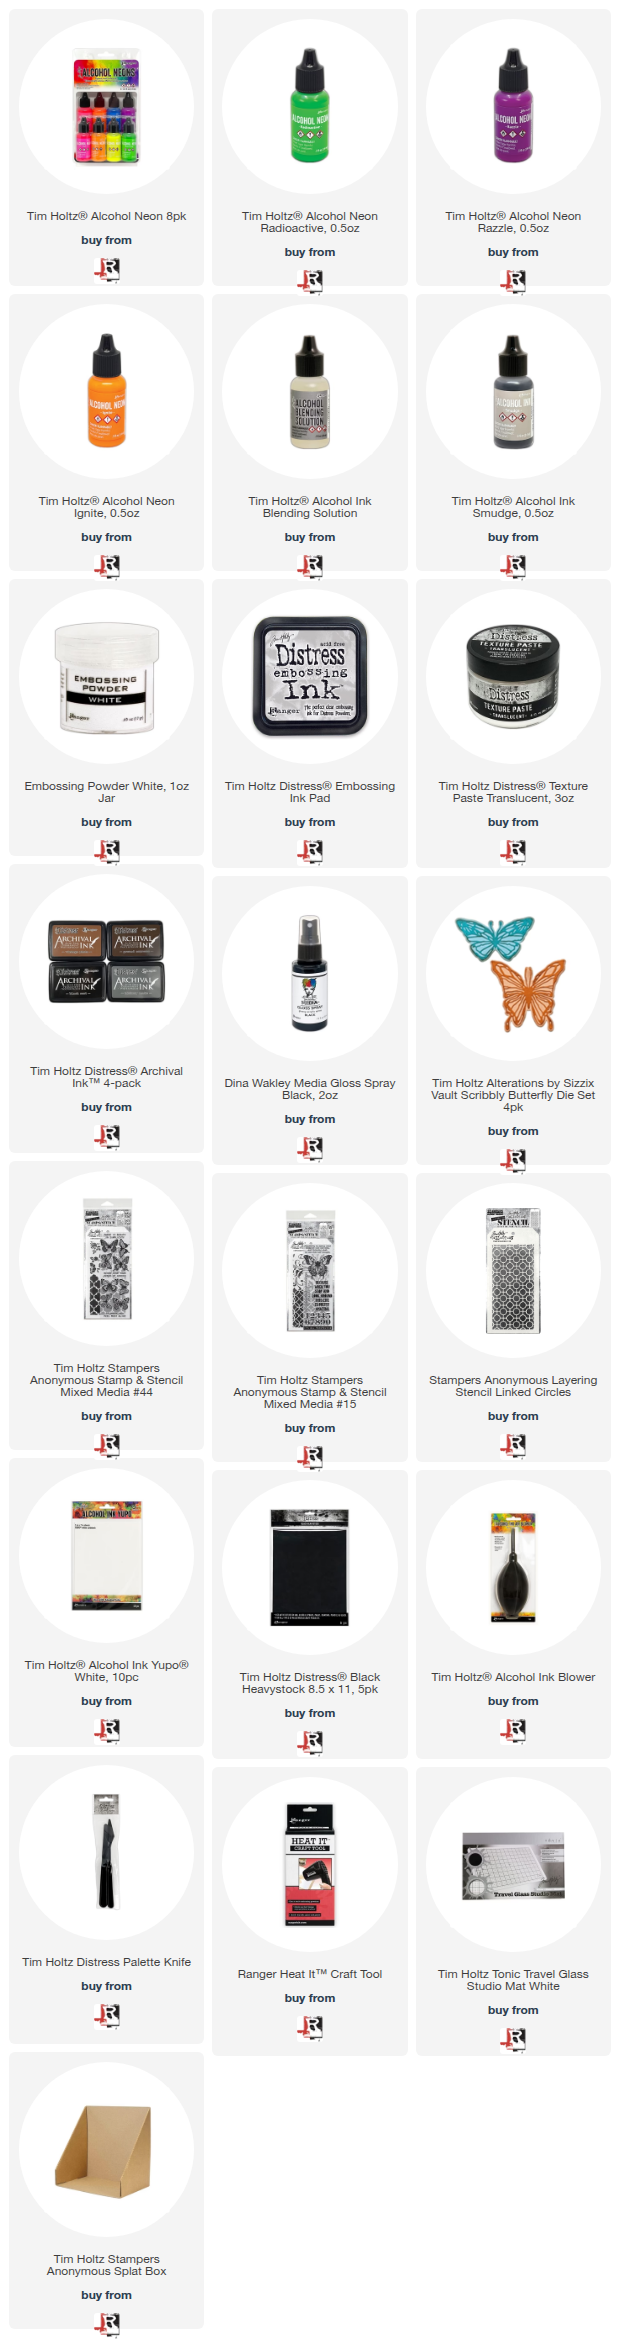
Supplies
Below you can find the supplies I used to create this card. When you shop through those links and whether you purchase that exact item or something else entirely, you’re supporting me at no extra cost to you. The commission I receive helps me cover the costs of my blog and other expenses, and allows me to continue to provide you with FREE inspiration and tutorials. If you want to learn more about what an affiliate link is, you can see my full affiliate and product disclosure statement here. Thank you so much for your love and support!