Showing posts with label Stampers Anonymous 2022. Show all posts

Tim Holtz Floral Elements & Distress Ink Watercoloring

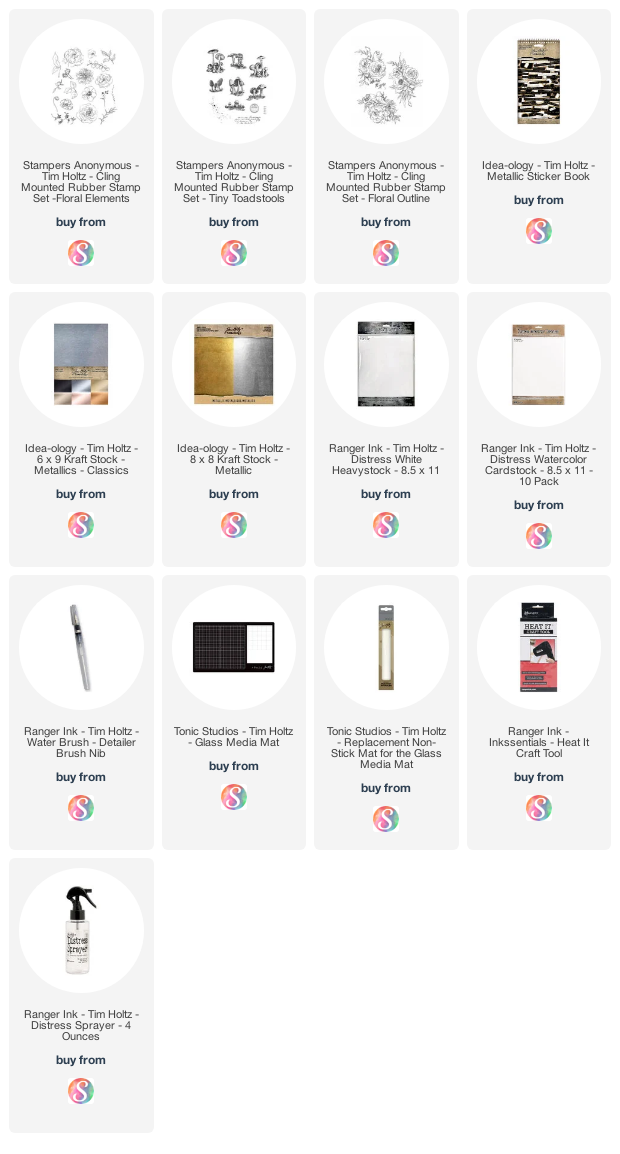
Another day another beautiful stamp set to share with you! Today I have a card I created for the Tim Holtz Stampers Anonymous YouTube Live to share with you featuring the new Floral Elements Stamp Set! This set features a variety of floral elements (hence the name) that allow you to create your own floral bouquets, backgrounds and more. This set is similar to the Floral Outlines stamp set, but with the ability to do even more with it!

Always & Forever Card by Juliana Michaels featuring Tim Holtz Floral Elements Stamp Set and Distress Ink Watercoloring

ALWAYS & FOREVER CARD | TIM HOLTZ FLORAL ELEMENTS


For me, I loved the idea of using the Floral Elements stamp set to create my own bouquet. I began with a piece of Distress Watercolor paper cut to 4.25 x 5.5 inches and then started stamping a mix of the images. I knew I would end up trimming the panel down to 4 x 5.25 inches so this gave me ability to trim off whichever side I needed to if I didn't get the bouquet centered. To stamp the images, I used Old Paper Distress Ink.

Once I had my bouquet arranged, I began watercoloring the various flowers and leaves/foliage using Distress Ink and a water brush. I used Bundled Sage, Peeled Paint for the leaves/foliage. For the flowers I used Mustard Seed, Tattered Rose and Milled Lavender.
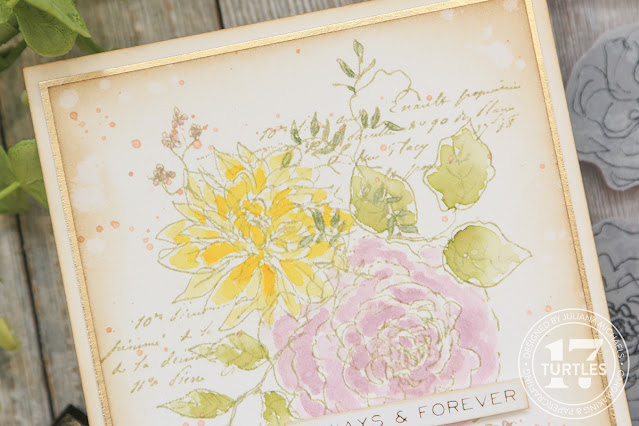

After the watercoloring was completed, I added some more stamping using the script stamp from Tiny Toadstools with Old Paper Distress Ink. If you do this before the watercoloring, some of the ink may bleed because it Distress Ink is water reactive. So just keep that in mind. Next, I added some ink splatters of Tattered Rose Distress Ink. I finished off the background by applying Frayed Burlap Distress Ink to  the edges with a blending tool and then adding a few spritzes of water with my Distress Sprayer that I dabbed dry with a paper towel.
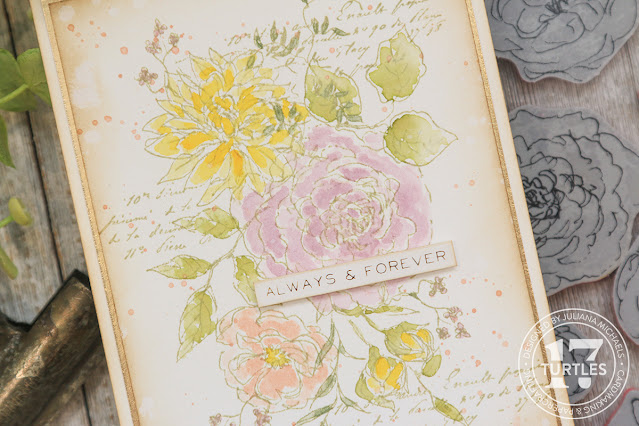

The sentiment is from the Idea-ology Metallic Sticker Book. I mounted the background onto a piece of gold metallic Kraftstock and then onto a piece of Distress Heavystock to complete the card.


Thanks SO much for stopping by today and checking out the card I created using the Tim Holtz Floral Elements Stamp Set. For even more inspiration make sure to visit Tim's Blog and see what the other Makers created.

SUPPLIES

Below you can find the products I used to create this project along with compensated affiliate links to Scrapbook.com. These links are at absolutely no cost to you. When you shop through the links below, I receive a small commission from Scrapbook.com. These links are at absolutely no cost to you and the commission I receive helps me cover the costs of my blog and other expenses, which allows me to continue to provide you with FREE inspiration and tutorials. If you want to learn more about what an affiliate link is, you can see my full affiliate and product disclosure statement here. Thank you so much for your love and support!
Tim Holtz Botanic Collage & Oxidized Stamping Technique

Hello friends! Today I'm so excited to share my first make from the Tim Holtz Stampers Anonymous YouTube Live Release. On this card I'm using Botanic Collage stamp set (which may or may not be my new favorite stamp set!) and the Mini Linked Circles stencil from the Mini Stencil Set #52. I'm also going to share an accidental technique I discovered when I was playing around with the new stamps. I'm calling it Oxidized Stamping. Now let's get on to the making!

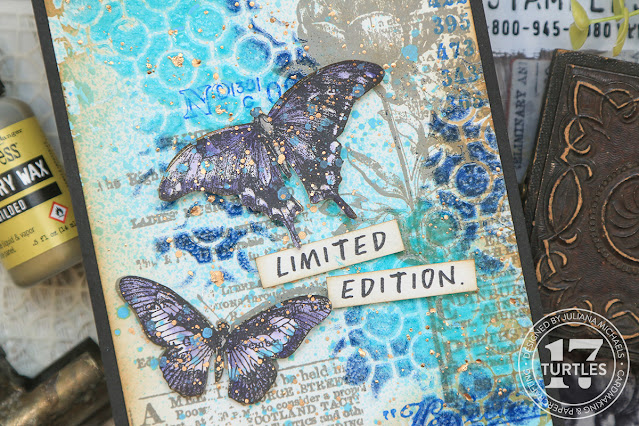
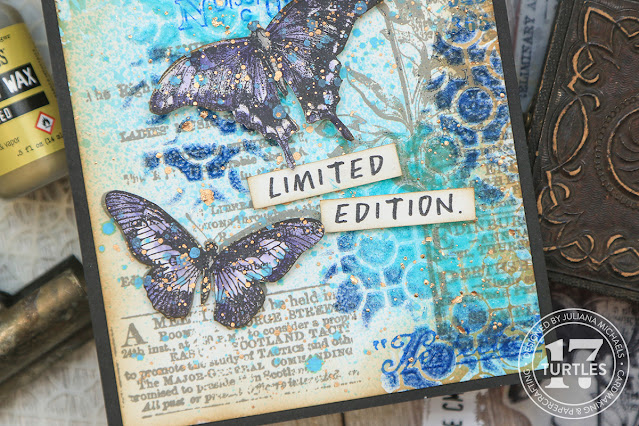
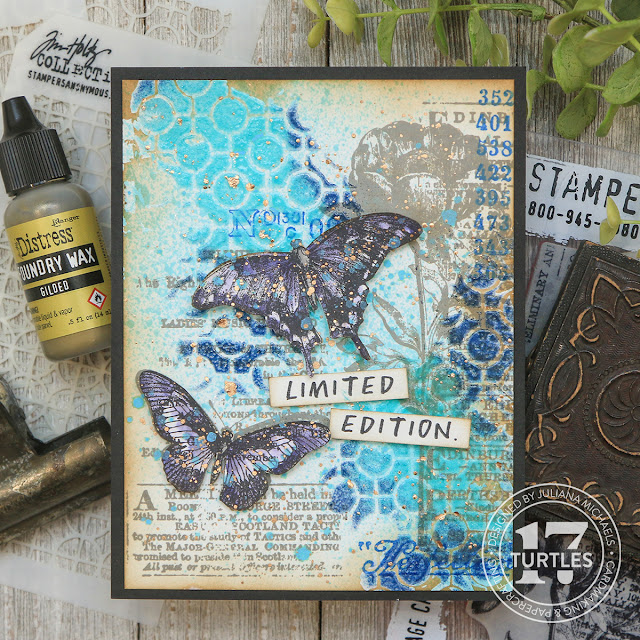
Limited Edition Card by Juliana Michaels featuring Tim Holtz Stampers Anonymous Botanic Collage Stamp Set and Oxidized Stamping Technique

For those of you who would prefer to watch how I created this card, feel free to check out my video below. If the video isn’t showing up, click HERE to watch it.


TIM HOLTZ BOTANIC COLLAGE STAMP SET AND OXIDIZED STAMPING TECHNIQUE

I began with a piece of Distress Watercolor cut to 4 x 5.25 inches. I choose to use this paper because it holds up great to a variety of wet mediums and I knew I wanted to work with a variety of mediums including Distress Translucent Texture Paste. I then stamped one of the images from the Botanic Collage Stamp Set using Distress Archival in Hickory Smoke using a stamping platform. I highly recommend using a stamping platform so you can repeatedly stamp the same image in the same spot. After I had stamped the image with the Archival Ink, I cleaned the stamp and inked it with Hickory Smoke Distress Oxide Ink. I'm not sure what is happening during this layering of ink, but it definitely makes the image look lighter and gives it an an oxidized look, which is why I'm calling this technique Oxidized Stamping.

I discovered this Oxidized Stamping technique when I was playing around with the new stamps and trying to figure out what I wanted to do. I actually stamped the Archival Ink first and then stamped a different color of Oxide over it because I decided I wanted a different color than what I had used originally. That's when I saw what happened by layering those 2 inks on top of each over.

I wanted to add a little more stamping before I added any texture, so I selected some images from the Eccentric stamp set. I choose 3 different images and placed them in a triangle to each other. Once I had decided on their placement, I stamped them using Prized Ribbon Distress Archival Ink. Next I placed the paper into my Splat Box and spritzed it lightly with a bit of Salvaged Patina Distress Spray.


To add some texture to the card, I used Distress Translucent Texture Paste with the Linked Circles from the Mini Stencil Set #52. I placed the stencil toward the upper left corner and began applying the paste using a palette knife. I didn't want to cover the entire piece of paper so I applied some to the upper left side of the paper and then moved the stencil so I could apply some to the lower right side. When doing this, I just use my fingers to hold the stencil off of the area that I just applied the paste.

While the paste was still wet, I pulled out some Distress Embossing Glaze in Salvaged Patina and Prize Ribbon. Using my finger I sprinkled the powder over the paste. I'm working over a piece of typing paper folded in half. Once I had the paste covered with the glaze powder, I tapped off the excess and dumped it into the trash. If you don't like to waste things you could certainly save this powder for another project.

At this point, you could set the paper to the side to dry and then heat emboss the glaze OR if you are like me and aren't that patient, you can use your heat gun to dry the paste AND melt the glaze. As you dry the paste and melt the embossing glaze it becomes shiny like glass! Once the embossing glaze is melted it's time for the next step.

To add more interest to the card, I added some ink splatters using Salvaged Patina DO Spray. For another bit of interest, I decided to add a bit of Distress Foundry Wax in Gilded. Once it was well mixed, I applied a bit to my craft mat and then added just a drop of isopropyl alcohol. Working quickly, I mixed them together using a paint brush and then flicked the liquid wax onto my background. I repeated this process until I was happy with the amount of splatter. I then used my heat gun, like the one you would use for heat embossing, to permanently set the wax. If you want to learn more about Distress Foundry Wax, make sure to check out my Foundry Wax blog post and video. The process of heating the wax and watching it transform into its permanent shiny finish is something I seriously love to do!

The next step for this card background was to add some Frayed Burlap Distress Ink to the edges using a blending tool.


To embellish the card, I stamped the 2 butterfly images from the Botanic Collage Stamp Set onto Distress Watercolor paper using Black Soot Distress Archival Ink and watercolored them using Villainous Potion Distress Ink and a water brush. Once the paper was dry, I used a pair of scissors to fussy cut the butterflies and then adhered them to the card front using double sided adhesive strips.

For the sentiment I used a stamp from the Noteworthy stamp set and Black Soot Archival Ink. I trimmed it into 2 strips, inked the edges and adhered it with a bit of double sided foam adhesive. I then layered the card front onto a piece of black cardstock cut to 4.25 x 5.5 inches.


I hope you enjoyed learning how I created this card using some of the new Tim Holtz stamps and stencils and about the Oxidized Stamping Technique.

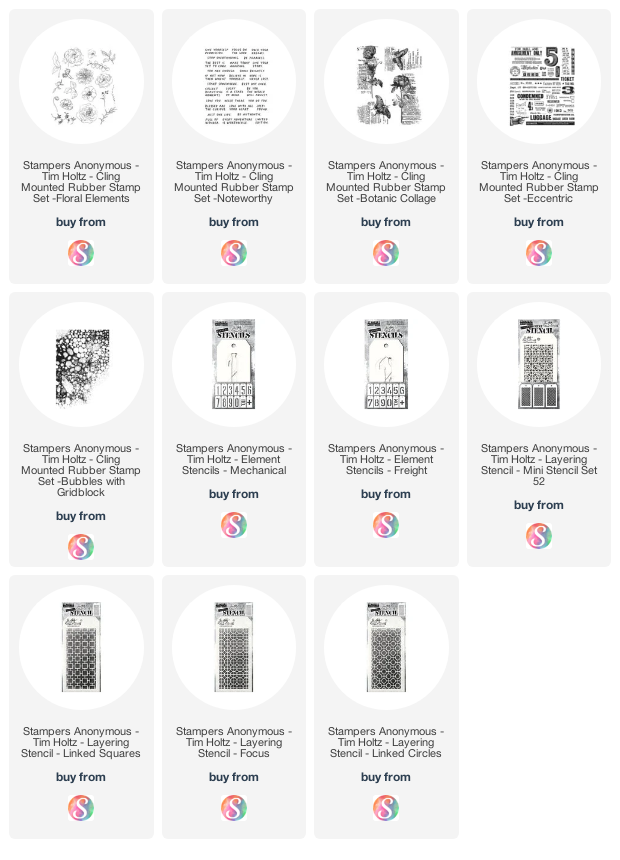
SHOP THE NEW TIM HOLTZ STAMPERS ANONYMOUS RELEASE

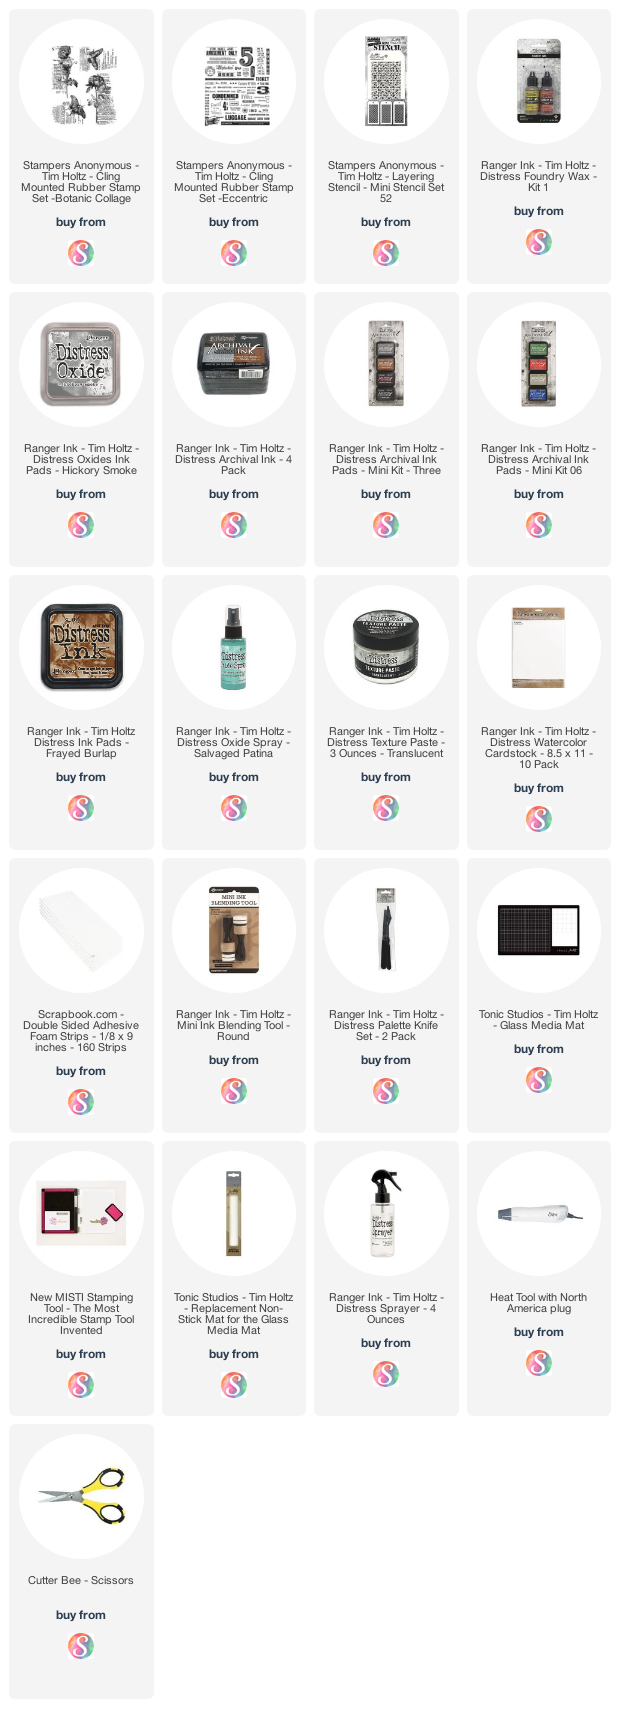
PROJECT SUPPLIES

Below you can find the products I used to create this project along with compensated affiliate links to Scrapbook.com. These links are at absolutely no cost to you. When you shop through the links below, I receive a small commission from Scrapbook.com. These links are at absolutely no cost to you and the commission I receive helps me cover the costs of my blog and other expenses, which allows me to continue to provide you with FREE inspiration and tutorials. If you want to learn more about what an affiliate link is, you can see my full affiliate and product disclosure statement here. Thank you so much for your love and support!
Subscribe