Showing posts with label Simon Says Stamp. Show all posts

Tim Holtz STAMPtember 2024 Simon Says Stamp Exclusive Set

HO! HO! HO! Have you heard the news? Tim Holtz and Simon Says Stamp just released a new stamp set to celebrate STAMPtember! This limited edition stamp set is available as a bundle that includes the stamp set and coordinating dies or you can get just the stamp set. These are available NOW, exclusively and while supplies last at Simon Says Stamp. You might want to run not walk and grab yours before they sell out!

Special Delivery Christmas Card by Juliana Michaels featuring Tim Holtz STAMPtember 2024 Simon Says Stamp Exclusive Stamp Set

SPECIAL DELIVERY CHRISTMAS CARD

Here’s a look at the card I created using this new set. I repeatedly stamped the snowflake image onto Distress Watercolor Cardstock with Pebble Beach Archival Ink. I then ink smooshed the paper into Old Paper Distress Ink and dried it with my heat. I then apply Distress Texture Paste through the Merry Christmas Layering Stencil from Mini Set 32.

Once dry, I inked the edges with Vintage Photo Distress Ink. I then added some splatters using Distress Spritz in Walnut Stain.

Next, I stamped the images using Pebble Beach Archival Ink onto Distress Watercolor Cardstock and colored them using Distress Watercolor Pencils in Cracked Pistachio, Evergreen Bough, and Kitsch Flamingo. Once dry, I die cut them using the coordinating die set.


For the postage die, I die cut the base shape from white cardstock and inked the edges with Vintage Photo Distress Ink. I then cut 3 pieces of Distress Watercolor Cardstock slightly smaller than the postage die and ink blended each one with a different color of Distress Ink. The colors I used are Cracked Pistachio, Evergreen Bough, and Kitsch Flamingo. I then spritzed each one with water, dabbed it dry and then inked the edges with Vintage Photo Distress Ink. I then assemble each of the stamps and adhered them to the card with double sided foam adhesive for a little dimension.

The sentiment is from the stamp set and stamped in Pebble Beach Archival Ink onto a piece of white cardstock. I trimmed this into a strip and inked the edges with Vintage Photo Distress Ink. I then adhered it to the card. The final touch was the addition of some matte gold pearls. I then layered the completed card panel onto a piece of white cardstock that I inked with Vintage Photo Distress Ink.

I hope you enjoyed this bit of inspiration using the adorable Tim Holtz STAMPtember 2024 stamp set and coordinating die set.

SUPPLIES

Below you can find the supplies I used to create this card and the swatches. When you shop through the links below, I receive a small commission from Scrapbook.com. These links are at no cost to you and the commission I receive helps me cover the costs of my blog and other expenses, and allows me to continue to provide you with FREE inspiration and tutorials. If you want to learn more about what an affiliate link is, you can see my full affiliate and product disclosure statement here. Thank you so much for your love and support!
 

Tim Holtz Simon Says Stamp DieCember 2021 | Dash Away All

Seasons Greetings friends! I'm so excited to be sharing some more holiday inspiration with you today and to celebrate a special event. Tim Holtz has revealed a brand new, limited edition, exclusive die set designed for Simon Says Stamp! Customers who purchase at least $25 of any Tim Holtz product and get this die set as a gift from Simon Says Stamp while supplies last!

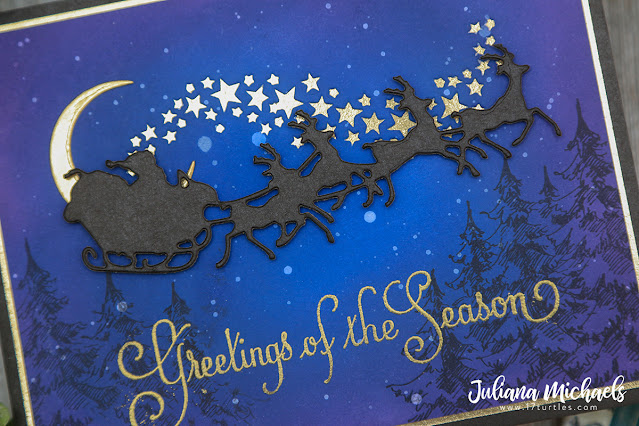
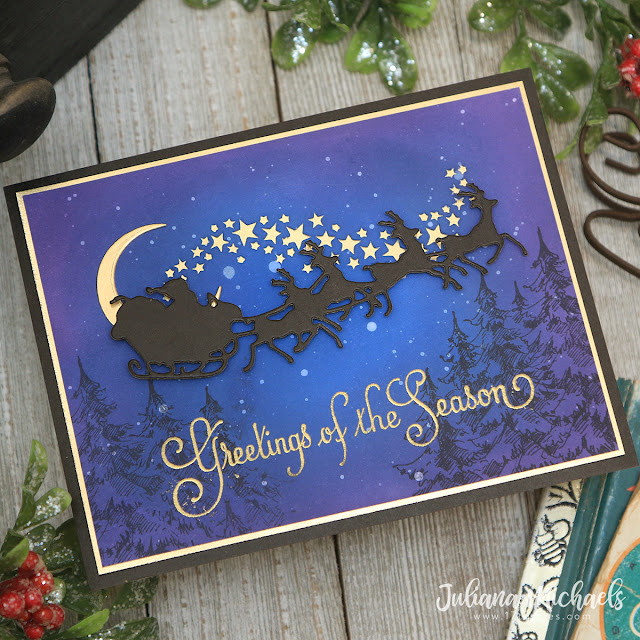
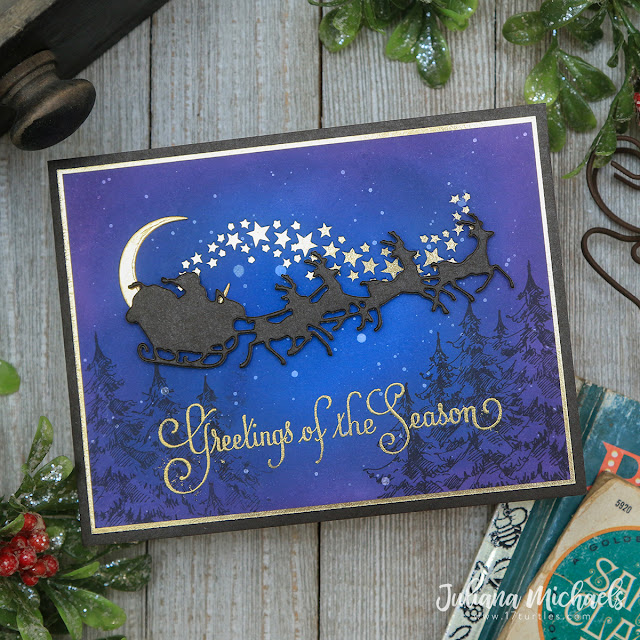
Now that you know all the details let me share this Greetings of the Season Christmas Card I created using this new die set.

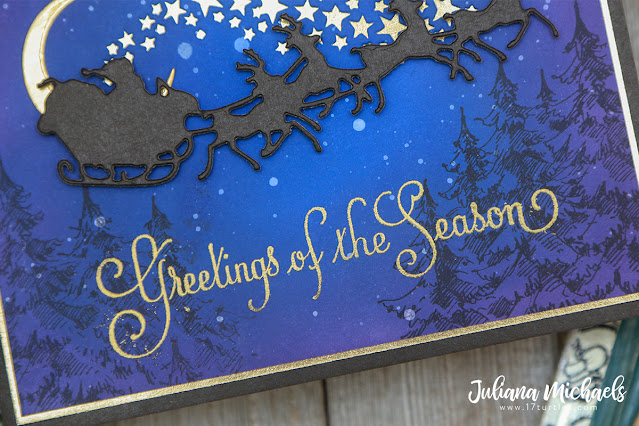
Greetings of the Season Christmas Card by Juliana Michaels featuring Tim Holtz Simon Says Stamp Diecember Die

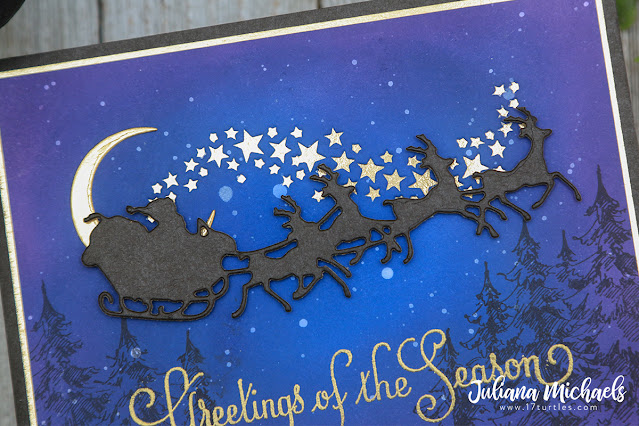
I started by die cutting the Santa and his reindeer from black Kraftstock and the Moon from gold Metallic Kraftstock.  I then played around with the placement of these pieces to determine where I wanted to position the stars on a piece of Distress Heavystock. Once I had that figured out, I used temporary adhesive to hold the die in place and ran it through my die cutting machine. Because I used Heavystock, (which is a thicker paper) I had to use a die pick to poke out the stars. Yes, this takes a little time, but it is so worth it! I then ink blended the paper using Distress Oxide in Prize Ribbon, Chipped Sapphire and Villainous Potion using a blending tool.


Next, I stamped some trees along the bottom using the Tim Holtz STAMPtember Stamp Set (designed exclusively for Simon Says Stamp) using Black Soot Archival Ink. This stamp set was a limited edition, so it is sold out, but if you don't have it you could also use the Winterscape Stamp Set to create the same look.


Before starting on the sentiment, I made sure the ink was thoroughly dry. I knew I was going to emboss the sentiment and I didn't want embossing powder sticking everywhere. I also rubbed over the entire piece with an anti-static pouch just to be on the safe side. I then stamped the sentiment from Christmastime Number Three Stamp Set with embossing ink and then heat embossed it with gold embossing powder.


To complete the card, I trimmed the card front down and adhered it to a piece of gold metallic kraftstock and then onto another layer of black kraftstock.


Thanks so much for stopping by today! I hope you enjoyed this Greetings of the Season Christmas Card I created featuring the Tim Holtz Simon Says Stamp Diecember Die!
Finished Card Size: A2 - 4.25 x 5.5 inches
 

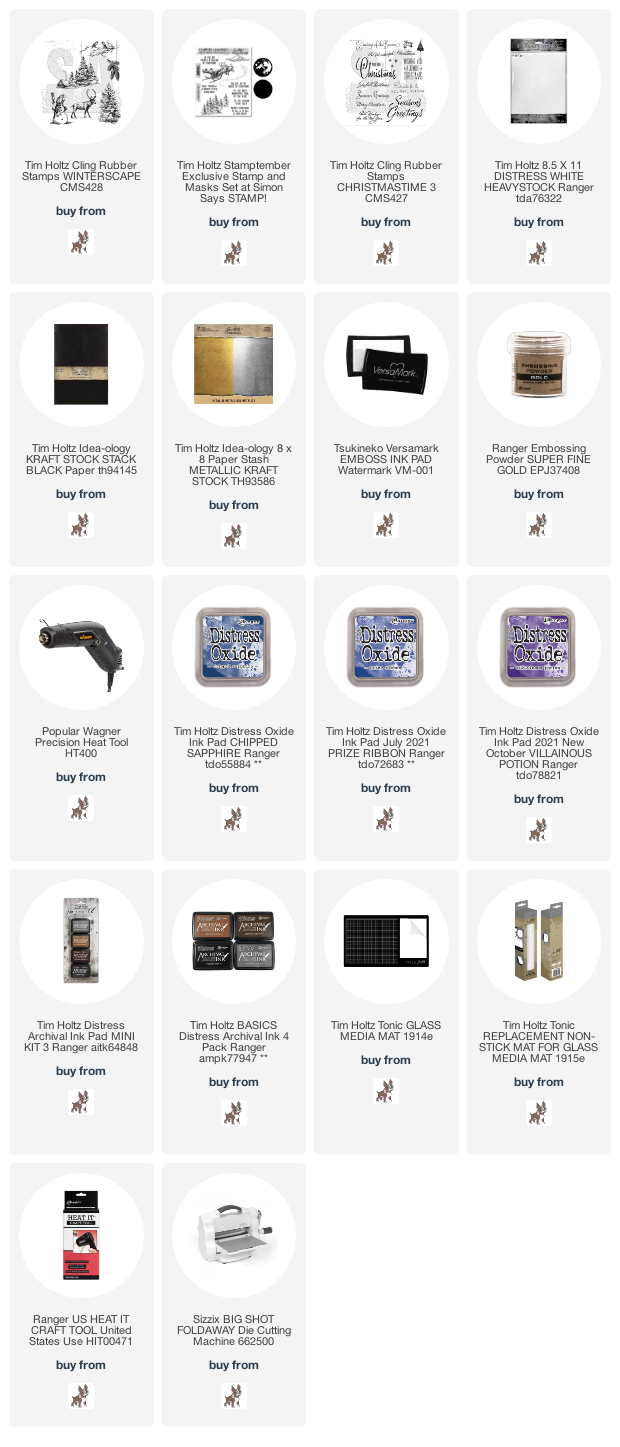
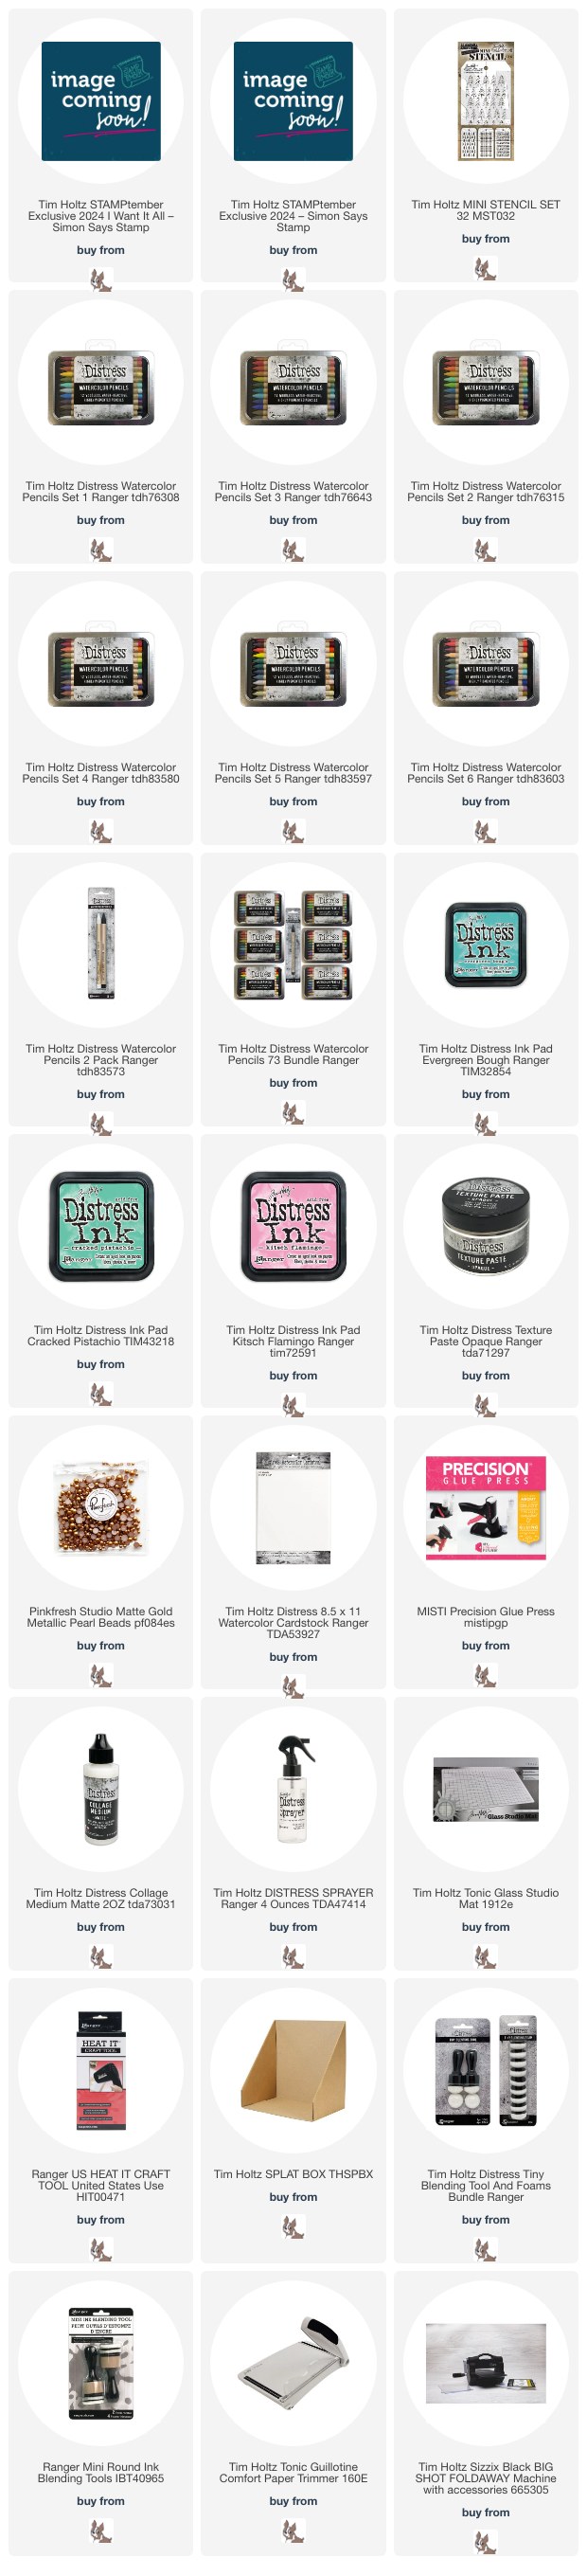
Supplies

You can find the products I used to create these cards along with compensated affiliate links to Simon Says Stamp. These links are at absolutely no extra cost to you. If you want to learn more about what an affiliate link is, you can see my full affiliate and product disclosure statement here.

Tim Holtz STAMPtember® 2021 | Merry Christmas Card with Masking

Hey friends! I'm so excited to be sharing a Christmas card I created using the new Tim Holtz STAMPtember® 2021 stamp and mask set. This set features Santa and his reindeer flying through the sky and included with the stamp set is an exclusive moon mask that is perfect for creating a night sky.

Merry Christmas Card by Juliana Michaels featuring Tim Holtz STAMPtember® 2021

[Affiliate links used. If you would like to learn more about what an affiliate link is, you can see my full affiliate and product disclosure statement here.]

If you're new to STAMPtember®, let me tell you a bit about it! It's a yearly event at Simon Says Stamp and this year marks their 12th Anniversary. Each day during the month of September they release a new, exclusive stamp set or kit that is done in collaboration with many of the amazing stamp companies that are a part of our industry. These stamp sets are available for a limited time AND only while supplies last. Many of them sell out super fast, so if you see one you like, you better grab it. With all that being said, the STAMPtember® set by Tim Holtz is sure to sell out quickly. This stamp set is AVAILABLE NOW (12 PM ET), so if you're worried about it selling out, head on over and purchase the Tim Holtz STAMPtember® 2021 stamp and mask set immediately and then pop back here for some inspiration on using your new stamp set!


Here's a look at the entire new Tim Holtz STAMPtember® 2021 stamp and mask set and the moon mask that is included with it.


So without further ado, let me share all the details on how I created this Merry Christmas card featuring the Tim Holtz STAMPtember® 2021 stamp and mask set.

Before I get started though I wanted to share a little something with you. I have never been much into masking and stamping. It has always intimidated me. However, I really wanted to use this cool moon mask so I decided it was time to get over my fear of masking and give it a go. I had to do a bit of research and lots of trial and error I was able to create this one layer background with the moon mask and the Santa and reindeer image and I must say, I'm quite proud of myself.

I followed a tutorial by the uber talented Emma Williams, but incorporated the moon mask and then created my own mask for the stamped image using Gina K Designs Masking Magic Sheets. I'll also admit that I was super intimidated to try cutting a mask for such a detailed image. However, I quickly realized that many of those details, such as the antlers, didn't need a mask because there wasn't anything to color in those areas. I also realized that I could color in any gaps using a waterbrush and the Distress Ink I had ink blended in that area. So now that the intimidating issues have been taken into account, let's get on to how this card came together.

For the background I first stamped the Santa and reindeer image onto a piece of Distress Watercolor cut to 4.5 x 6.5 inches using Black Soot Archival Ink. The finished size of this card is 5x7 inches.


Next, I placed the moon mask and the mask I created for the Santa and reindeer in place with a bit of temporary adhesive. The Gina K Designs Masking Magic Sheets have an adhesive on them, but because I wanted to be able to reuse the mask I didn't want to remove the liner and then have to try to line it back up with the detailed image, so I just applied some temporary adhesive to the backside.


I then carefully ink blended Prize Ribbon Distress Ink toward the center and Chipped Saphire toward the outside. By carefully I mean that I did have to hold the mask in place so it wouldn't move. This goes back to me not using the adhesive on the back of the masking sheet. You won't have to worry about it so much if you remove the liner. Also, if you look closely you can see that I didn't cut out the space underneath the sleigh. Once the ink blending was completed, I used a waterbrush to apply a bit of Distress Ink to fill in this area and any other gaps around the mask. Being able to do this also helped with not having to get too fussy with cutting the mask.


With the ink blending and masking for the background completed, I added a bit of water using the Distress Sprayer and blotted it dry with a paper towel to lift off a bit of the ink and create the effect of stars. In these photos you will notice that the water droplets are much larger than the finished card. As I mentioned earlier, there was a bit of trial and error in creating this so to avoid the large droplets either hold the Distress Sprayer farther away from your paper or use a fine paint brush to splatter the water and give you a bit more control.


I then added on the center part of the moon mask while keeping the Santa mask in place and ink blended it using Antique Linen Distress Ink.


Continuing with the background, I added a bit of Walnut Stain Distress Ink to the edges. I then distressed the edges using the backside of my craft knife and finished it off with some machine stitching.

With the background completed, I began coloring the Santa and reindeer image using Distress Ink and a waterbrush. The colors I used were: Aged Mahogany, Rustic Wilderness, Brushed Corduroy and Walnut Stain.


Once everything was nice and dry, I stamped the swirl of stars using embossing ink and heat embossed it with gold embossing powder. I did the same thing for the sentiment and trimmed it to a rectangle to adhere to the card.


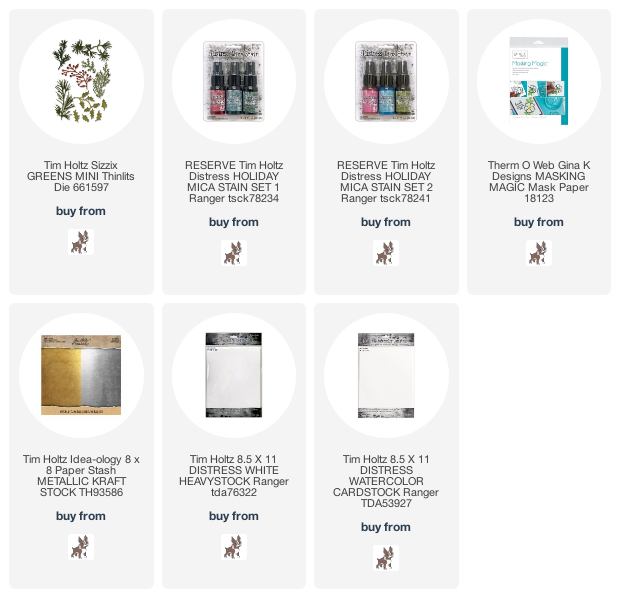
For the cluster of greenery, I used the Mini Holiday Greenery Thinlits. I sprayed pieces of Distress Watercolor paper with Distress Mica Stain in Tree Lot and Holly Branch and die cut the greenery. I then used a small paint brush to apply Peppermint Stick Mica Stain to create the berries.


To complete the card, I layered it onto a piece of Gold Metallic Kraftstock and then onto a piece of Distress Heavystock ink blended around the edges with Antique Linen Distress Ink.

Merry Christmas Card by Juliana Michaels featuring Tim Holtz STAMPtember® 2021

Thanks so much for stopping by today to see how my Merry Christmas Card came together using the Tim Holtz STAMPtember® 2021 stamp and mask set. I hope you enjoyed the inspiration and give masking a try!

Finished card size: 5 x 7 inches

Supplies

You can find the products I used to create these projects along with compensated affiliate links to Simon Says Stamp. These links are at absolutely no extra cost to you. If you want to learn more about what an affiliate link is, you can see my full affiliate and product disclosure statement here.

Simon Says Stamp DieCember® + Tim Holtz Feathered Cardinal

Hello crafty friends! Today I have something super fun to share with you. Every December Simon Says Stamp celebrates all things die cutting with their month long DieCember® Celebration. This year they have joined together with Tim Holtz to give you a free (while supplies last) gift with every Tim Holtz brand purchase. This gift is an exclusive Sizzix die designed by Tim Holtz called Feathered Cardinal! It is perfect for all your holiday crafting, but also for those year round nature lovers and it pairs perfectly in size to the Feathered Friends Thinlits that was released earlier this year.

With the holidays fast approaching, I used the Feathered Cardinal die to create a Christmas card, because one can never have to many Christmas cards. Am I right?!

Be Joyful Christmas Card by Juliana Michaels featuring Tim Holtz Feathered Cardinal Thinlit for Simon Says Stamp DieCember

The background for the card was created with some ink smooshing and dabbing onto White Heavystock with Old Paper and Vintage Photo Distress Ink. I then stamped the Tim Holtz CMS358 Music and Advert stamp using Vintage Photo Archival Ink. To further distress the paper, I inked the edges with some Vintage Photo and Walnut Stain Distress Ink and added some machine stitching.


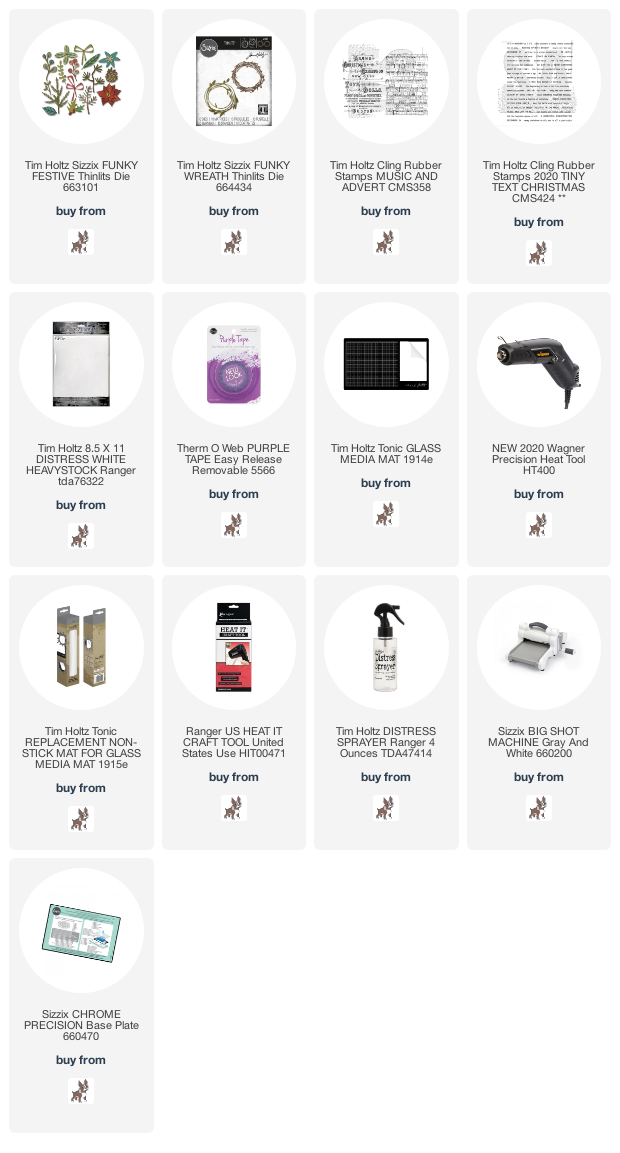
Now to the die cutting! I cut all of the images including the Feathered Cardinal, Funky Festive and Funky Wreath Thinlits from watercolor paper. I then colored them by ink blending the paper using the following Distress Ink colors: Festive Berries, Fired Brick, Aged Mahogany, Mustard Seed, Crushed Olive, Peeled Paint, Forest Moss, Walnut Stain and Black Soot. For the wreath I used: Gather Twigs. And with all of them I inked the edges with a bit of Vintage Photo.

To make it easier to color the tiny pieces, I adhere Purple Tape (any low tack tape will work) to the back side of the paper and place the die cuts back into place. I then ink blend each piece with the desired ink colors. For more details on this technique you can check out my Making Spirits Bright Christmas Tag blog post.


Once all of the coloring was completed, I assembled the die cuts and began arranging them onto the wreath.


To complete the card, I added a white heat embossed sentiment using the Tiny Text Christmas CMS424 Stamp Set onto black cardstock. I then trimmed it into a banere shape and added it to the card.


I hope you enjoyed this bit of inspiration using the Tim Holtz Feathered Cardinal Thinlit that is a free gift with any Tim Holtz brand purchase from Simon Says Stamp as part of their 2020 DieCember® Celebration.


For more ideas, inspiration and to learn more about this month long celebration, make sure to visit Simon Says Stamp.

Supplies

You can find a supply list of the products I used to create this project below. This post contains compensated affiliate links to Simon Says Stamp at no cost to you. If you want to learn more about what an affiliate link is, you can see my full affiliate and product disclosure statement here. 

Tim Holtz Stamptember® 2020 Exclusive Collaboration

Hey friends! I'm so excited to be sharing two Christmas Cards I created using the new Tim Holtz Stamptember® 2020 stamp set. This set features your favorite Snarky Cats and they are ready to help you celebrate this holiday season like only they can!

Naughty Nice Snarky Cats Christmas Card by Juliana Michaels featuring Tim Holtz Stamptember® 2020

If you are new to Stamptember® it is a yearly event at Simon Says Stamp where each day during the month of September they release a new, exclusive stamp set or kit. The exclusive sets are done in collaboration with many of the amazing stamp companies that are a part of our industry. These stamp sets are available for a limited time AND only while supplies last. Many of them sell out super fast, so if you see one you like, you better grab it. With all that being said, the Stamptember® set by Tim Holtz is sure to sell out quickly. This stamp set is available now, so if you're worried about it selling out, head on over there and purchase it now and then pop back here for some inspiration on using your new stamp set!


And here's a look at the entire new Tim Holtz Stamptember® 2020 stamp set that is now available!


So, without further ado, may I introduce you to the Christmas Snarky Cats! Of course the stamp set is full of snarky cuteness so I couldn't resist creating two cards to share. For each card, I stamped the image using a stamp platform with Black Soot Archival Ink. I then restamped the image with embossing ink, sprinkled it with clear embossing powder and heat set it. I prefer this method when I want a black embossed image. Even when I use an anti-static pouch, I still get stray flecks of black embossing powder everywhere. With this technique you don't ever have to worry about that happening.


After the embossing was done, I water colored the images using Distress Ink and loosely applied the ink using a waterbrush. I then went about fussy cutting each image.

For the background on this Naughty or Nice card, I stamped the snowflakes image randomly onto the paper with embossing ink and then heat embossed it with white embossing powder making sure to leave room for the sentiment. I used the same black heat embossing technique for the sentiment that I used for the Snarky Cat images. I then lightly inked over the panel with Tumbled Glass Distress Ink.


This second card seriously makes me laugh! I love this cat all tangled up in the Christmas lights with his eyes popping out of his head and in a state of total overstimulation.

Shiny Things Snarky Cats Christmas Card by Juliana Michaels featuring Tim Holtz Stamptember® 2020

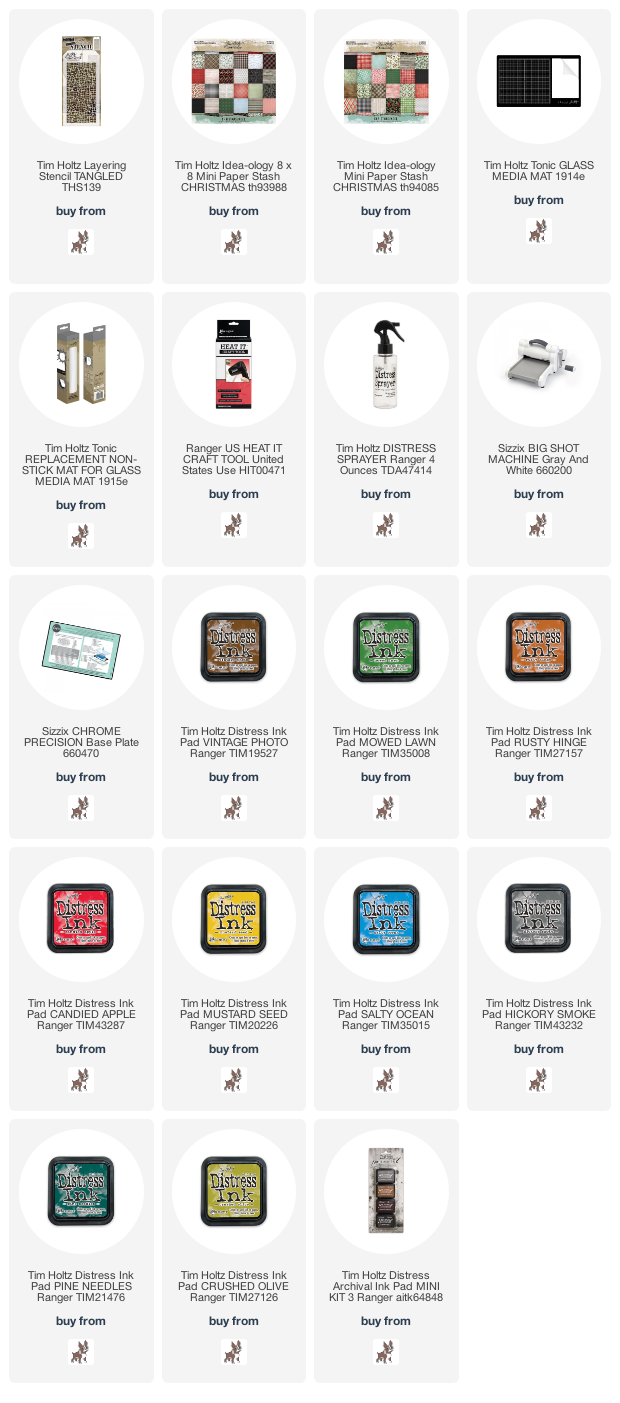
For the background I used the Tim Holtz Tangled Layering Stencil. I ink blended around the outside with Crushed Olive Distress Ink, making sure to leave the area that would be behind the cat with very little color. I then layered on Mowed Lawn and then just a bit of Pine Needles to gradually darken the color to the outer edges.


What you can't see very well in the photos is that I added Glossy Accents to each of the light bulbs. I tried my best to capture it when taking these images, but I just couldn't get it to show. I promise though that in person, it really adds a nice bit of interest!

For the base of this card, I created my own patterned paper by randomly stamping the sentiments from the stamp set using Hickory Smoke Archival Ink. I then inked the edges, as always, with a bit of Vintage Photo Distress Ink.


Thanks so much for stopping by today and I sure hope you enjoyed this bit of inspiration using the new Tim Holtz Stamptember® 2020 Exclusive Collaboration. 

I invite you to visit the Simon Says Stamp blog for more inspiration using this new stamp set.
 

Supplies

You can find a supply list of the products I used to create this project below. This post contains compensated affiliate links to Simon Says Stamp at no cost to you. If you want to learn more about what an affiliate link is, you can see my full affiliate and product disclosure statement here.


Simon Says Stamp | STAMPtember with Newton's Nook Designs

Hello and Happy STAMPtember®! I'm super excited to be a part of this year's celebration and to share some inspiration using the exclusive stamp set designed by Newton's Nook Designs!

[Affiliate links may be used at no cost to you. Thank you for your support!]

If you aren't familiar with STAMPtember®, well let me tell you a little bit about it. STAMPtember® is a month long celebration hosted and organized by Simon Says Stamp. They define it "as an event intended to inspire, educate, and celebrate our community of stampers". This special event takes place during the entire month of September and each day they release fabulous new, exclusive and limited edition products from some of the top stamp companies in the industry.

Today, Newton's Nook Designs is revealing their exclusive stamp set called Hello Beautiful. The Hello Beautiful stamp set also has and coordinating die set and they are both ONLY available at Simon Says Stamp and while supplies last. So, make sure you head on over to grab yours today - because once these are gone, they're gone forever!

Hello There Friend Card | Hello Beautiful Stamp Set

I, of course, choose to use the adorable dog images because as you might or might not know, I'm a bit of a dog lover! (We have 2 golden retrievers!!!) I colored them in with Copic Markers and then die cut them.

Hello Friend Card by Juliana Michaels featuring Newton's Nook Designs Simon Says Stamp Stamptember Hello Beautiful Stamp Set

To create the scene, I added a bit of grass using the Newton's Nook Designs Land Borders Die. After die cutting it from a piece of Bristol Paper and then inked it up with Distress Oxide in Twisted Citron.
I then die cut the grass stripe, a piece of white cardstock and a piece of black cardstock using circle dies. I then layered everything and added it all to a piece of patterned paper. It's a rather simple design, but I love how it keeps the focus on the adorable pups and there message!


Thanks so much for stopping by today! I sure hope you enjoyed the card I created and shared with you using the exclusive Hello Beautiful Stamp Set by Newton's Nook Designs! Remember, you can only get this design at Simon Says Stamp while supplies last!


For even more inspiration using this stamp set, make sure to check out the blogs of the other Newton's Nook Designs Team members...

Tatiana Trafimovich

And for even more inspiration you can visit Simon Says Stamp's Blog!

Simon Says Stamp | Stamptember with Newton's Nook Designs

The Stamptember® Celebration continues today and I'm so excited to share that Newton's Nook Designs has an exclusive stamp set being released as part of this month long celebration with Simon Says Stamp.

 This new stamp set by Newton's Nook is called Loads of Thanks and it also has a coordinating die to go along with it. The Loads of Thanks stamp and die sets are only available at Simon Says Stamp while supplies last. So, make sure you head on over to grab yours today - because once these are gone, they're gone forever!


Loads of Thanks Card


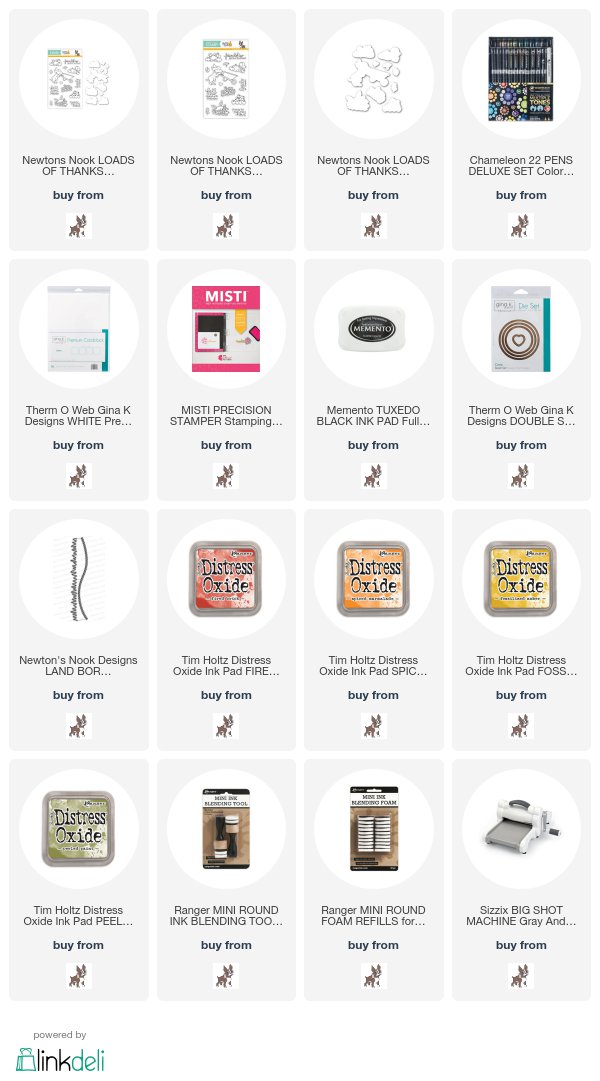
To create my card, I stamped and colored the images with my Chameleon Pens. The green base below the images was die cut from white cardstock using the Newton's Nook Land Borders hill die. I used Distress Oxide in Peeled Paint to color it. I then used the same circle die to cut it out so that it lined up with the stitched circle die behind the main images.

Loads of Thanks Card by Juliana Michaels featuring Newton's Nook Designs Loads of Thanks Stamp Set created for Simon Says Stamps Stamptember®

The background on this card was created using the new Newton's Nook Designs Falling Leaves Stencil. I taped it down over a piece of white cardstock and used foam blending tools to apply Distress Oxide in Fired Brick, Fossilized Amber, Spiced Marmalade and Peeled Paint. I also want to share that this stencil was JUSt revealed as part of the Newton's Nook Designs September Release Day 1 and it will be available for purchase on Friday, September 15.

Detail image of Loads of Thanks Card by Juliana Michaels featuring Newton's Nook Designs Loads of Thanks Stamp Set created for Simon Says Stamps Stamptember®

Here's a peek at the Loads of Thanks stamp set and all the cute critters and images you can put in the wheelbarrow! It's such a great set to build and create a variety of fun fall scenes.
Newton's Nook Designs Loads of Thanks Stamp Set created for Simon Says Stamps Stamptember®
As I mentioned above, here is the Newton's Nook Falling Leaves Stencil that was just revealed and it will be available for purchase this Friday, September 15.
Newton's Nook Designs Falling Leaves Stencil
I hope you enjoyed some inspiration using the Newton's Nook Designs Loads of Thanks Stamp Set for Simon Says Stamp Stamptember®!

Supplies


Are you interested in the supplies I used to create this card? To make them easy for you to find, I have listed them below. Affiliate links are used at no additional cost to you and I've linked to them because I use them and love them! When you click on these links, they help support my blog and allow me to continue to bring you inspirational posts such as this one.


Simon Says Stamp | Stamptember with Gina K Designs

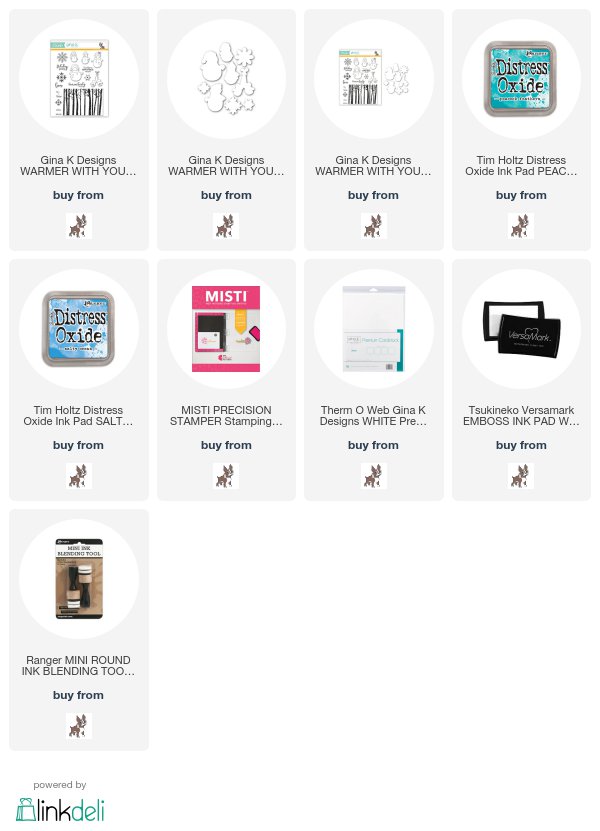
Stamptember® is here and today I'm excited to share that Gina K Designs has an exclusive stamp set being released as part of this month long celebration with Simon Says Stamp. Gina designed this new stamp set called Warmer With You, that also has a coordinating die to go along with it. The Warmer With You stamp and die sets are only available at Simon Says Stamp while supplies last and they won't be available in the Gina K Designs store. So, make sure you head on over to grab yours today because once these are gone, they are gone forever!


Seriously check out all the cuteness with those adorable snow people and that gorgeous birch tree stamp in this set!
Warmer With You Stamp Set by Gina K Designs for Simon Says Stamp Stamptember

I was quickly drawn to the birch trees and snowflakes and during my creative play came up with 3 ways to use this background image to create a trio of Holiday cards. For all three cards the trees where stamped onto white cardstock with Versamark Embossing Ink and then heat set with white embossing powder. I then ink blended over them with Distress Oxide Ink in Salty Ocean and Peacock Feathers. Keep reading for more specific details on how I created each card.

Winter Birch Trees Background 3 Ways


1. Die Cutting 

For this first card, I stamped the image onto white cardstock and simply die cut it out using a stitched rectangle die. I popped it up and then layered it onto another die cut stitched rectangle before adhering it to the card front.

Winter Birch Trees Holiday Card with Die Cutting and Distress Ink by Juliana Michaels. Stamp set is Warmer With You by Gina K Designs for Simon Says Stamp Stamptember.

For the snowflake on each card, I used the same stamping and embossing method that I used on the trees. I then fussy cut out the snowflake and adhered it with some double sided foam tape for a touch of dimension.

Winter Birch Trees Holiday Card with Die Cutting and Distress Ink by Juliana Michaels. Stamp set is Warmer With You by Gina K Designs for Simon Says Stamp Stamptember.

2. Masking 

The second technique I used was masking. I began by stamping the image onto white cardstock and heat embossed it with white embossing powder.

Winter Birch Trees Holiday Card with Masking and Distress Ink by Juliana Michaels. Stamp set is Warmer With You by Gina K Designs for Simon Says Stamp Stamptember.

I used Post It Tape to mask of a rectangle around the trees and then applied the Distress Oxide.


These images help give you a better sense of how it started before I added the Distress Oxide Ink and how it looked after the ink blending was complete.


I used the same sentiment as the first card and attached another snowflake.


3. Shaker Card 

For my final Winter Trees Background, I created a shaker card. For this card, I stamped the image as noted above in the center of the white cardstock. To create the shaker I die cut the frame using an stitched rectangle die and cut out the center rectangle to create a window. I repeated this 5 times and glued all of these layers together to create the shaker box.

Winter Birch Trees Holiday Shaker Card with Embossing and Distress Ink by Juliana Michaels. Stamp set is Warmer With You by Gina K Designs for Simon Says Stamp Stamptember.

To create the window, I cut a piece of transparency to the size of the shaker box and glued it to the top of the 5 layers. I then die cut one more frame and glue it on top of the transparency. Next, I flipped it over and filled the shaker with a mix of sequins. The final step was to adhere the birch tree background to the back side of the window to complete the shaker.

Winter Birch Trees Holiday Shaker Card with Embossing and Distress Ink by Juliana Michaels. Stamp set is Warmer With You by Gina K Designs for Simon Says Stamp Stamptember.

Here you can see each of the techniques - die cutting, masking and shaker card - before they were added to finish the card.


I hope you enjoyed this bit of inspiration! Now have some fun hopping along with the Gina K Design Team to see what everyone has created using this new set and make sure you check out Simon Says Stamp for all the Stamptember details!

Blog Hop

Gina K
Bethann Silaika
Cathy Tidwell
Chris Dayton
Claire Brennan
Donna Green
Juliana Michaels
Karen Hightower
Melanie Muenchinger
Rema DeLeeuw


Supplies


Are you interested in the supplies I used to create this card? To make them easy for you to find, I have listed them below. Affiliate links are used at no additional cost to you and I've linked to them because I use them and love them!

Subscribe