

If you prefer a video format, you can watch below or head over to my YouTube channel to see the process in more detail.
If you're interested in the supplies I've used to create this banner, you can find a complete list and links to them in the supply list below. When you shop through those links it supports me and I really appreciate that so very much!
Now let's get on with the making.

HALLOWEEN BANNER 2023
To create this banner, I'll be working with the Edison Colorize, Big Frights and Tailored Thinlits Die Sets by Tim Holtz and Sizzix. I'll be using the Tailored die set to help get my Jack-O-Lantern Gents ready for Halloween! For the base of each banner, I'll be using the Tapestry Embossing Folder and Decorative Trims Thinlits Die Set.
I'll be using various Distress Oxide Inks in Villainous Potion, Crackling Campfire, Fossilized Amber, Rusty Hinge, Forest Moss, Black Soot and Frayed Burlap. I'll also be using textured cardstock in black, green, purple, a dark orange and a lighter orange that coordinate with the Distress Oxide Inks.

Now I'm going to share how I transformed the solid cardstock to create a more distressed and spooky effect using the Ink Smooshing Technique. I cut the base layer of Edison from a lighter orange cardstock. I then smooshed the Fossilized Amber Distress Oxide Ink pad onto my craft mat, spritzed it with water to activate the ink and then I smooshed the paper into the ink. This is why it's called the ink smooshing technique! I repeated the smooshing until I liked how much ink was on the paper and then used my heat tool to dry the paper. I then repeated the ink smooshing process using Frayed Burlap Distress Oxide Ink.

Next, I took the second layer of Edison, which I cut from a darker orange cardstock and I ink smooshed it into Crackling Campfire Distress Oxide Ink and then dried it with my heat tool. I wanted to make this paper a little darker in the areas where it would show after under the top layer, so I used a foam blending tool to add more Crackling Campfire Distress Oxide Ink to those areas.
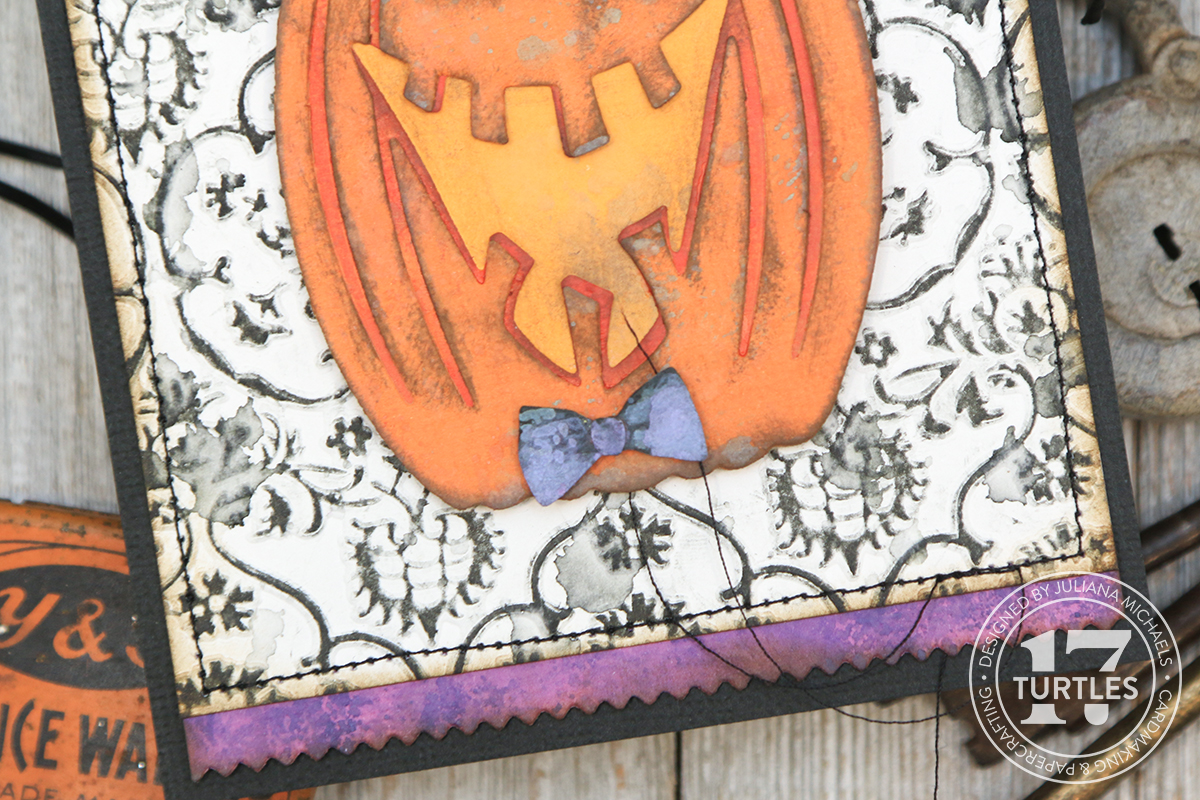
For the top layer of Edison, I did the ink smooshing using Rusty Hinge Distress Oxide Ink. To add some distress to this layer, I also added some ink smooshing with the Frayed Burlap Distress Oxide Ink. To help the top layer stand out a bit more, I used a foam blending tool to ink the edges with Walnut Stain Distress Ink. I then assembled the layers using Distress Collage Medium for my adhesive.

Now I'm going to do some ink smooshing with the hats and bow ties from the Tailored Die Set using Frayed Burlap Distress Oxide Ink. To save some time, I left these smaller die cuts in the paper I cut them from and adhered strips of Mint Tape to the back side of the paper to help hold them in place. This allowed me to dip and smoosh them all at once, instead of having to do each die cut separately.

For the bands and the bow ties, I used Villainous Potion and Twisted Citron Distress Oxide Inks. On the finished banner, I ended up with two of the hats having purple bands and one with green. I also die cut some spiders from black glitter cardstock. I then assembled each of the pumpkins using Distress Collage Medium and adhered the spiders and bow ties with a small pieces of foam tape to add some dimension.

Next I used the Big Frights Die Set to cut Boo and Eek from purple and green cardstock. I use Forest Moss for the ink smooshing on the Eek. I then repeated the ink smooshing on the purple Boo using Villainous Potion. When it came time to assemble the banner, I ended up creating a purple Eek just to make things a little more balanced. I die cut the base layer for both words from black cardstock and ink smooshed it into Frayed Burlap Distress Oxide Ink. I then inked the edges of the words with Walnut Stain Distress Ink and adhered the layers together with Distress Collage Medium.

For the banner, I took 5 pieces of Distress Watercolor Paper cut to 4 x 5.25 inches and embossed them using the Tapestry Embossing Folder. I then took a Black Soot Distress Oxide Ink pad and rubbed it over the surface of the embossed paper to highlight the embossed design. Next, I took the Distress Sprayer filled with water and pulled the trigger slowly to create large water droplets over the inked panel. I then dried the ink with my heat tool.

To finish off each panel, I took the embossed paper and inked the edges with Walnut Stain Distress Ink. I then ink smooshed a piece of purple cardstock using Villainous Potion Distress Oxide Ink and die cut it into strips using the Tim Holtz Decorative Trims Die Set. I adhered a strip to the backside of each panel so that a 1/4 inch of it would hang below the bottom of panel. I then some machine stitching around the outer edge using black thread. Next, I adhered each panel to a piece of black cardstock cut to 4.25 x 5.5 inches.

On the word panels, I embellished them by adding some of the small icons from the Big Frights Die Set that I cut from silver and black glitter cardstock and the adhered them with foam tape.

To assemble the banner, I added eyelets to the top corner of each panel. For the string, I took a piece of seam binding and dyed it using Black Soot Distress Spray Stain.

And there you have it! A frightfully fun Halloween Banner perfect for decorating your haunt this Halloween season! I hope you enjoyed seeing how this came together and are inspired to create your own! Until next time...stay crafty my friend!

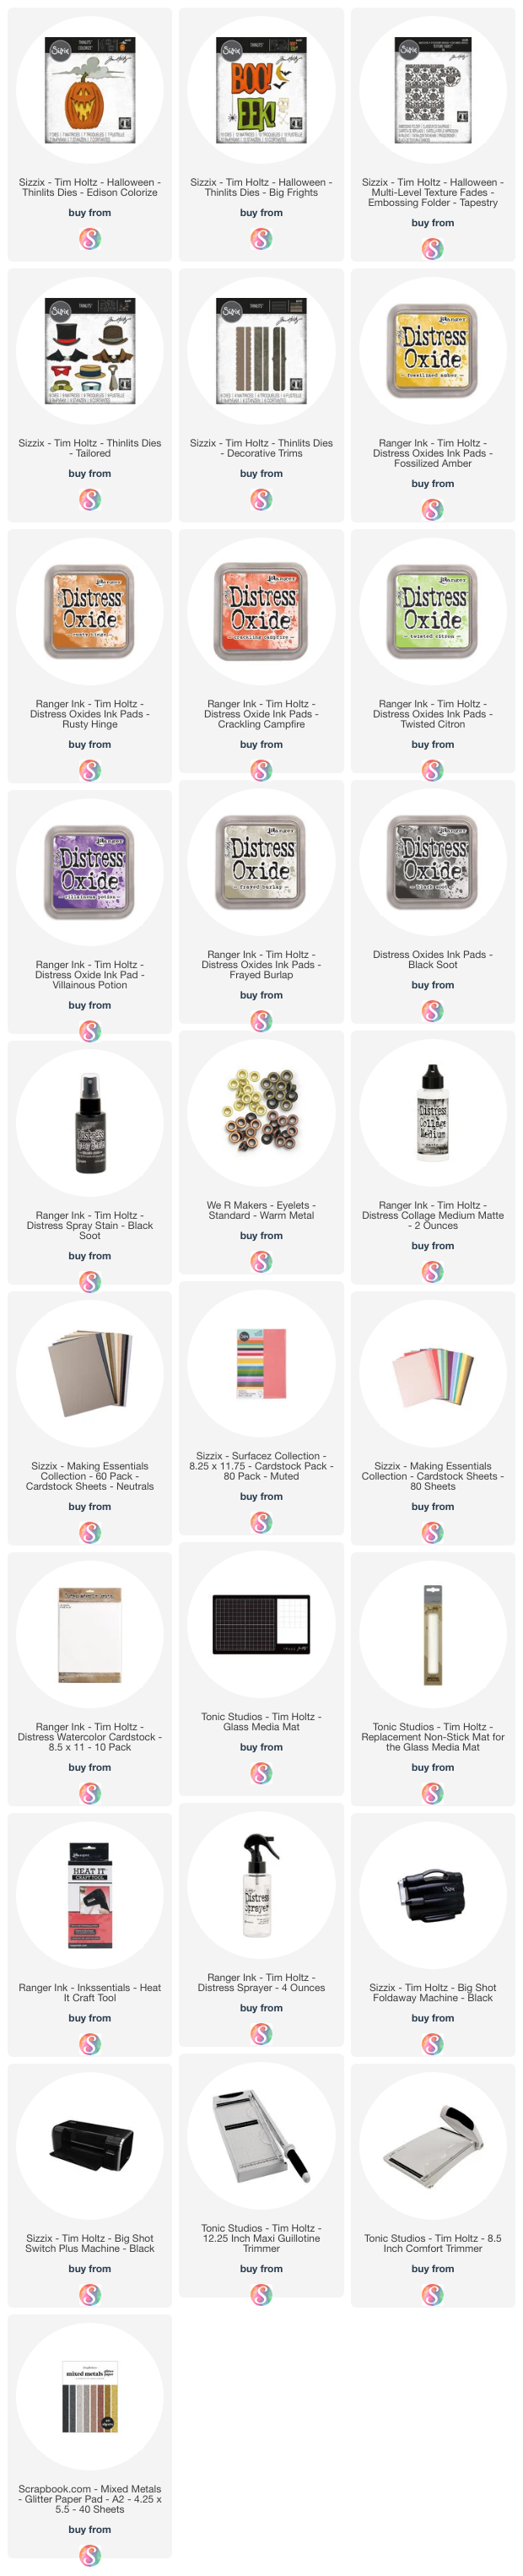
SUPPLIES
Below you can find the products I've used to create this Halloween Banner. When you shop through the links below, I receive a small commission from Scrapbook.com. These links are at absolutely no cost to you and the commission I receive helps me cover the costs of my blog and other expenses, which allows me to continue to provide you with FREE inspiration and tutorials. If you want to learn more about what an affiliate link is, you can see my full affiliate and product disclosure statement here. Thank you so much for your love and support!


So fun, Edison is the life of the party. Party on!
ReplyDeleteHe most certainly is!
Delete