
I don't know if you've noticed, but rub ons are back and in a big way! And the options available are mind blowingly gorgeous! Don't get me wrong, rub ons aren't anything new. They've actually been around for years and back when I first started scrapbooking, they were super popular. Over the years, they seemed to disappear, but recently I am seeing them everywhere! I recently used some gorgeous rub ons from Scrapbook.com to create this Thankful For You Card and wanted to share it with you. But, before I get into the making, I thought I'd explain a bit more about rub ons for those of you who aren't familiar with them.

WHAT IS A RUB ON?
A rub on is kind of like a sticker, dry transfer or decal that you can place anywhere on your craft projects. They are usually printed on the 'wrong side' of a piece of smooth, clear acetate. The print itself is a slightly sticky, so the rub ons will be on a non stick backing sheet. Make sure to keep the rub on sheet on the backing sheet until you're ready to use it so it doesn't accidentally stick down or tear before you're ready to use them.
They can be transferred to any smooth surface such as paper, wood, fabric, glass, mirrors, calendars, etc. and are great for scrapbooking, cardmaking, DIY and more! As long as the surface you're transferring to is smooth and clean with no wax or oil on it, you can use a rub on on it!
They can be transferred to any smooth surface such as paper, wood, fabric, glass, mirrors, calendars, etc. and are great for scrapbooking, cardmaking, DIY and more! As long as the surface you're transferring to is smooth and clean with no wax or oil on it, you can use a rub on on it!
HOW TO USE A RUB ON
- Select which image you want to use and carefully cut around it and remove it from the backing sheet.
- Remove the protective backing and place the image facing up on your paper surface. Make sure you're careful about where you place the rub-on after the backing is removed because they are slightly sticky and the image can start to stick down or you can accidentally tear the image before you're ready to set the image down.
- Take the popsicle stick (which will be included with your rub ons) and gently rub over the image to transfer it onto your craft surface.
- Slowly begin to lift the acetate up while holding one side down with the opposite hand and check to see that the image has completely transferred before lifting the acetate off of your project. If the image didn't transfer all the way, place the image back down, line it up with the existing image, and rub over it again with the popsicle stick.
- Once the image is completely transferred, remove the plastic acetate sheet and enjoy!
Now that you know a bit more about rub ons, let's get on with the making!

To create this card, I began with a piece of Distress Watercolor Cardstock. I die cut it using the Sizzix Snail Mail Die Set by Eileen Hull. (I'm super into postage stamp things lately!) I then ink smooshed the paper into Old Paper Distress Ink. To do this, I smooshed the ink pad onto my craft mat, spritzed it with water, smooshed the paper into the ink and then dried the paper with my heat tool.
Once the paper was dry, I stamped the paper using the ledger like image from the Creative Expressions Beautiful Garden Stamp Set by Sam Poole. I stamped the image using Frayed Burlap Distress Oxide Ink.

Next, I began applying the Wild Blooms Rub Ons to each of the "postage" areas. I masked off each box using Mint Tape and then applied the rub on. After the rub on was transferred, I used a craft knife to very gently cut along the edge of the Mint Tape and cut off the excess rub on. I then peeled up the Mint Tape and reused it to do the next area. This was a little time intensive, but I do love the effect it created.
After I had adhered the rub ons, I added some more stamping using some word stamps from the Creative Expressions Butterfly Walk Stamp Set by Sam Poole and Creative Expressions Woodware Mini Postmarks Stamp Set by Francoise Read. I stamped these images using Archival Ink in Coffee because I was stamping over the rub ons, I had to use a more permanent ink.
I then took the other die from the Sizzix Snail Mail Die Set by Eileen Hull and cut it from a piece of brown paper from the Scrapbook.com Cozy Paper Pad.

The base of the card is a piece of green patterned paper from the Scrapbook.com Cozy Paper Pad. I also used this same pattern to cut the fern using the Scrapbook.com Delicate Leaves Die Set. I then cut it 2 more times from green cardstock and adhered them all together to give it a little more dimension. I was able to easily adhere the layers together using the precision tip on the Scrapbook.com Artis Glue.
For the sentiment I used the Scrapbook.com Hi Fall Stamp Set. I stamped it using Coffee Archival Ink onto white cardstock, fussy cut around it and lightly inked the edges with Frayed Burlap Distress Oxide Ink. I then adhered it to the card with double sided foam adhesive.
The final touch was the addition of the tiny butterflies! I die cut them from a piece of yellow paper from the Scrapbook.com Cozy Paper Pad. To add some interest, I stamped onto them with Frayed Burlap Distress Oxide Ink using the linen texture image from the Creative Expressions Butterfly Walk Stamp Set by Sam Poole. I then adhered them to the card using double sided foam adhesive.

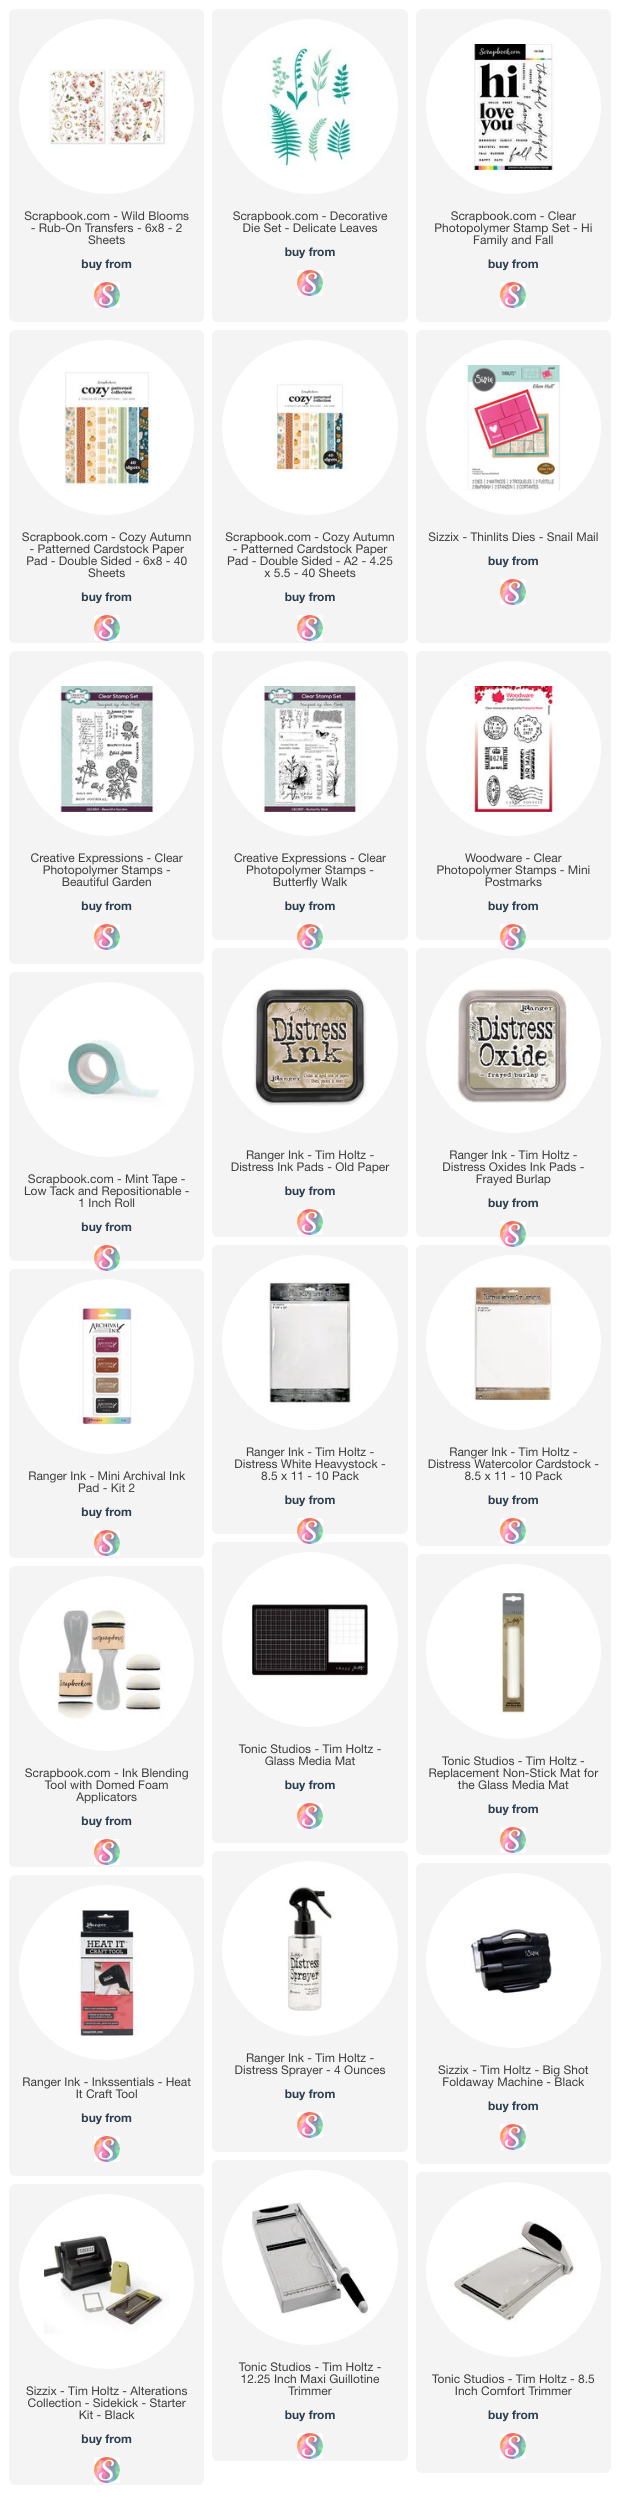
SUPPLIES
Below you can find the products I've used to create these Halloween Tags. When you shop through the links below, I receive a small commission from Scrapbook.com. These links are at absolutely no cost to you and the commission I receive helps me cover the costs of my blog and other expenses, which allows me to continue to provide you with FREE inspiration and tutorials. If you want to learn more about what an affiliate link is, you can see my full affiliate and product disclosure statement here. Thank you so much for your love and support!


No comments
Every time you smile at someone, it is an action of love, a gift to that person, a beautiful thing. ~Mother Teresa
HUGS!
JULIANA