Full of Possibilities Tag | Tim Holtz Mechanical Bigz and Wildflower Stems 3 Thinlits

So this project was inspired by a random thought one day as I sat looking at the new Tim Holtz Sizzix release. The Mechanical Bigz and Wildflower Stems 3 caught my attention and I liked the contrast of the industrial gears with the dainty flowers. The juxtaposition intrigued me and an image of wildflowers growing up through old rusted machinery came to mind. The idea of rebirth. A rising from the deterioration, destruction, decay. A reminder that anything is possible. A reminder that today is full of possibilities. Just like the wildflowers you can push through and new growth is possible.

Full of Possibilities Tag by Juliana Michaels featuring Tim Holtz Mechanical Bigz and Wildflower Stems 3 Thinlits

From that idea I began by die cutting all the gears from from chipboard using the Mechanical Bigz. To give them an aged look, I applied Distress Grit Paste randomly over the surface. Once this was dry, I painted each one with Black Soot Distress Paint. I let this dry and then used my finger to randomly dab on Walnut Stain, Antique Bronze, Rusty Hinge and Evergreen Bough Distress Paint. I recommend only applying one color at a time and allowing that to dry to avoid muddying the colors. For even more distress I added some Distress Crayon to them using Antique Bronze, Tarnished Brass and Ground Espresso. With the gears completed, I then moved on to the wildflowers.


Using the Wildflower Stems 3 I die cut the shapes from pieces of watercolor paper. I then colored each flower using Distress Ink and a water brush. The ink colors I used are Peeled Paint, Spun Sugar, Worn Lipstick, Scattered Straw, Wild Honey, Milled Lavender and Shaded Lilac.


The background was created on a piece of Distress Heavystock sized to fit a Thickboard Mini Tag. I sprayed the paper with a mix of Distress Spray Stain in Tumbled Glass, Old Paper and a tiny bit of Ground Espresso. Once this was dry, I inked over the paper here and there with Speckled Egg Distress Oxide Ink. I then spritzed the paper with my Distress Sprayer and dabbed it dry. After this was completely dry, I adhered it to the Thickboard Mini Tag using Distress Collage Medium and then trimmed off any excess overhang. To add a little more interest to the background I stamped images from the Field Notes and Tiny Toadstools Stamp Sets using Archival Ink in Vintage Photo. And as always, I inked the edges with a bit of Vintage Photo Distress Ink.


With the background completed, it was time to begin adding the gears and wildflowers to create the scene I had imagined in my mind. For added interest on the gears, I adhered a mix of Machinery and Hardware Heads distressed with Mushroom and Pitch Black Alcohol Inks. 


Another small touch was the addition of the bug to the center of one of the gears. This is an Idea-ology Adornment colored with Alcohol Inks. I used Pearl Mixative for the wings, Mushroom for the legs and Gilded for the body.


At the bottom of the tag, and the final step in completing this project, was the addition of the shelf and sentiment. The shelf was created using a couple of Pinked Chipboard Trims. These were distressed with the same technique I used on the gears and once dry, I adhered them to the base of the tag to create a shelf. I then finished it off with the Quote Chip and a couple of Hardware Heads.


I hope you enjoyed learning how this Full of Possibilities Tag came to life using the Tim Holtz Mechanical Bigz and Wildflower Stems 3 Thinlits. 

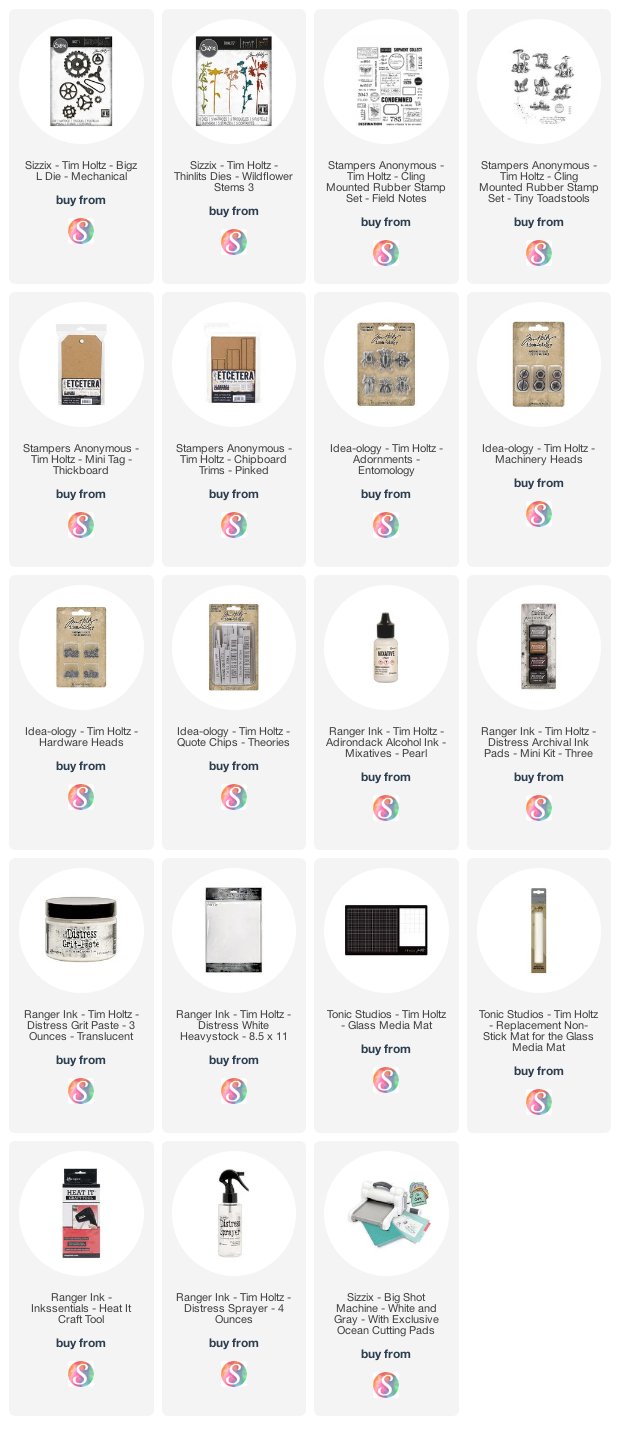
Supplies

Below you can find the products I used to create this project along with compensated affiliate links to Scrapbook.com. These links are at absolutely no extra cost to you. If you want to learn more about what an affiliate link is, you can see my full affiliate and product disclosure statement here.
Coffee Gift Card Holders | Tim Holtz Cafe Colorize Thinlits

I'm a coffee lover. Black. No sugar or creamer. But on occasion, I do love a little treat and what better way to share a coffee treat with someone else than a coffee gift card! Today I'm sharing how I created this set of Coffee Gift Card Holders that I created using the new Tim Holtz Cafe Colorize Thinlits. And don't worry, if you prefer tea, you can easily switch it out for a tea cup.

Coffee Gift Card Holders by Juliana Michaels featuring Tim Holtz Cafe Colorize Thinlits

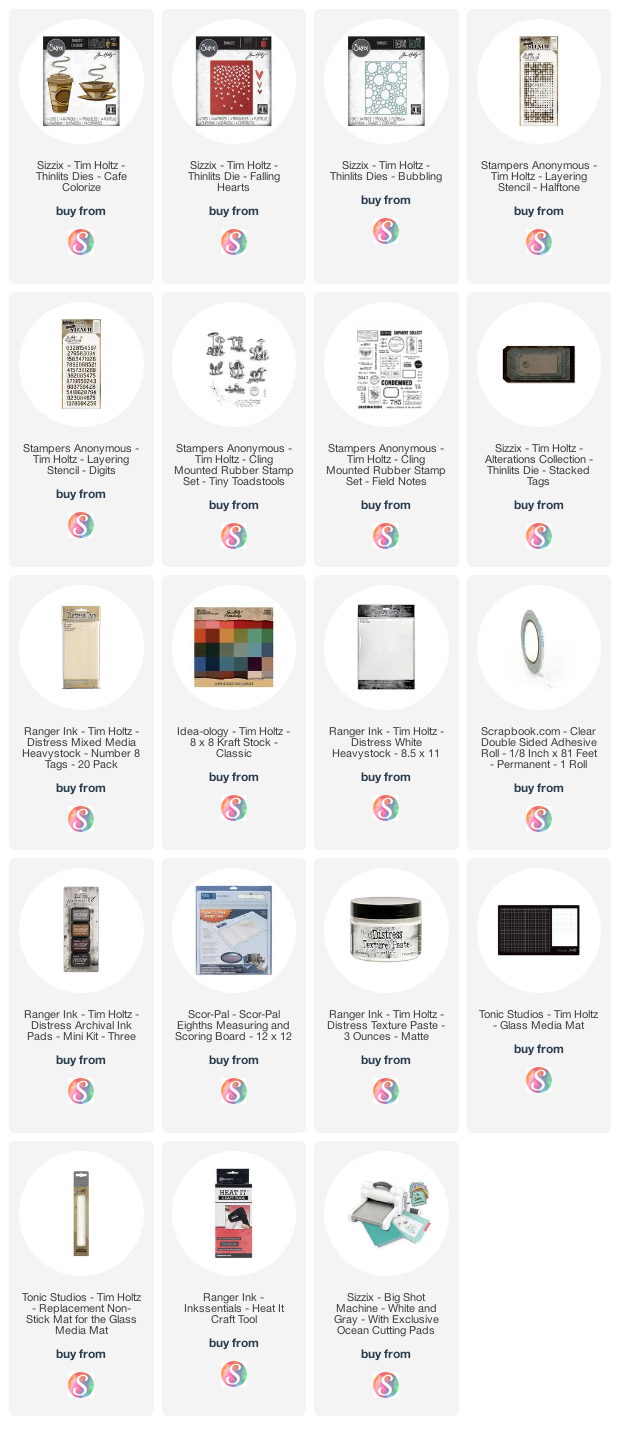
To create each gift card holder, I began by die cutting a piece of Distress White Heavystock paper using the largest tag from the Stacked Tags Thinlits and then scored each tag at 1.5 inches from the end. If you don't have a tag die, you could also use the Mixed Media Heavystock Number 8 Tags. 


I wanted to add a bit of texture and interest to each tag so I dry embossed each one using either the Bubbling or Falling Hearts Thinlits and a silicone rubber pad. I recommend playing around with the combination of plates and or shims to get just the right amount of pressure so that it only embosses and doesn't cut or crease the paper. The type of paper you use along with how old your machine is can impact the need for shims, etc.


After embossing each tag, I added some stamping using the Field Notes and Tiny Toadstools Stamp Sets and Vintage Photo Archival Ink. Next, I ink blended over each tag in one of the following colors: Barn Door, Peeled Paint or Peacock Feathers Distress Ink. For even more texture, I applied some Texture Paste through the Digits and Halftone Stencils.


Once the background for each tag was completed, I adhered strips of 1/8" double sided tape to the sides and and folded it up to create the pocket. And as always, I inked the edges with a bit of Vintage Photo Distress Ink.


Now onto the adorable coffee cups that were created using the Cafe Colorize Thinlit. I cut the various layers from either White Heavystock or various shades of blue, green and brown Classic Kraft Stock. I inked the edges of each of theses pieces with Hickory Smoke Distress Ink before assembling them and then finished each one off with a red heart from the Falling Hearts Thinlit.


With the gift card holders assembled, the final touch was the addition of a custom dyed ribbon using Old Paper Distress Spray and a Hinge Clip distressed with a bit of Mushroom Alcohol Ink. Then all that is left to do is to add your favorite coffee gift card and a little note!


Thanks so much for stopping by today and I hope you enjoyed learning how to create these Coffee Gift Card Holders using a tag and the Tim Holtz Cafe Colorize Thinlits.
 

Supplies

Below you can find the products I used to create this project along with compensated affiliate links to Scrapbook.com. These links are at absolutely no extra cost to you. If you want to learn more about what an affiliate link is, you can see my full affiliate and product disclosure statement here.

Counting My Blessings Card | Stamping Through A Stencil

Do you send thank you cards? I'll admit I'm not as good about it as I should. Which is rather sad considering I'm a card maker. Can anyone relate?! Most recently I was reminded about how nice it is to receive one and it inspired me to sit down, create one and send it out! Although the sentiment doesn't say thank you, counting my blessings is a great way to let someone know just how special they are or that what they did means a lot to you.

Counting My Blessings Card by Juliana Michaels featuring Scrapbook.com Stencil and Stamping through a stencil, Tim Holtz Brushstroke Flowers 1 Thinlits

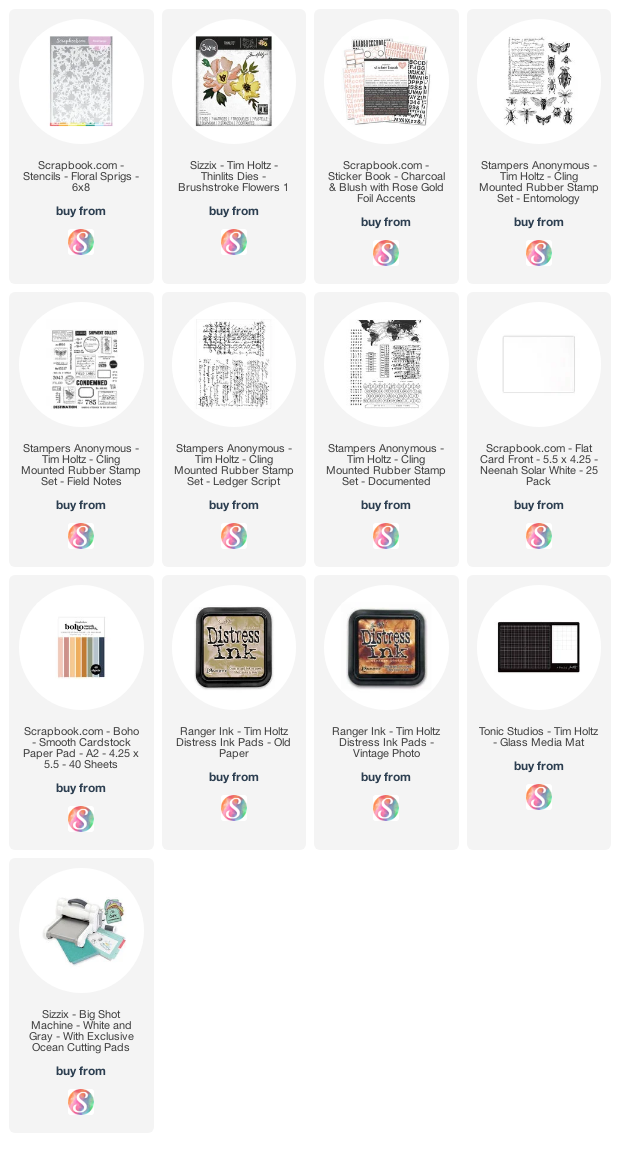
This card started off with the focal point...these beautiful flowers! They were created using the beautiful Tim Holtz Brushstroke Flowers 1. I die cut the flowers from papers in the Scrapbook.com Boho Paper Pad. To give them a bit of interest before layering the various pieces, I stamped the largest piece with stamps. I used the script stamp from the Ledger Script Stamp Set and the library card stamp from the Documented Stamp Set to stamp each piece with Vintage Photo Distress Ink. I then inked the edges of all of the pieces and then adhered them together.


After completing the flowers, I went to work on creating the background using the Scrapbook.com Floral Sprigs Stencil. I laid it on top of a flat card front and applied Old Paper Distress Ink through the stencil. I then added a fun twist by stamping through the stencil. After cleaning off the stencil, I placed it back on top of the paper, making sure to line it up with the stenciled design and I then stamped through the stencil using the script stamp from the Tim Holtz Ledger with Vintage Photo Distress Ink. I can promise you now, this technique was so fun and I can definitely see myself using it again!


With the background completed, I adhered the flower die cuts using double sided adhesive foam large rounds. Next, I added some stickers, including the sentiment, from the Charcoal and Blush with Rose Gold Sticker Book.


I then added a little more stamping using some stamps from the Field Notes and Documented Stamp Sets with Vintage Photo Distress Ink. The final touch was the addition of some machine stitching around the outside edge.


I hope you enjoyed learning about the stamping through a stencil technique and will think about using it the next time you pull out your stencils!

Supplies

Below you can find the products I used to create this project along with compensated affiliate links to Scrapbook.com. These links are at absolutely no extra cost to you. If you want to learn more about what an affiliate link is, you can see my full affiliate and product disclosure statement here.

Don't Forget To Fly Card | Tim Holtz Butterfly Perspective + Alphanumeric Stretch Thinlits

Hello friends! I'm so excited to begin sharing some of the makes I created for the Tim Holtz Chapter 1 Sizzix Release! If you missed the YouTube Live where Tim shared all the new dies and loads of amazing makes, you can check it out at TimHoltz.com.

Don't Forget to Fly Card by Juliana Michaels featuring Tim Holtz Butterfly Perspective Thinlit and Alphanumeric Stretch Thinlit

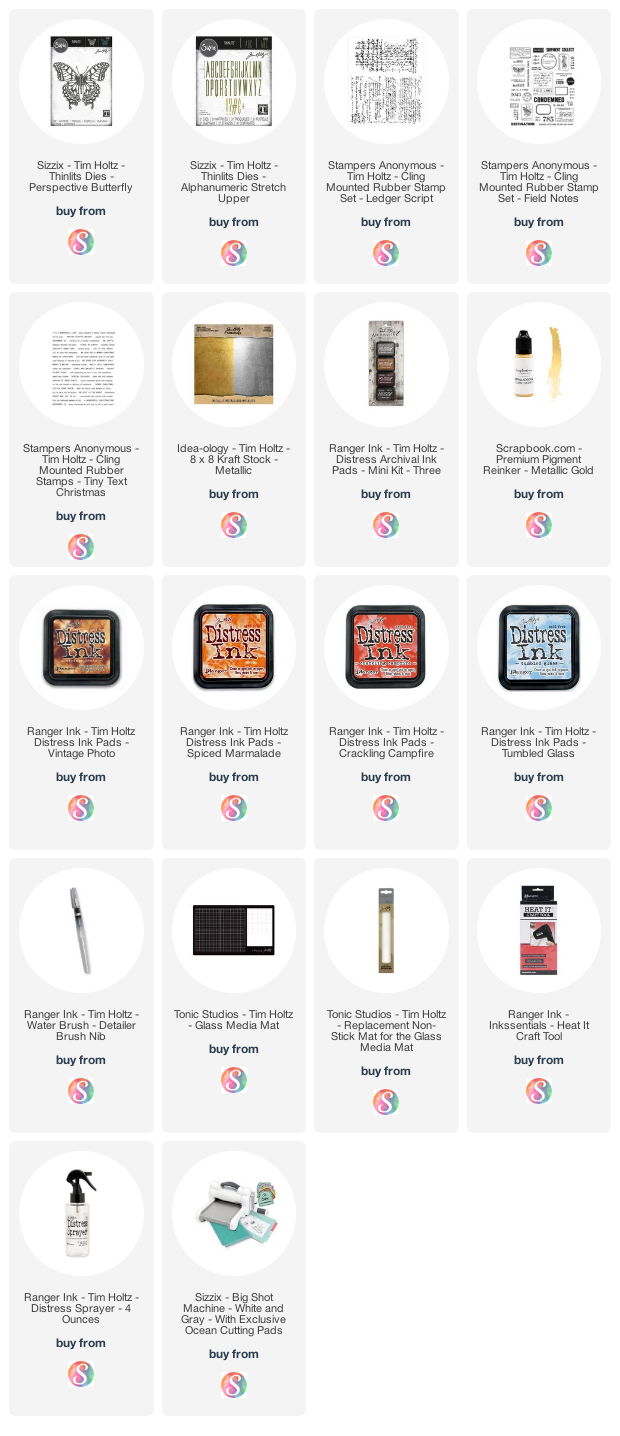
One of the dies that I fell in love with immediately was Butterfly Perspective Thinlit. I love all things butterfly, so this larger than life die was calling my name and I couldn't help but to use it to create one of my first makes. Despite loving it so much, I actually struggled with creating the actual project I'm sharing today. I made the background for this card 3 times before settling on what you see here. That struggle is also part of the creative process and in the end, I love the way this turned out!


To get started, I die cut the Butterfly Perspective from Black Cardstock. I then took a piece of watercolor paper and stamped it with a mix of stamps from the Ledger Script and Field Notes stamp sets using Vintage Photo Archival Ink. I choose to use this ink because I knew I was going to be watercoloring the inside of the butterfly and I didn't want the ink to bleed.


Next, I adhered the die cut butterfly to the watercolor paper, trimmed off the excess and proceeded to color in the image using Distress Ink in Spiced Marmalade and Crackling Campfire with a waterbrush. I applied the lighter Spiced Marmalade first and then added the Crackling Campfire more towards the center.


Once the watercoloring was completed, I ink blended the background using Tumbled Glass Distress Ink and finished it off with a splattering of Scrapbook.com Gold Metallic Reinker.

For the sentiment, I stamped "Don't Forget To Fly" using the Tiny Text Stamp Set, trimmed it to size and inked the edges with Vintage Photo Distress Ink. I layered this on top of letters I die cut using the new Alphanumeric Stretch Thinlits. I cut these from gold metallic paper found in the Metallic Kraft Stock Paper Pad. I then completed the card by mounting it onto a piece of kraft cardstock.


Thanks so very much for your visit and I hope you enjoyed learning how this Don't Forget To Fly Card came together using the Tim Holtz Butterfly Perspective and Alphanumeric Stretch Thinlits.

Supplies

Below you can find the products I used to create this project along with compensated affiliate links to Scrapbook.com. These links are at absolutely no extra cost to you. If you want to learn more about what an affiliate link is, you can see my full affiliate and product disclosure statement here.

Valentine's Day Shaker Card | Foiling With Stencils

Valentine's Day is going to be here before we know it, and never has it been a better time to let those you love know how much you love them! Today I'm sharing a Valentine's Day Shaker Card that features a background created by foiling with stencils.


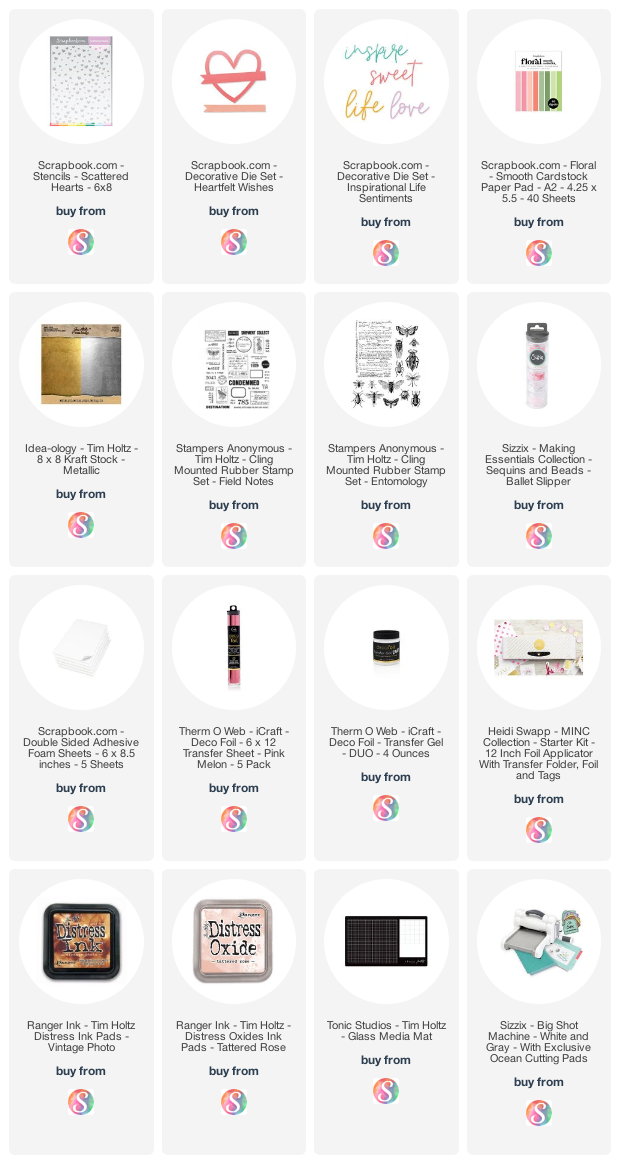
I actually began this card by creating the shaker piece. I die cut a piece of pink paper from the Floral Paper Pad using the Heartfelt Die and then used the same die to cut a double sided adhesive foam sheet to create the shaker box. Next, I cut a transparency to size and adhered it to the backside of the die cut paper to create the shaker window. I then adhered this to the foam shaker box.


Once the shaker was completed, I poured a mix of sequins and beads onto the card front in the area where the shaker opening would be located. I then adhered the shaker to the card front. To embellish the shaker, I added a die cut banner using a slightly darker shade of pink from the Floral Paper Pad and inked the edges with Vintage Photo Distress Ink. I then added the gold metallic "love" die cut using the Inspirational Life Sentiments Dies.


Now let me share with you how I created the foiled background. I began with a flat card front and placed the Scattered Hearts Stencil on top of the paper and used Mint Tape to hold it in place. I then applied Deco Foil Transfer Gel over the stencil using a palette knife. Once there was a thin layer of gel covering the stencil design, I removed the stencil, washed it and set the card front to the side to dry.


Once the gel was dry, I covered it with a piece of Therm O Web Pink Melon Deco Foil and ran it through my Heidi Swapp Minc. After the foiling, I added some subtle stamping using the script stamp from the Tim Holtz Ledger Script and Field Notes Stamp Sets using Tattered Rose Distress Oxide. I then inked the edges with some Vintage Photo Distress Ink.


Thanks so much for stopping by today and for checking out how I created this Valentine's Day Shaker Card and created a background by foiling with stencils.

Supplies

Below you can find the products I used to create this project along with compensated affiliate links to Scrapbook.com. These links are at absolutely no extra cost to you. If you want to learn more about what an affiliate link is, you can see my full affiliate and product disclosure statement here.

Subscribe