Featured Slider

Mixed Media Made Easy with Sizzix and 49 and Market

I'm back to share another card I created using the beautiful new 49 and Market and Sizzix stamps and dies designed by Katie Pertiet. The design and style of these stamps and dies really makes creating a mixed media effect so very easy! I'm sharing all the details in a new video that is now live on the Scrapbook.com YouTube Channel.

Celebrate Card by Juliana Michaels featuring Sizzix and 49 and Market Stamps and Dies Painted Pencil Leaves, Engraved Wings, Floral Cluster Mix and Hello You Sentiments

You can either watch the video below or head over to the Scrapbook.com YouTube Channel HERE to check it out.

If you are interested in the supplies I used to create this card, you can find a complete supply list at the bottom of this post. When you shop through those links, you help support me and I appreciate that so very much!

CELEBRATE CARD

Here are some detail images of the card I create in this video using the new Sizzix and 49 and Market stamps and dies designed by Katie Pertiet.  The finished card size is 4 ¼ x 5 ½ inches.

Celebrate Card by Juliana Michaels featuring Sizzix and 49 and Market Stamps and Dies Painted Pencil Leaves, Engraved Wings, Floral Cluster Mix and Hello You Sentiments


SUPPLIES

Below you can find the supplies I used to create this card. When you shop through the links below, I receive a small commission from Scrapbook.com. These links are at no cost to you and the commission I receive helps me cover the costs of my blog and other expenses, and allows me to continue to provide you with FREE inspiration and tutorials. If you want to learn more about what an affiliate link is, you can see my full affiliate and product disclosure statement here. Thank you so much for your love and support! 

A Crazy Idea with Distress Embossing Glaze

Have you ever had an idea, that you knew was crazy and would take forever, but just had give it a try? Well, that’s exactly what happened with the card I’m sharing in my latest. When I saw the Wheel stencil from Tim Holtz, I knew I wanted to create a rainbow of color through the stencil and I wanted to try doing it with Embossing Glaze. Once that idea was planted, I just had to give it a try even though I knew it would be a slow, time consuming process. And once I started and could see the potential, I had to keep going! In the end, it turned out to be one of my favorite cards to date!

Hello Card by Juliana Michaels featuring Tim Holtz Stampers Anonymous Curiosity Shop Stamp Set and Wheel Stencil with Embossing Glaze

You can watch it all come together by either watching the video below or by heading over to my YouTube Channel HERE to check it out.


If you are interested in the supplies I used to create this card, you can find a complete supply list at the bottom of this post. When you shop through those links, you help support me and I appreciate that so very much!

HELLO CARD

Here are some detail images of the card I create in this video using the new Curiosity Shop Stamp Set an Wheel Stencil by Tim Holtz.  The finished card size is 4 ¼ x 5 ½ inches.

Hello Card by Juliana Michaels featuring Tim Holtz Stampers Anonymous Curiosity Shop Stamp Set and Wheel Stencil with Embossing Glaze


If you're just looking for a list of the Embossing Glaze colors
I used and the order of each they are as follows:

RED: Candied Apple, Lumberjack Plaid, Aged Mahogany
ORANGE: Spiced Marmalade, Crackling Campfire, Rusty Hinge
YELLOW: Squeezed Lemonade, Wild Honey, Fossilized Amber
GREEN: Peeled Paint, Mowed Lawn, Rustic Wilderness
BLUE: Speckled Egg, Prize Ribbon, Chipped Sapphire
PURPLE: Wilted Violet, Seedless Preserves, Villainous Potion


Thanks so much for stopping by today and I hope you enjoyed seeing the process on how I created this card using the Tim Holtz Curiosity Stamp Set and Wheel Stencil with Distress Embossing Glaze.

SUPPLIES

Below you can find the supplies I used to create this card. When you shop through the links below, I receive a small commission from Scrapbook.com. These links are at no cost to you and the commission I receive helps me cover the costs of my blog and other expenses, and allows me to continue to provide you with FREE inspiration and tutorials. If you want to learn more about what an affiliate link is, you can see my full affiliate and product disclosure statement here. Thank you so much for your love and support! 
 

Mixed Media Magic with Sizzix and 49 and Market

Did you know that 49 and Market recently teamed up with Sizzix and that the talented Katie Pertiet has designed a set of gorgeous stamps and dies that are now available for your crafting pleasure? I am so in love with the designs and images that I kind of couldn't stop myself once I started creating with them. That said, over the next couple of weeks, I'll be sharing what I've created either here on my own platform, on 49 and Market's and even on Scrapbook.com's! So stay tuned for all the inspiration coming your way!

As for today, I've got a new video up over on my YouTube channel sharing some mixed media magic using some of these new stamps and dies. If you're looking for even more inspiration, head over to Instagram and check out these hashtags: #49andmarket #49andmarketandsizzix #sizzix #katiepertietdesigns. The 49 and Market and Sizzix Design Teams are sharing loads of inspiration using these new stamps and dies.

Hello Card by Juliana Michaels featuring Sizzix and 49 and Market stamps and dies designed by Katie Pertiet - Floral Cluster Mix, Hello You , Engraved Wings and Artsy Regal Frame

You can either watch the video below or head over to my YouTube Channel HERE to check it out.

If you are interested in the supplies I used to create these cards, you can find a complete supply list at the bottom of this post. When you shop through those links, you help support me and I appreciate that so very much!

HELLO CARD

Here are some detail images of the card I create in this video using the new Sizzix and 49 and Market stamps and dies designed by Katie Pertiet.  The finished card size is 4 ¼ x 5 ½ inches.

Hello Card by Juliana Michaels featuring Sizzix and 49 and Market stamps and dies designed by Katie Pertiet - Floral Cluster Mix, Hello You , Engraved Wings and Artsy Regal Frame


Here's a look at two other cards I created and will be sharing very soon!


SUPPLIES

Below you can find the supplies I used to create this card. When you shop through the links below, I receive a small commission from Scrapbook.com. These links are at no cost to you and the commission I receive helps me cover the costs of my blog and other expenses, and allows me to continue to provide you with FREE inspiration and tutorials. If you want to learn more about what an affiliate link is, you can see my full affiliate and product disclosure statement here. Thank you so much for your love and support!

My 3 Favorite Background Techniques with Stamps & Stencils

Tim Holtz just released his latest stamp and stencil sets and I had the best time creating and making with them. During the process I realized just how much I enjoy using stamps and stencils to create backgrounds for my cards. In my latest video I’m sharing 3 of my favorite background techniques using stamps and stencils. Along with learning the 3 techniques, I also walk you through how I added the finishing details to each card.

My 3 Favorite Background Techniques with Stamps & Stencils by Juliana Michaels featuring Tim Holtz Stampers Anonymous 2024 stamp and stencil release

You can either watch the video below or head over to my YouTube Channel HERE to check it out.
 

If you are interested in the supplies I used to create these cards, you can find a complete supply list at the bottom of this post. When you shop through those links, you help support me and I appreciate that so very much!

TECHNIQUE NO. 1 | STAMP & SMUDGE

Here are some detail images of the card I create in the video using the stamp and smudge technique. The finished card size is 4 ¼ x 5 ½ inches.

Stay Curious Card by Juliana Michaels featuring Tim Holtz Stampers Anonymous Curiosity Shop Stamp Set and Stamp and Smudge Technique


TECHNIQUE NO. 2 | REPEAT STAMPING

Here are some detail images of the card I create in the video using the repeat stamping technique. The finished card size is 4 ¼ x 5 ½ inches.

Thanks Card by Juliana Michaels featuring Tim Holtz Stampers Anonymous Abstract Florals and Crochet Trims Stamp Set and Repeat Stamping Technique


TECHNIQUE NO. 3 | MONOPRINTING WITH STENCILS

Here are some detail images of the card I create in the video using the monoprinting technique. The finished card size is 4 ¼ x 5 ½ inches.

Thinking Of You Card by Juliana Michaels featuring Tim Holtz Stampers Anonymous Labels Stencil and Forgotten Garden Stamp Set and Monoprinting Technique


Thanks for stopping by today to check out the cards I created using the Tim Holtz Stampers Anonymous 2024 Release and my 3 favorite background techniques with stamps and stencils. If you have any questions, please feel free to reach out to me. Until next time, stay crafty my friend!


SUPPLIES

Below you can find the supplies I used to create each card. When you shop through the links below, I receive a small commission from Scrapbook.com. These links are at no cost to you and the commission I receive helps me cover the costs of my blog and other expenses, and allows me to continue to provide you with FREE inspiration and tutorials. If you want to learn more about what an affiliate link is, you can see my full affiliate and product disclosure statement here. Thank you so much for your love and support!

STAMP AND SMUDGE REPEAT STAMPING MONOPRINTING

Picture the Rainbow | Tim Holtz Sizzix Vault Picture Show

When I first saw the Tim Holtz Vault Picture Show Die Set, I was SO happy! I have been wanting that View Master die for forever, but since it's retired, it's near impossible to find or afford. So now my dreams of creating with it can be fulfilled and I'm pretty sure I'm not the only one who will feel this way!

I also knew that I wanted to create a swatch wheel of sorts by filling in each of the openings with a different color of Distress Ink. In the end, I ended up with a rainbow of cards by doing one with each main color family. But...I also think a neutral one with all of the browns and grays would be really pretty as well!

In this post I'm going to share how I made each card. I basically used the same formula to put together  each of the cards in this set. I just switched out the colors, the dies, and the sentiments to make each one unique.

If you are interested in the supplies I used to create these cards, you can find a complete supply list at the bottom of this post. When you shop through those links, you help support me and I appreciate that so very much!

View Master Rainbow Card Set by Juliana Michaels featuring the Tim Holtz Vault Picture Show Die Set

I began by die cutting a piece of paper from the Tim Holtz Backdrops Volume 4 and a piece of white cardstock with the View Master Die and its frame piece from the Vault Picture Show Die Set. I inked the edges of the patterned paper and the white cardstock with Scorched Timber Distress Ink. You could skip the second layer of white cardstock if you want. I just liked the idea of creating a little depth and dimension by adding in the second layer behind the patterned paper.

Next, I die cut a piece of Black Kraft Stock with the frame piece. If you don't have the Black Kraft Stock you can use black cardstock. Another great option, if you love the color of the Black Kraft Stock, is to ink white cardstock with Scorched Timber Distress Ink. I did that on a couple of these cards instead of using the Kraft Stock and I bet you can't even tell which ones.

I then adhered these various layers together using liquid adhesive.

Red View Master Rainbow Card Set by Juliana Michaels featuring the Tim Holtz Vault Picture Show Die Set


As for the sections of color on each View Master, I began by taking a strip of Distress Heavystock and applied each color to a small section using a blending brush.  I used was Distress Oxides, but you could also use Distress Inks, Paints, Watercolor Pencils, etc. I then used the small dies from the set to cut out each color. I inked the edges of each square with Scorched Timber Distress Ink and then adhered it into the opening on the View Master.

Yellow View Master Rainbow Card Set by Juliana Michaels featuring the Tim Holtz Vault Picture Show Die Set
 

Next, I die cut Black Kraft Stock (you could also use black cardstock) three times with the film strip die from the Vault Picture Show Die Set. I trimmed off one of the openings on one strip and tore off the end on the other two strips so that they would fit on my card front. I then sanded them using a sanding disk, but you could also use find grit sand paper. If you use black cardstock, you can skip the sanding.


Red - Spun Sugar, Kitsch Flamingo, Festive Berries, Barn Door, Lumberjack Plaid, Aged Mahogany, Tattered Rose, Saltwater Taffy, Worn Lipstick, Abandoned Coral, Fired Brick, Candied Apple

Yellow - Squeezed Lemonade, Mustard Seed, Scattered Straw, Fossilized Amber, Wild Honey, Dried Marigold, Carved Pumpkin, Spiced Marmalade, Rusty Hinge, Ripe Persimmon, Candied Apple, Crackling Campfire

Green - Twisted Citron, Crushed Olive, Shabby Shutters, Peeled Paint, Forest Moss, Bundled Sage, Moved Lawn, Rustic Wilderness, Cracked Pistachio, Evergreen Bough, Lucky Clover, Pine Needles

Blue - Speckled Egg, Salvaged Patina, Broken China, Peacock Feathers, Salty Ocean, Mermaid Lagoon, Uncharted Mariner, Tumbled Glass, Stormy Sky, Prize Ribbon, Faded Jeans, Chipped Sapphire

Purple - Victorian Velvet, Picked Raspberry, Seedless Preserves, Milled Lavender, Dusty Concord, Wilted Violet, Villainous Potion, Shaded Lilac, Blueprint Sketch, Faded Jeans, Prize Ribbon, Chipped Sapphire

Green View Master Rainbow Card Set by Juliana Michaels featuring the Tim Holtz Vault Picture Show Die Set


I then die cut the embellishments from Black Kraft Stock and sanded them.  Again you can use black cardstock and skip the sanding if you like. Here are the dies I used for each card:
Red - Vault ______ Die Set
Yellow - Vault Scribbly Butterflies Die Set
Green - Vault Wildflowers Die Set
Blue - Vault Scribbly Butterflies Die Set
Purple - Vault Lovebirds Die Set

Blue View Master Rainbow Card Set by Juliana Michaels featuring the Tim Holtz Vault Picture Show Die Set


The base layer of the card is a piece of smooth white cardstock cut to 4 ¼ x 5 ½ inches that I inked heavily with Scorched Timber Distress Ink. You could also use Black Kraft Stock or black cardstock. I then took another piece of smooth white cardstock cut to 4 x 5 ¼ inches and lightly inked the edges with Scorched Timber Distress Ink. The final layer is a piece of patterned paper from the Tim Holtz Backdrops Volume 5 that I cut to 3 ⅞ x  5 ⅛ inches. I also inked the edges of it with the Scorched Timber Distress Ink.

Purple View Master Rainbow Card Set by Juliana Michaels featuring the Tim Holtz Vault Picture Show Die Set


For the sentiment, I stamped an saying from the Tim Holtz Tiny Text Stamp Set onto white cardstock using Black Soot Archival Ink. I trimmed it into at strip and inked the edges with Scorched Timber Distress Ink. I then adhered it to the card with 1mm Double Sided Foam adhesive a little dimension.

View Master Rainbow Card Set by Juliana Michaels featuring the Tim Holtz Vault Picture Show Die Set

Thanks so much for stopping by and checking out how I made this set of cards using the Tim Holtz Vault Picture Show Die Set. I can't wait to see what you create with it! Until next time, stay crafty my friend!
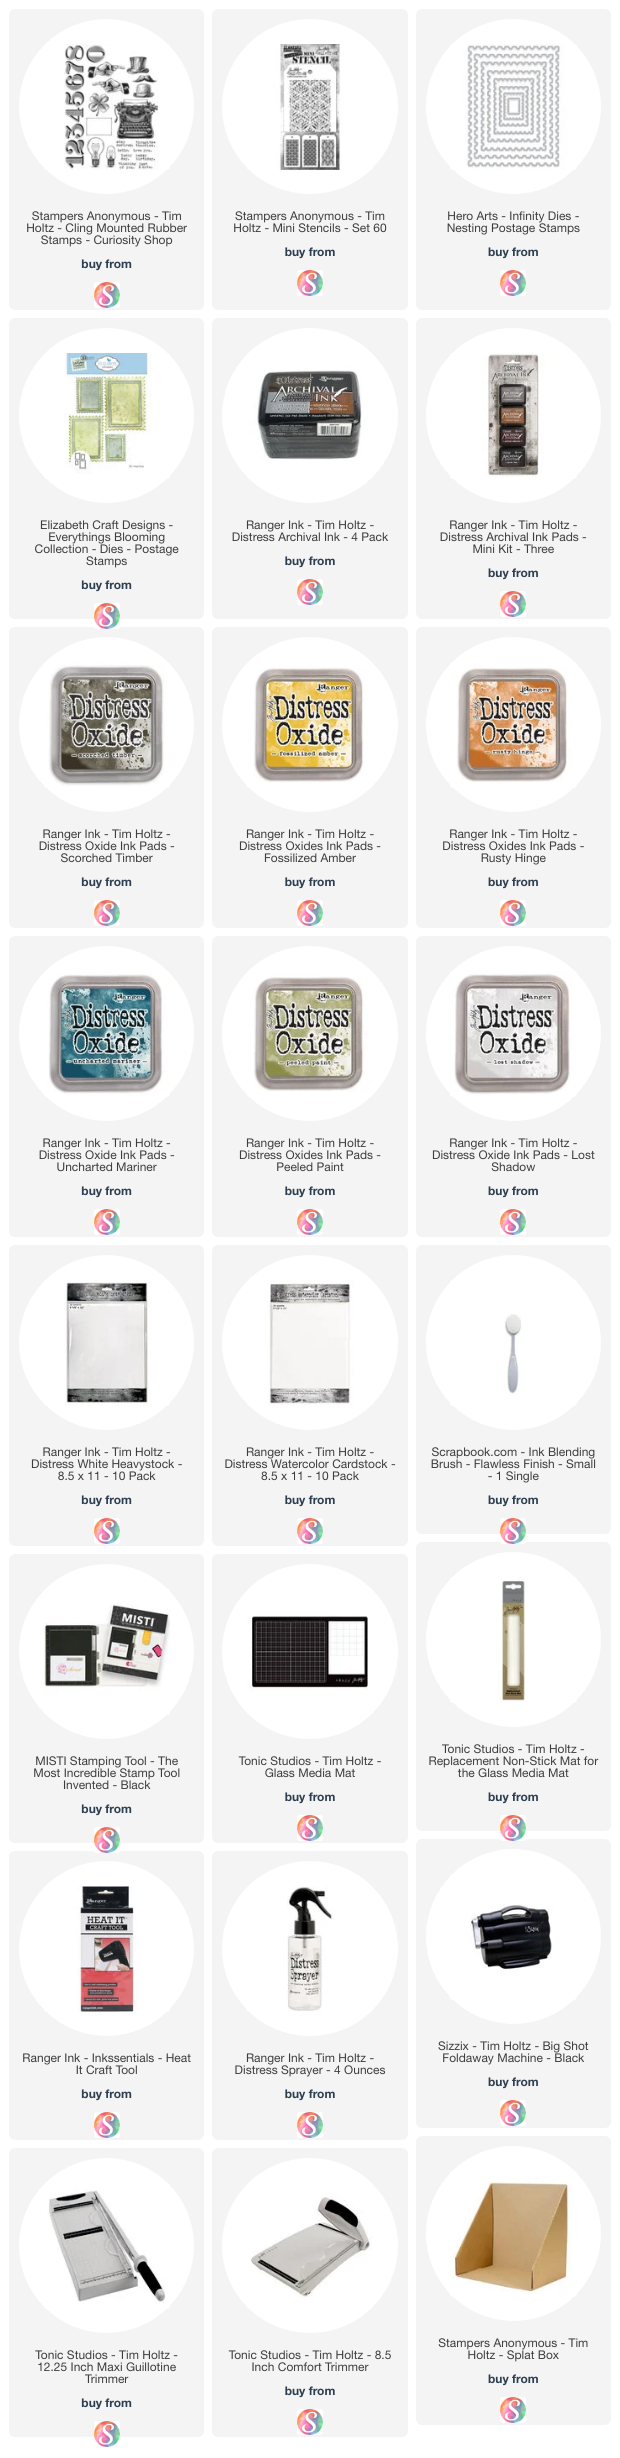
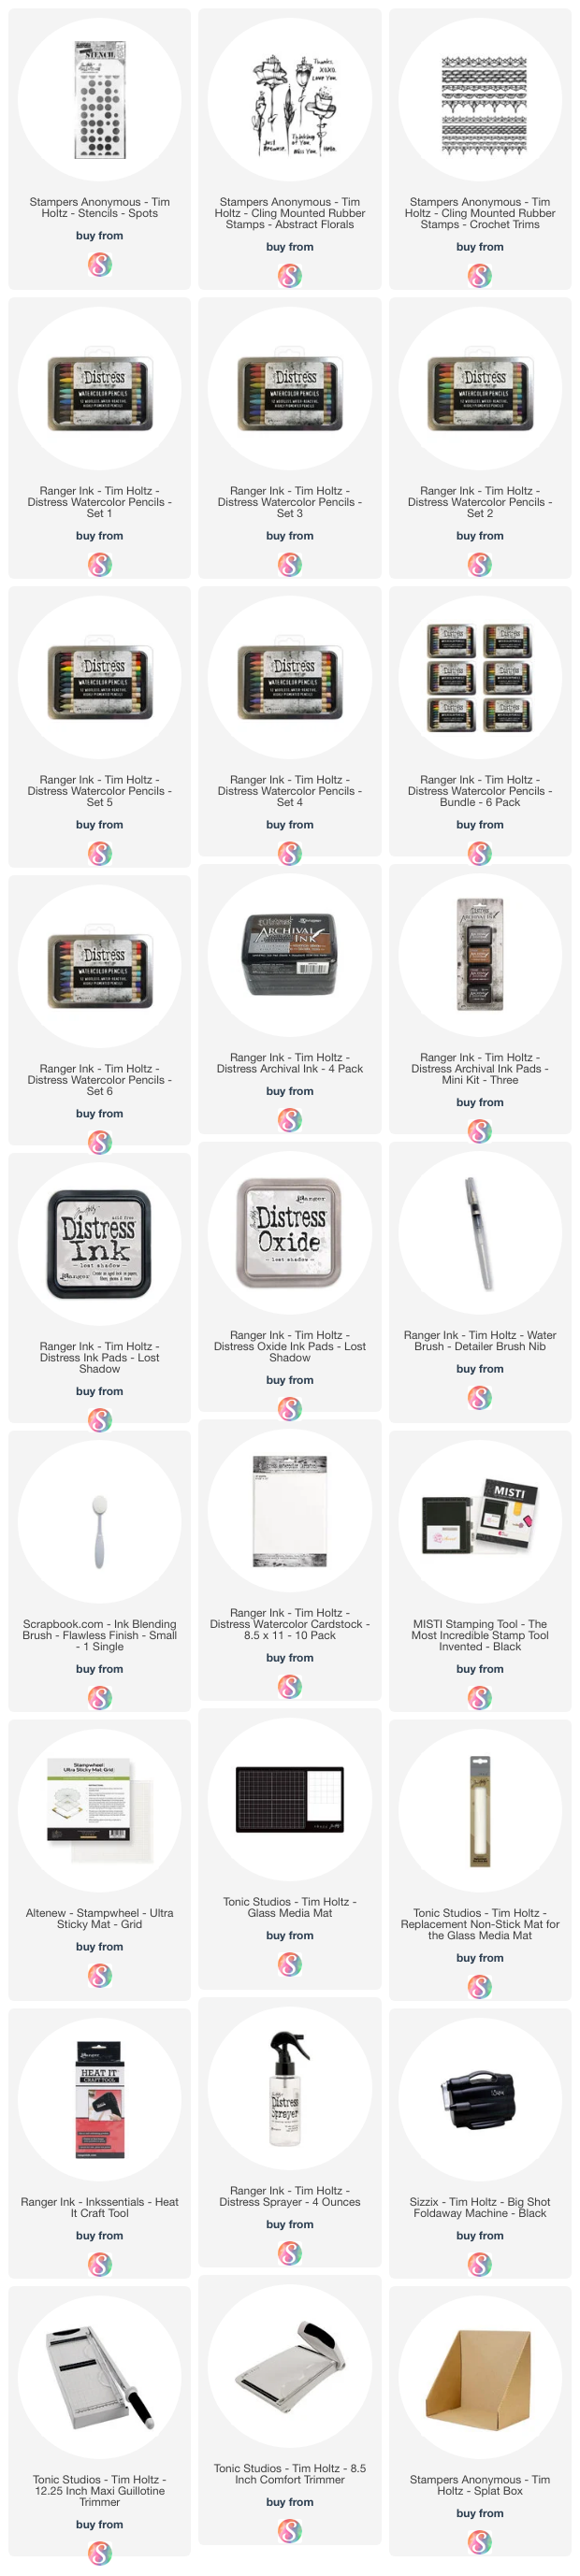
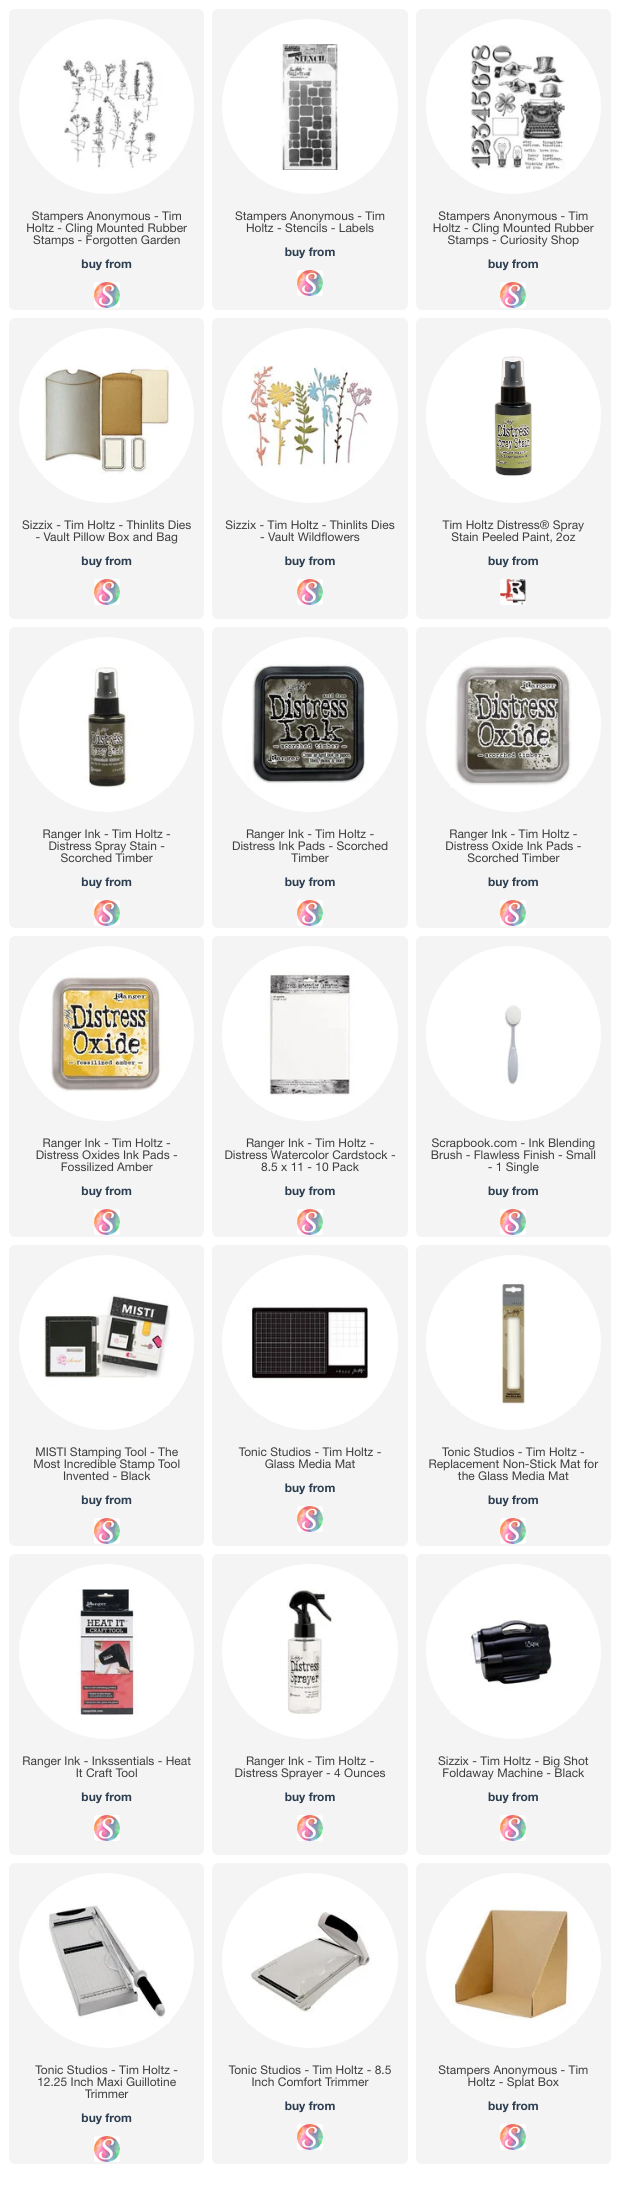
SUPPLIES

Below you can find the supplies I used to create this card. When you shop through the links below, I receive a small commission from Scrapbook.com. These links are at no cost to you and the commission I receive helps me cover the costs of my blog and other expenses, and allows me to continue to provide you with FREE inspiration and tutorials. If you want to learn more about what an affiliate link is, you can see my full affiliate and product disclosure statement here. Thank you so much for your love and support!

Subscribe