Hey friends! Today it's all about the brights! The brand new Brights Paper Pad from Scrapbook.com that is! These paper pads are bright...neon flourescent bright and bring all the 80's vibes along with them!
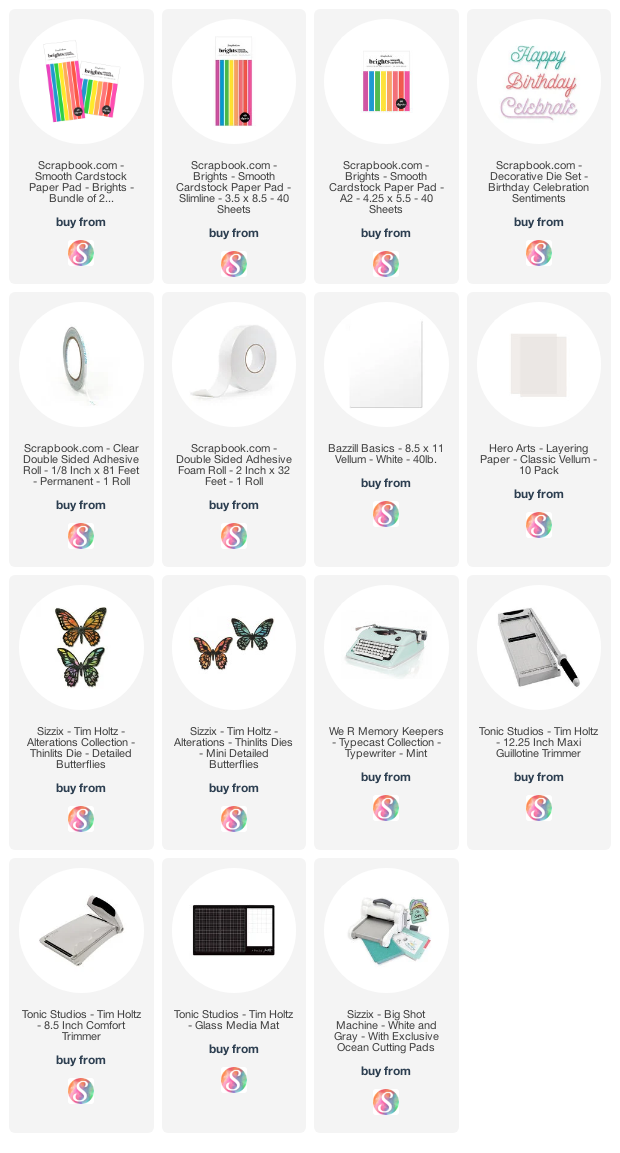
If you aren't familiar with the Scrapbook.com paper pads, they are a smooth cardstock paper pad that comes in both A2 and Slimline sizes. Each paper pad contains 40 color coordinated sheets of paper (5 each of 8 different colors) and are currently available in 6 different color palettes. You can use them to create an instant card front, trim them to create layers, use them for die cutting and so much more.
Today, March 4, Scrapbook.com will have a Brights Paper Pad Bundle available starting at 9 AM MST during their YouTube Live, that includes both the A2 and Slimline paper pads at an amazing price! These bundles are only available while supplies last, so I recommend loading your cart with any Scrapbook.com items you plan to purchase, then adding this bundle when it goes live so you don't miss out on this great deal! Their last bundle sold out in record time!
Now that you know more about these Brights Paper Pads, let me share this Bright Stripes Birthday Card I made using the paper pads.
To get started, I took a flat card front and trimmed it to 4 x 5.25 inches. I then adhered 2 strips of the Scrapbook.com 2" Clear Double Sided Adhesive to the back side.
I then took 6 colors from the Brights A2 Paper Pad and trimmed them into strips sized to 0.25 x 5.5 inches. I also did this with a piece of white cardstock. Once I had all my strips cut, I began adhering them at a angle. I recommend starting at the bottom and working your way up in rainbow order and alternating with a color strip and a white strip until the entire panel is covered.
Once the panel was covered with the paper strips, I cut off any excess using my paper trimmer.
With the background complete, I added some layered butterflies die cut from vellum and the "Happy" from the Birthday Celebration Sentiments Word Dies.
To give the sentiment some dimension, I adhered a piece of white cardstock to a strip of Scrapbook.com 2" Double Sided Foam Adhesive, laid the happy die on top and ran it through my die cutting machine.
I'm still amazed at how easy the Double Sided Foam Adhesive makes adding dimension to these delicate die cuts. I then finished off the card with a typed sentiment and some machine stitching before adding it to my card base.
Now that you've seen the
Brights Paper Pad in action, RUN (don't walk) over to Scrapbook.com and get this Brights Paper Pad Bundle before it sells out!
Supplies
Below you can find the products I used to create this project along with compensated affiliate links to
Scrapbook.com. These links are at absolutely no extra cost to you. If you want to learn more about what an affiliate link is, you can see my full affiliate and product disclosure statement
here.


No comments
Every time you smile at someone, it is an action of love, a gift to that person, a beautiful thing. ~Mother Teresa
HUGS!
JULIANA