Hello friends and welcome to Day 1 of my 12 Days of Christmas Card Ideas! I'm excited to share a variety of tips, tricks and techniques with you over the next 12 days to help inspire your Christmas card and tag crafting.
Vintage Santa Christmas Card
Today I'm starting off with this Vintage Santa Christmas card featuring one of my favorite stamp sets from this year...Vintage Holidays by Tim Holtz. I'm always a sucker for anything with a Santa and then when you combine that with a mix of other vintage images I'm sold!
For this card, I stamped the Santa image with Memento Ink in Tuxedo Black onto Neenah Classic Crest Cover Solar White 110lb paper. I then colored the image using Copic Markers. Once the coloring was completed, I fussy cut the image. Anytime I fussy cut a stamped image, I alway color the edges of the paper using a black marker. You can use a black Copic Marker or even a Tombow marker as they both have tips that allow you to get into small spaces. I recommend holding the fussy cut image and coloring with the backside facing you. This way you are much less likely to accidentally mark up your colored image. To give the image a more vintage feel, I added Glossy Accents to the trim on Santa's hat and suit and then sprinkled it with Distress Stickles Clear Rock Candy Dry Glitter. Once this was dry, I inked the edges with Vintage Photo Distress Ink for an even more aged look.

For the background, I repeat stamped each of the fun label strips from the Vintage Holidays Stamp Set onto white cardstock using Archival Ink in Peeled Paint, Faded Jeans, Vintage Photo and Barn Door. I then cut each strip, distressed the edges using the back side of my craft knife and then inked them with Vintage Photo Distress Ink.
The finished size of this card is 3.5 x 6 inches. This size, in the card making world, is being referred to as a mini slim line card. It's a new to me size, and a lot less intimidating than a full slimline card which measures 3.5 x 8.5 inches. To create the card front, I cut a piece of red cardstock to 3.5 x 6 inches. I then trimmed a piece of computer paper to 3.25 x 5.75 inches and adhered the label strips in a diagonal along this piece of paper until the entire piece was filled. By using computer paper, I cut down on the thickness of the card which is helpful if you plan to mail your cards.
To finish off the card, I added a sentiment from the Tiny Text Christmas Stamp Set. I stamped this with embossing ink onto black cardstock and then heat embossed it with white embossing powder.
I hope you enjoyed learning how this Merry Christmas Santa card came together. Make sure to stop back by tomorrow for more inspiration on Day 2 of my 12 Days of Christmas Card Ideas.
If you are planning to do any card making supply shopping, I wanted to let you know that the
Holiday Festival is happening now at Scrapbook.com! Shop and SAVE on Holiday, Winter, December Days, Christmas, and Seasonal Themes! This sale only lasts through Monday, November 9th at midnight MST, so stock up today!
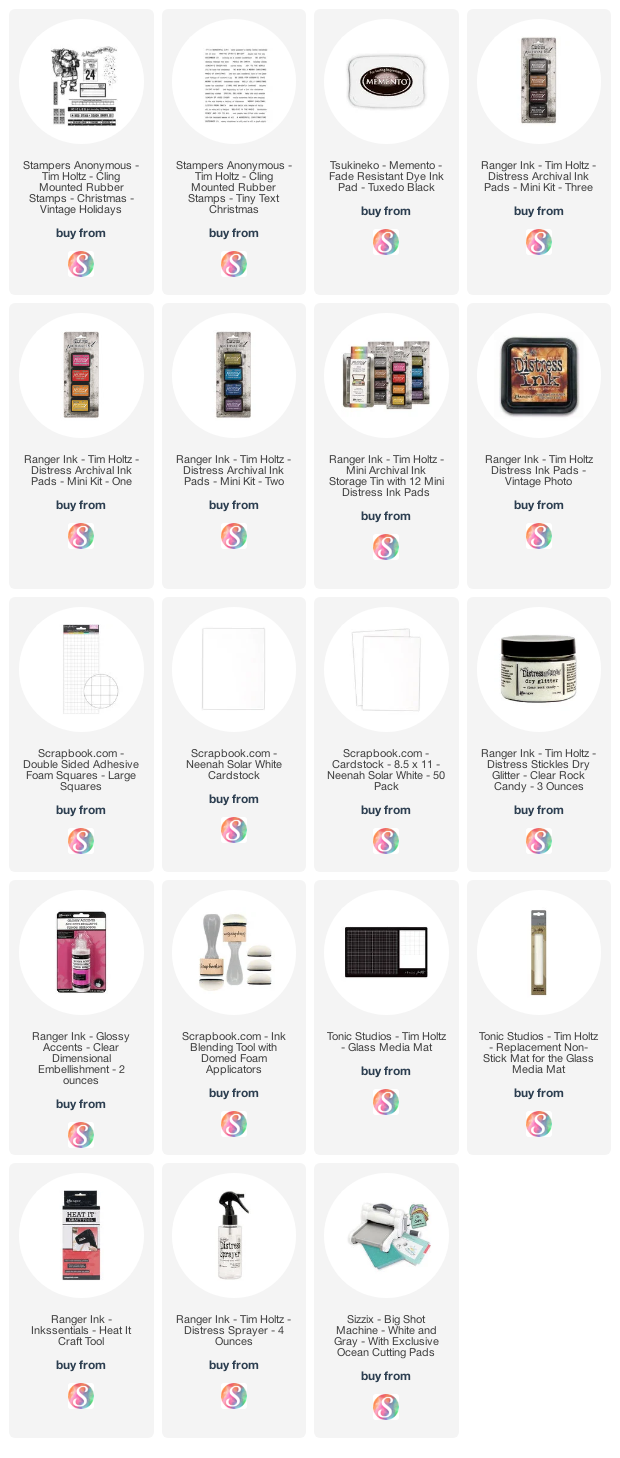
Supplies
You can find a supply list of the products I used to create this project below. This post contains compensated affiliate links to Scrapbook.com at no cost to you. If you want to learn more about what an affiliate link is, you can see my full affiliate and product disclosure statement
here.


Such a pretty card. I can’t wait to see the ones coming in upcoming days.
ReplyDeleteSuch a fun card! and that background is so colorful and clever!! This is a winner in my book!
ReplyDeletethis was one of my favourites from the Facebook Live, Santa is beautifully coloured and I love your strip background xxx
ReplyDeleteThis is so clever and looks amazing
ReplyDeleteYou had me at the slanting ephemera. LOVE that! The coloration is so wonderful as well.
ReplyDelete